一起来玩人脸识别教程(python3+openCV 3步完成)
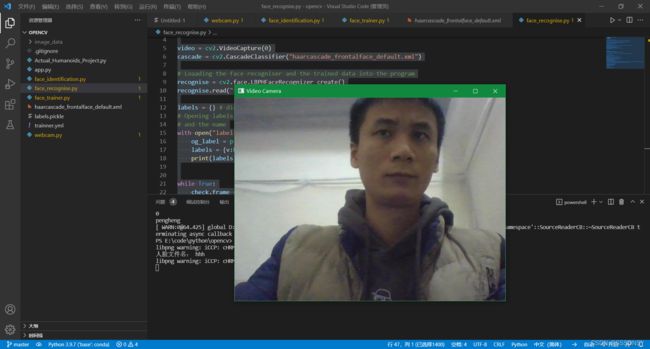
1、调用电脑摄像头 cam.py
# import opencv library
from fileinput import filename
from pyparsing import Char
from tkinter.simpledialog import askinteger,askfloat,askstring
import cv2
import tkinter as tk
import tkinter.simpledialog
import os

# Create a VideoCapture() object as "video"
video = cv2.VideoCapture(0)
# Index of you captured images
idx=1

#save folder name for person
root = tk.Tk()
root.withdraw()
faceName=askstring("提示",'输入保存的人脸名称:')
print("人脸文件名:",faceName)

# Enter into an infinite while loop
while True:
    # Data of 1 frame is read every time when this while loop is repeated
    # into the variable frame
    # check contains the boolean value i.e True or False if its True then
    # webcam is active
    check,frame = video.read()

    # imshow is a method of cv2 library which will basically show the image
    # or frame on a new window
    cv2.imshow("Video Camera",frame)

    # Creates a delay of 1 mili-second and stores the value to variable key
    # if any key is pressed on keyboard
    key = cv2.waitKey(1)

    # check if key is equal to 'q' if it is then break out of the loop
    if(key == ord('q')):
        print("bye!")
        break
    if(key == ord(' ')):
        print("you press btn: space save image ,index=",idx)
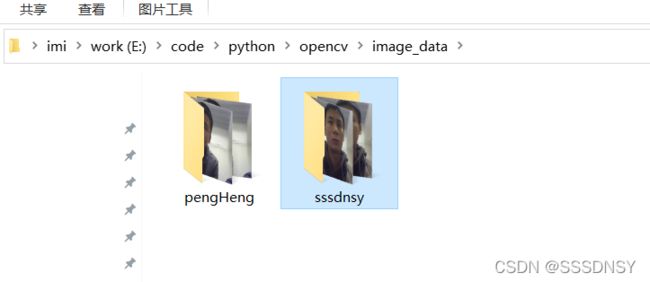
        path=os.path.join("image_data", faceName)
        if( not os.path.exists(path) ):
            os.makedirs(path)
            print("path",path,"创建成功")
        filename=os.path.sep.join([path, "test_{}.jpg".format(idx)])
        cv2.imwrite(filename, frame)
        idx+=1

# Release the webcam. in other words turn it of
video.release()

# Destroys all the windows which were created
cv2.destroyAllWindows()
2.训练 train.py 如下,文件:haarcascade_frontalface_default.xml(百度吧)
# import the required libraries
import cv2
import os
import numpy as np
from PIL import Image
import pickle


cascade = cv2.CascadeClassifier("haarcascade_frontalface_default.xml")

recognise = cv2.face.LBPHFaceRecognizer_create()

# Created a function
def getdata():

    current_id = 0
    label_id = {} #dictionanary
    face_train = [] # list
    face_label = [] # list

    # Finding the path of the base directory i.e path were this file is placed
    BASE_DIR = os.path.dirname(os.path.abspath(__file__))

    # We have created "image_data" folder that contains the data so basically
    # we are appending its path to the base path
    my_face_dir = os.path.join(BASE_DIR,'image_data')

    # Finding all the folders and files inside the "image_data" folder
    for root, dirs, files in os.walk(my_face_dir):
        for file in files:

            # Checking if the file has extention ".png" or ".jpg"
            if file.endswith("png") or file.endswith("jpg"):

                # Adding the path of the file with the base path
                # so you basically have the path of the image
                path = os.path.join(root, file)

                # Taking the name of the folder as label i.e his/her name
                label = os.path.basename(root).lower()

                # providing label ID as 1 or 2 and so on for different persons
                if not label in label_id:
                    label_id[label] = current_id
                    current_id += 1
                ID = label_id[label]

                # converting the image into gray scale image
                # you can also use cv2 library for this action
                pil_image = Image.open(path).convert("L")

                # converting the image data into numpy array
                image_array = np.array(pil_image, "uint8")

                # identifying the faces
                face = cascade.detectMultiScale(image_array)

                # finding the Region of Interest and appending the data
                for x,y,w,h in face:
                    img = image_array[y:y+h, x:x+w]
                #image_array = cv2.rectangle(image_array,(x,y),(x+w,y+h),(255,255,255),3)
                    cv2.imshow("Test",img)
                    cv2.waitKey(1)
                    face_train.append(img)
                    face_label.append(ID)

    # string the labels data into a file
    with open("labels.pickle", 'wb') as f:
        pickle.dump(label_id, f)


    return face_train,face_label

# creating ".yml" file
face,ids = getdata()
recognise.train(face, np.array(ids))
recognise.save("trainner.yml")
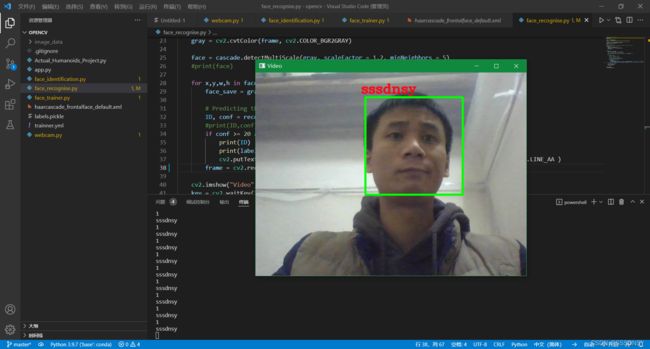
3、识别标记
# import the required libraries
import cv2
import pickle

video = cv2.VideoCapture(0)
cascade = cv2.CascadeClassifier("haarcascade_frontalface_default.xml")

# Loaading the face recogniser and the trained data into the program
recognise = cv2.face.LBPHFaceRecognizer_create()
recognise.read("trainner.yml")

labels = {} # dictionary
# Opening labels.pickle file and creating a dictionary containing the label ID
# and the name
with open("labels.pickle", 'rb') as f:##
    og_label = pickle.load(f)##
    labels = {v:k for k,v in og_label.items()}##
    print(labels)


while True:
    check,frame = video.read()
    gray = cv2.cvtColor(frame, cv2.COLOR_BGR2GRAY)

    face = cascade.detectMultiScale(gray, scaleFactor = 1.2, minNeighbors = 5)
    #print(face)

    for x,y,w,h in face:
        face_save = gray[y:y+h, x:x+w]

        # Predicting the face identified
        ID, conf = recognise.predict(face_save)
        #print(ID,conf)
        if conf >= 20 and conf <= 115:
            print(ID)
            print(labels[ID])
            cv2.putText(frame,labels[ID],(x-10,y-10),cv2.FONT_HERSHEY_COMPLEX ,1, (18,5,255), 2, cv2.LINE_AA )
        frame = cv2.rectangle(frame, (x,y), (x+w,y+h),(0,255,255),4)

    cv2.imshow("Video",frame)
    key = cv2.waitKey(1)
    if(key == ord('q')):
        break

video.release()
cv2.destroyAllWindows()
4、学习记录
Face-Recognition


