基于Numpy数组的图像分割 基于PIL对图像进行拼接
目录
一、要求
二、代码
三、程序解读
一、要求
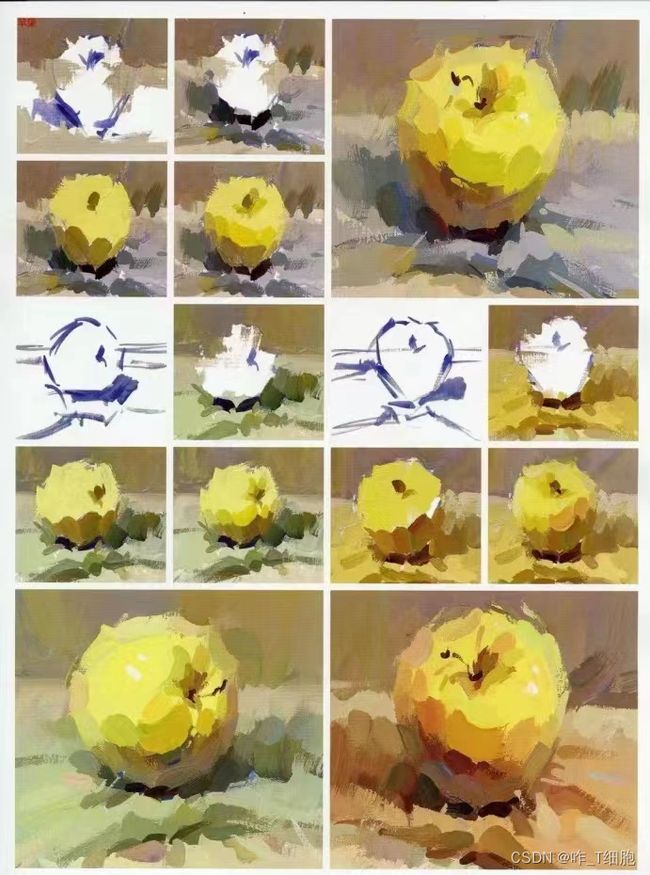
现在有一个多张图片构成的大图,要对图片进行分割和拼接。将下述图像分割成15个大小不同的子图像:
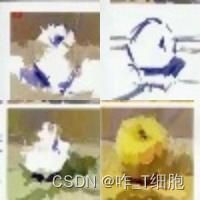
从中选择四个子图像,拼接成一个新得图像。例如:
二、代码
直接上代码:
import cv2
import numpy as np
import PIL.Image as Image

def func(cut_width,cut_length,time,picture):
    (width, length, depth) = picture.shape
    # 预处理生成0矩阵
    pic = np.zeros((cut_width, cut_length, depth))
    # 计算可以划分的横纵的个数
    num_width = int(width / cut_width)
    num_length = int(length / cut_length)
    # for循环迭代生成
    for i in range(0, num_width):
        for j in range(0, num_length):
            pic = picture[i * cut_width: (i + 1) * cut_width, j * cut_length: (j + 1) * cut_length, :]
            result_path ='{}_{}_{}.jpg'.format(time,i + 1, j + 1)
            pic = cv2.resize(pic,dsize=(100,100))
            cv2.imwrite(result_path, pic)

# 读取要分割的图片,以及其尺寸等数据
cut_width_1 = 310
cut_width_2 = 50
cut_length_1 = 345
cut_length_2 = 50
picture_1 = cv2.imread("photo.jpg")
picture_2 = cv2.imread("1_1_1.jpg")
picture_3 = cv2.imread("1_2_1.jpg")
picture_4 = cv2.imread("1_2_2.jpg")
func(cut_width_1,cut_length_1,1,picture_1)
func(cut_width_2,cut_length_2,2,picture_2)
func(cut_width_2,cut_length_2,3,picture_3)
func(cut_width_2,cut_length_2,4,picture_4)
to_image = Image.new('RGB', (200, 200))  # 创建一个新图
from_image_1 = Image.open("2_1_1.jpg")
from_image_2 = Image.open("3_1_1.jpg")
from_image_3 = Image.open("3_1_2.jpg")
from_image_4 = Image.open("4_2_2.jpg")
to_image.paste(from_image_1, (0,0))
to_image.paste(from_image_2, (100,0))
to_image.paste(from_image_3, (0,100))
to_image.paste(from_image_4, (100,100))
to_image.save("result.jpg")
三、程序解读
所用的库为cv2和numpy这两个机器学习经常会用的库,首先导入这两个库:import numpy as np;import cv2。
代码核心在于func这个函数,里面有四个形参:cut_width,cut_length,time,picture。分别代表着需要切割的宽度,需要切割的长度,第几次切割以及需要切割的图片。
- 首先,用picture.shape获得当前图片的大小并返回。由于图片本身是一个个像素组成的,可以看成是像素矩阵,这样我们切割合并就会方便很多。所以,先用np.zero按原图片大小填充0。Num_width和num_length代表着可以划分的纵横个数。
- 之后两个for循环在原图片上进行分割,关键在pic = picture[i * cut_width: (i + 1) * cut_width, j * cut_length: (j + 1) * cut_length, :]这句代码,这是在原图片上进行数组分割,并将结果返回到pic中。result_path是指定的保存路径及名称,这是我们的time参数就派上用场了,第几次切割名称前面就加几,这样可以有效避免因多次切割导致图片覆盖的问题。
- 最后将图片保存。
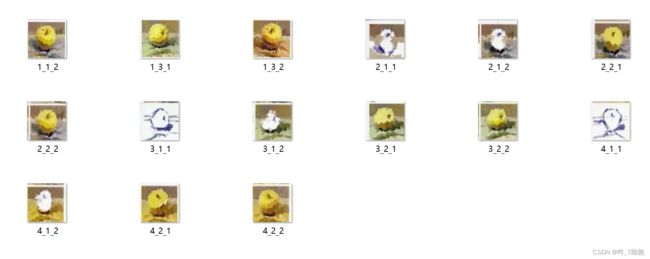
通过多次调用函数并传入不同的尺寸、time和要处理的图片进行分割:
切割结果依次为2_1_1,2_1_2,2_2_1,2_2_2,1_1_2,3_1_1,3_1_2,3_2_1,3_2_2,4_1_1,4_1_2,4_2_1,4_2_2,1_3_1,1_3_2这15个图片。
我选择 1_1_2,2_2_2,3_1_2,4_1_2这四张图片进行组合:
拼接的代码主要用到PIL.Image,基本逻辑就是挑选出我所要拼接的四张图片,将它们“粘贴”到固定位置。Paste第一个参数是要粘贴的图片,第二个参数是要粘贴的位置,注意这里是左上角。最后一步,将拼接好的图片保存。
好啦!关于基于Numpy数组的图像分割和基于PIL对图像进行拼接就分享到这里啦!感兴趣的同学欢迎评论区留言!


