unity小记
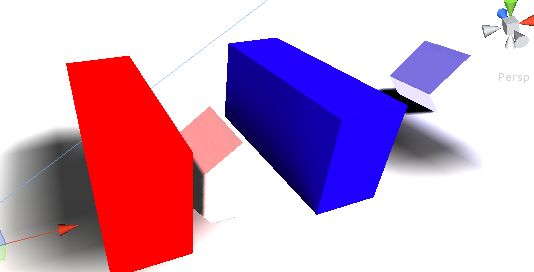
1、window下的Occlusion Culling是实现遮挡剔除效果,即不再摄像机里出现的物体使其不被渲染。
这样做要使物体为静态的,而且效果在设计时只在Occlusion面板下有效
2、window下的Lightmapping是实现烘培效果,可以使建筑物影子不随光源位置改变而改变,节省资源。
烘培的物体必须为静态,投影到的物体也必须是静态的。
3、需要彩色光烘培时。
带有色彩的物体设为静态,效果物体为非静态,并在所有物体上选择Use Light Probes。
新建一个空物体,添加rendering下的Light Probe Group组件,使组件的感应球罩住所有烘培物体。
烘培,使物体有反光色彩效果。
4、 edit/render settings/fog 选项是选择是否给场景(天空盒)添加雾的效果。 要想修改天空盒材质(天气或日夜切换),在代码中
RenderSettings.skybox = night 即可。
5、Screen.showCursor = false ; 隐藏鼠标图标。
6、根据给定点画路线,road数组为点集。
    void OnDrawGizmos(){

        road = GameObject.FindGameObjectsWithTag("other") ;

        for(int i=0; i<road.Length; i++){

            for(int j=0; j<road.Length; j++){

                if(!Physics.Linecast(road[i].transform.position, road[j].transform.position)){

                    Gizmos.DrawLine(road[i].transform.position, road[j].transform.position) ;

                }

            }

        }

    }
7、Vector3.sqrMagnitude 向量长度的平方
8、 异步加载下一场景 异步累加等(Application下)
if(GUI.Button(new Rect(100, 100, 100, 100), "LoadNextScene")){

  async = Application.LoadLevelAsync(1) ;

  loadIsDone = true ;
}
9、 用鼠标的移动轨迹向量和相机向量可实现cube的随鼠标旋转
    void Update () {

        if(Input.GetMouseButton(0)){

            mouseDirection = Input.mousePosition - mousePositionTemp;

            rotateAxis = Vector3.Cross(mouseDirection, transform.forward);

        }

        if (!Input.anyKey) {

            rotateAxis = Vector3.Lerp(rotateAxis, Vector3.zero, Time.deltaTime);

        }

        myCube.Rotate(rotateAxis, Space.World);

        mousePositionTemp = Input.mousePosition;

    }
10、 注释 #region #endregion缩略代码并附加说明
///3斜杠注释 给该方法一个说明 调用时显示这个说明