【目标检测】Windows11+Anaconda3+PyCharm+Python3.8+PyTorch1.10.0+CUDA10.2环境配置和YOLOx部署
0 前言
由于YOLOx是基于Linux系统编写的代码,如果要跑通demo.py,需要对代码进行修改。
在论坛上看了一圈,记录Windows系统的很少,所以有了这篇文章。
本文为Windows部署YOLOx的踩坑记录,本文将详细介绍跑通demo的过程和个人遇到的所有报错。
1 准备工作
1.1 必要环境
Windows+Anaconda+PyCharm+Python
1.1.1 Anaconda创建新环境(Python3.8)
在Anaconda Prompt终端输入如下代码创建新的虚拟环境。
conda create -n yolo_x python=3.8
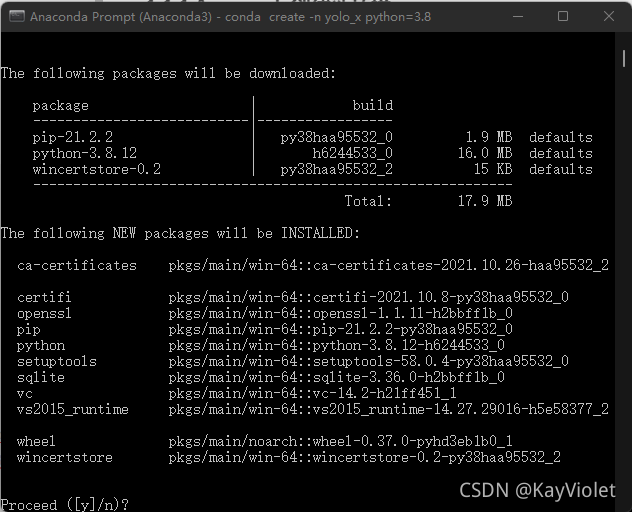
输入y等待下载,创建新环境,可能要等个几分钟。
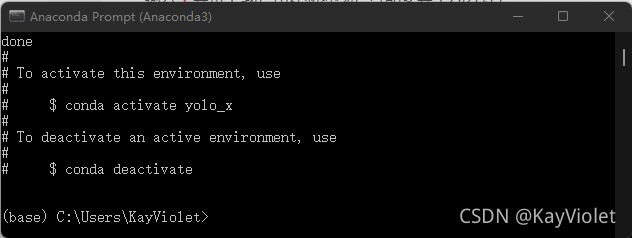
出现上图创建成功。
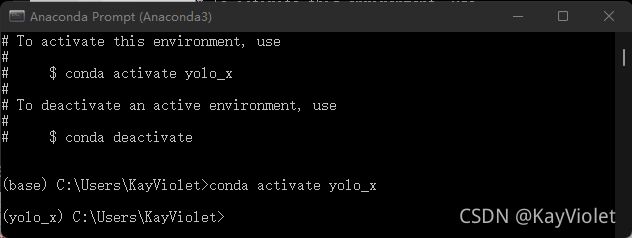
终端输入conda activate yolo_x激活新环境。
成功进入新环境。
1.1.2 安装PyTorch
接下来打开PyTorch官网,官网地址:PyTorch官网地址

这里直接通过pip指令安装PyTorch。博主的CUDA是10.2的,所以安装10.2版本,可以根据自己的需求来。
复制Run this Command中的指令到终端。
pip3 install torch==1.10.0+cu102 torchvision==0.11.1+cu102 torchaudio===0.10.0+cu102 -f https://download.pytorch.org/whl/cu102/torch_stable.html
等待一段时间安装。
安装过后,可以看到一片红。
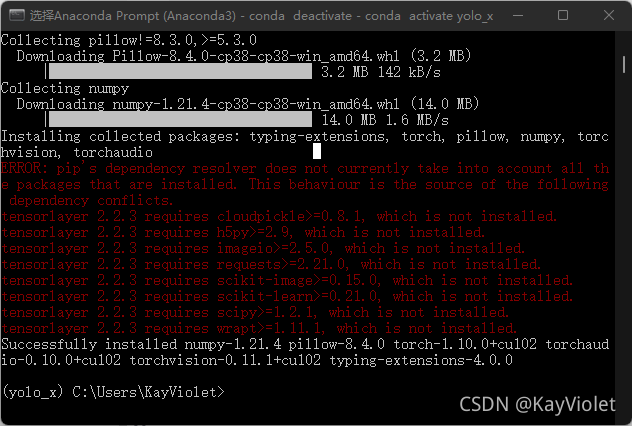
1.1.3 其他库的安装
不要慌张,不是安装失败了。既然提示我们缺失库,那就根据缺失的部分自行进行安装,
在终端输入
pip install cloudpickle
pip install h5py
pip install imageio
pip install requests
pip install scikit-image
pip install scikit-learn
pip install wrapt
安装完后,可以看到已经没有错误了。
这样新环境就创建成功了,接下来,我们可以继续安装一些比较重要的库,比如
openCV:pip install opencv-python
Pandas:pip install pandas
Numpy:pip install numpy
MatplotLib:pip install matplotlib
后面这两个库其实已经预装好了,可以不用再自己安装。
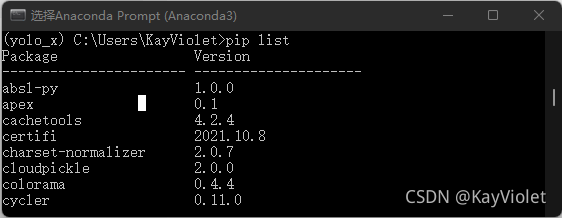
在终端输入pip list,可以看到自己在新虚拟环境中所有安装的库列表。
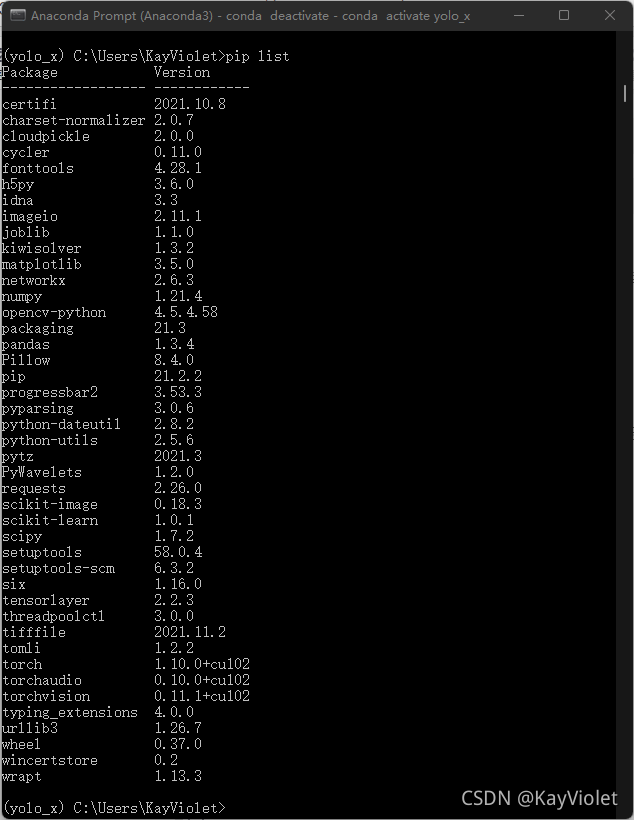
这样我们的新环境就已经搭建好啦。
1.2 配置YOLOx环境
1.2.1 下载YOLOx源码
需要到Github官网上下载YOLOx源码,官网地址:YOLOx下载地址
点击Code>Download ZIP下载压缩包。

上不去的同学去找个梯子哦。如果有需要的话可以留言,我之后放个百度云链接上来。
1.2.2 PyCharm平台配置虚拟环境
下载好了之后,解压YOLOX-main.zip这个文件。
打开PyCharm,点击打开>找到解压后的文件夹,将整个项目添加到平台上。
加下来配置虚拟环境,点击文件>设置>项目:YOLOx-main>python解释器>python解释器后面的设置按钮
![]()
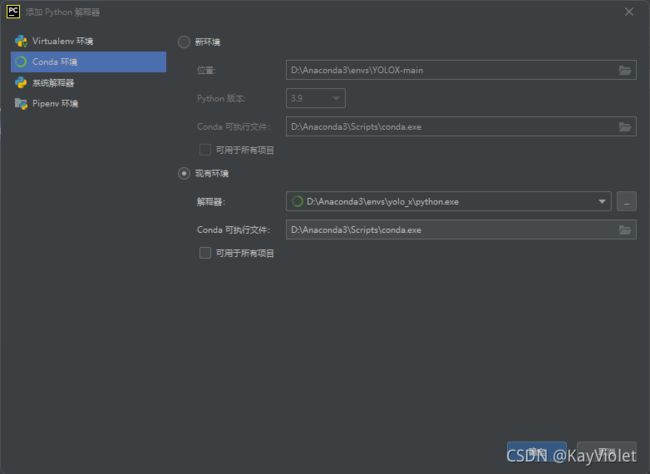
点击设置按钮后,添加>Conda环境>现有环境>确定>应用>确定
一定要确定解释器是自己创建环境yolo_x下的python.exe
接下来就是等待PyCharm更新Python解释器。
1.2.3 安装依赖requirements.txt
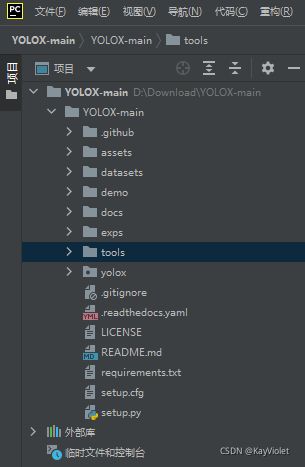
可以看到有一个requirements.txt文件,这里面装有跑通程序所需要的库,我们需要把这些库都装上。
打开终端输入activate yolo_x进入环境。
可以看到现在在C盘下,而文件是在D盘下,那就需要进入D盘,在终端输入d:指令进入D盘。
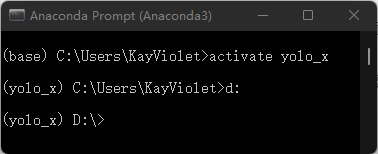
输入指令cd Download\YOLOX-main\YOLOX-main,这里download换成你们自己的文件夹。

进入后输入指令pip install -r requirements.txt。
这样requirements.txt依赖就安装完成啦,这一步一般是不会出错,有出错的可以留言。
1.2.3 根据官网步骤安装环境
-
安装YOLOx:终端输入指令
python setup.py install
(注意:安装YOLOx仍然是要在Download\YOLOX-main\YOLOX-main这个文件夹下进行,因为setup.py文件在该路径下。) -
安装apex
安装到官网下载apex,解压到项目文件夹内
官网下载地址:apex下载地址
在终端输入指令cd apex-master进入文件夹

继续输入指令python setup.py install安装apex
输入pip list指令,确定apex安装成功。 -
安装pycocotools:终端输入指令
pip install pycocotools
2 修改代码
2.1 make_parser子函数
将make_parser子函数中的代码改成如下代码:
以yolox_s模型为例,其他模型也一样,该defaut就行
主要就是把
"demo":demo改为--demo
"--expn":"-expn", "--experiment-name"改为"--expn"
"--exp_file":defaut=None改为r"../exps/default\yolox_s.py"
"--ckpt":defaut=None改为defaut=../tools/models/yolox_s.pth,这里的模型路径自己定义。
"--device":default="cpu"改为default="gpu"
"--legacy":删除
def make_parser():
    parser = argparse.ArgumentParser("YOLOX Demo!")
    parser.add_argument("--demo", default="image", help="demo type, eg. image, video and webcam")
    parser.add_argument("--expn", type=str, default=None)
    parser.add_argument("-n", "--name", type=str, default='yolox-s', help="model name")

    parser.add_argument("--path", default="../assets/dog.jpg", help="path to images or video")
    parser.add_argument("--camid", type=int, default=0, help="webcam demo camera id")
    parser.add_argument(
        '--save_result', action='store_true',
        default=True,
        help='whether to save the inference result of image/video'
    )

    # exp file
    parser.add_argument(
        "-f",
        "--exp_file",
        default=r"../exps/default\yolox_s.py",
        type=str,
        help="pls input your expriment description file",
    )
    parser.add_argument("-c", "--ckpt", default='../yolox_s.pth', type=str, help="ckpt for eval")
    parser.add_argument("--device", default="gpu", type=str, help="device to run our model, can either be cpu or gpu")
    parser.add_argument("--conf", default=0.3, type=float, help="test conf")
    parser.add_argument("--nms", default=0.3, type=float, help="test nms threshold")
    parser.add_argument("--tsize", default=None, type=int, help="test img size")
    parser.add_argument(
        "--fp16",
        dest="fp16",
        default=False,
        action="store_true",
        help="Adopting mix precision evaluating.",
    )
    parser.add_argument(
        "--fuse",
        dest="fuse",
        default=False,
        action="store_true",
        help="Fuse conv and bn for testing.",
    )
    parser.add_argument(
        "--trt",
        dest="trt",
        default=False,
        action="store_true",
        help="Using TensorRT model for testing.",
    )
    return parser
2.2 Predictor类
将Predictor类中的代码改成如下代码:
主要就是删除fp16和legacy有关的代码,并且增加gpu设置
注意这里要在接口代码处补充from yolox.data.data_augment import preproc,不然会报错
class Predictor(object):
    def __init__(self, model, exp, cls_names=COCO_CLASSES, trt_file=None, decoder=None, device="cpu"):
        self.model = model
        self.cls_names = cls_names
        self.decoder = decoder
        self.num_classes = exp.num_classes
        self.confthre = exp.test_conf
        self.nmsthre = exp.nmsthre
        self.test_size = exp.test_size
        self.device = device
        self.rgb_means = (0.485, 0.456, 0.406)
        self.std = (0.229, 0.224, 0.225)

    def inference(self, img):
        img_info = {"id": 0}
        if isinstance(img, str):
            img_info["file_name"] = os.path.basename(img)
            img = cv2.imread(img)
        else:
            img_info["file_name"] = None

        height, width = img.shape[:2]
        img_info["height"] = height
        img_info["width"] = width
        img_info["raw_img"] = img

        img, ratio = preproc(img, self.test_size)
        img_info["ratio"] = ratio

        img = torch.from_numpy(img).unsqueeze(0)
        img = img.float()
        if self.device == "gpu":
            img = img.cuda()

        with torch.no_grad():
            t0 = time.time()
            outputs = self.model(img)
            if self.decoder is not None:
                outputs = self.decoder(outputs, dtype=outputs.type())
                if self.device == "gpu":
                    outputs = outputs.cpu().numpy()
            outputs = postprocess(
                outputs, self.num_classes, self.confthre,
                self.nmsthre, class_agnostic=True
            )
            logger.info("Infer time: {:.4f}s".format(time.time() - t0))
        return outputs, img_info

    def visual(self, output, img_info, cls_conf=0.35):
        ratio = img_info["ratio"]
        img = img_info["raw_img"]
        if output is None:
            return img
        output = output.cpu()

        bboxes = output[:, 0:4]

        # preprocessing: resize
        bboxes /= ratio

        cls = output[:, 6]
        scores = output[:, 4] * output[:, 5]

        vis_res = vis(img, bboxes, scores, cls, cls_conf, self.cls_names)
        return vis_res
2.3 main函数
由于在之前我们将"-expn","--experiment-name"改为了"--expn"
因此需要将main主函数前几行代码进行修改:
也就是将
if not args.experiment_name:
    args.experiment_name = exp.exp_name

file_name = os.path.join(exp.output_dir, args.experiment_name)
os.makedirs(file_name, exist_ok=True)
改为以下代码。
if not args.expn:
    args.expn = exp.exp_name

file_name = os.path.join(exp.output_dir, args.expn)
os.makedirs(file_name, exist_ok=True)
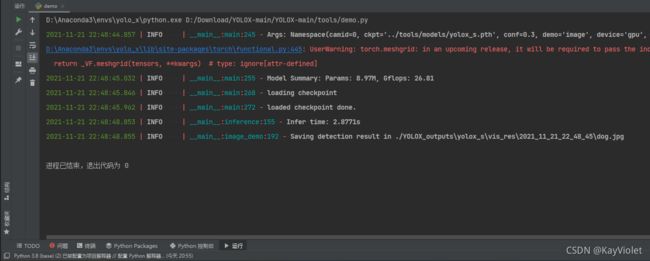
这样就可以运行成功啦!
有问题的宝贝在评论里留言呀~
需要模型和源码的私聊戳我。
关注一下,谢谢大家~
今天太晚了,明天补上模型下载地址哈~