python画彩色立体柱状图
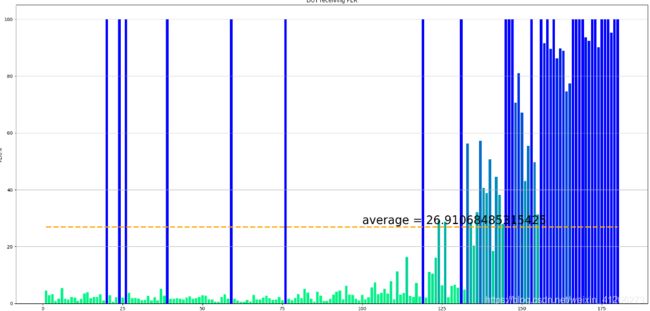
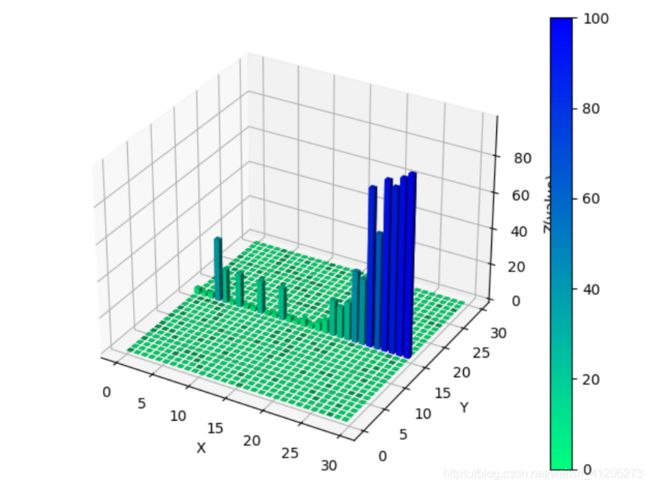
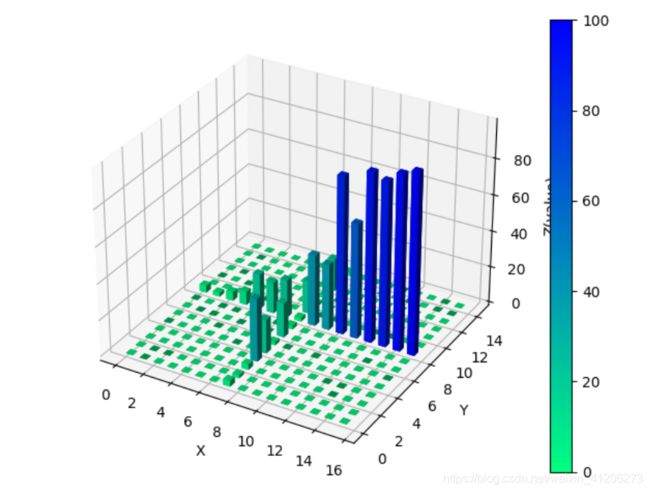
上图看效果
首先准备数据,必备的两个,pandas和numpy
然后需要使用画图的库:
import matplotlib.pyplot as plt这个库就是用来画图的,很多画图流程和matlab十分十分像
2D条形图
教程网上很多,主要就是如何给条形图按照值的大小涂上不同的颜色,重要步骤在3~6行,ax.bar()中填入color=字段就可
def draw_2Dfig(datalist, title, arg, average):
    index = list(range(1, len(datalist) + 1))
    fig = plt.figure(num=1, figsize=(20, 10))

    norm = plt.Normalize(0, 100)
    norm_values = norm(datalist)
    map_vir = cm.get_cmap(name='winter_r')
    colors = map_vir(norm_values)

    ax = fig.add_subplot(111)
    ax.bar(index, datalist, color=colors)
    ax.set_xlabel('OBU location')
    ax.set_ylabel(arg + '/%')
    ax.set_title(title)

    ax.plot(index, [average] * len(datalist), '--', linewidth=3, color='orange')
    plt.grid(axis='y')
    x = 100
    y = average
    ax.text(x, y + 1, 'average = {}'.format(average), fontsize=25)
    plt.show()
    return fig
3D条形图
第一个for循环是对数据进行处理,这是项目的要求,本文主要在画图,可以忽略,对于三维柱状图的绘制也可参考其他,这里主要在意如何上色,和2D一样,还是有相同的语句“norm=plt.Normalize(0,100)...”后面的四个语句,主要是获得colors,然后在ax.bar3d()中填进去,四个语句一定要写在Z=Z.ravel()的后面。
后面还加了colorbar,唉就都一样的语句,反正能跑通,愿意了解更多自行学习
def draw_3Dfig_straight(datalist, title, arg):
    anewlist = []
    s = 0
    for i in range(len(datalist)):
        s = s + datalist[i]
        if i % 6 == 5:
            anewlist.append(s / 6)
            s = 0
        else:
            pass

    X = np.arange(0, len(anewlist), step=1)
    Y = np.arange(0, len(anewlist), step=1)
    Z = np.zeros(shape=(len(anewlist), len(anewlist)))

    index = 0
    for i in range(len(anewlist)):
        for j in range(len(anewlist)):
            if i == len(anewlist) / 2:
                Z[i, j] = anewlist[index]
                index = index + 1

    xx, yy = np.meshgrid(X, Y)
    X, Y = xx.ravel(), yy.ravel()
    bottom = np.zeros_like(X)
    Z = Z.ravel()

    norm = plt.Normalize(0, 100)
    norm_values = norm(Z)
    map_vir = cm.get_cmap(name='winter_r')
    colors = map_vir(norm_values)

    width = 0.7
    height = 0.7
    fig = plt.figure()
    ax = fig.gca(projection='3d')
    c = ['g'] * len(Z)
    ax.bar3d(X, Y, bottom, width, height, Z, color=colors, shade=True)  # , edgecolor='black'
    sm = cm.ScalarMappable(cmap=map_vir, norm=norm)
    sm.set_array([])
    plt.colorbar(sm)

    ax.set_xlabel('X')
    ax.set_ylabel('Y')
    ax.set_zlabel('Z(value)')
    plt.show()
    return fig


