5、Nacos 、Sentinel、Seata下载与安装
1、Nacos下载安装运行
-
第一步:官网:https://nacos.io/zh-cn/index.html
-
更易于构建云原生应用的动态服务发现,配置管理和服务管理平台;
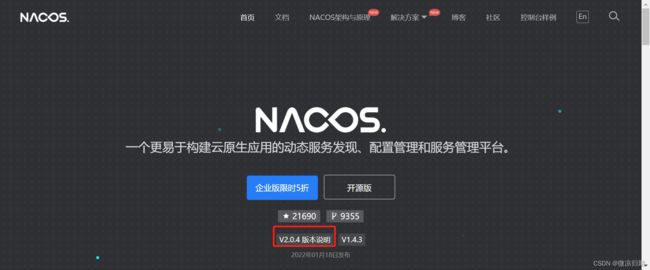
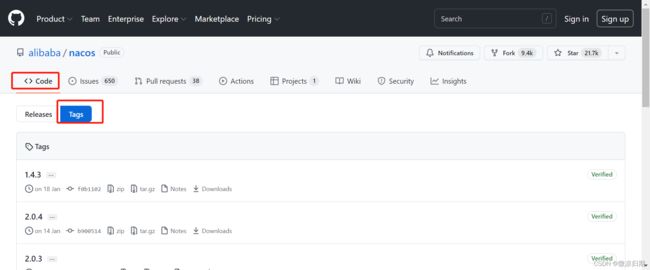
第二步: 下载
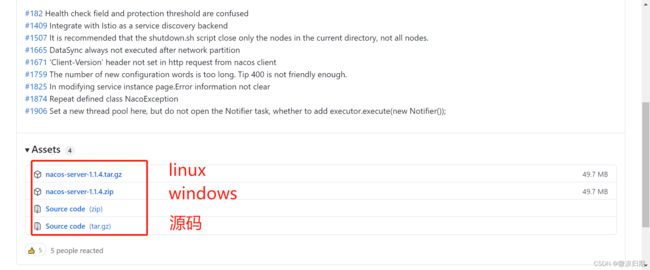
第三步:解压安装

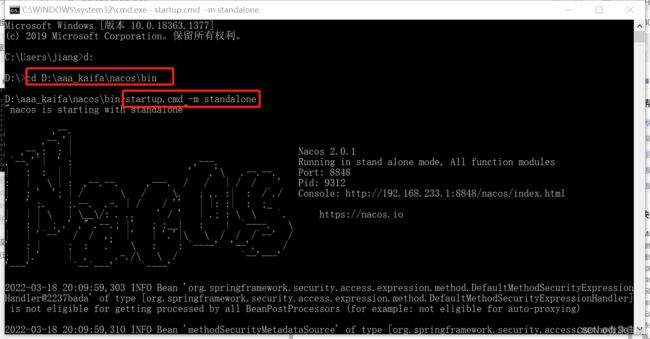
双击startup.cmd
java.io.IOException: java.lang.IllegalArgumentException: db.num is null
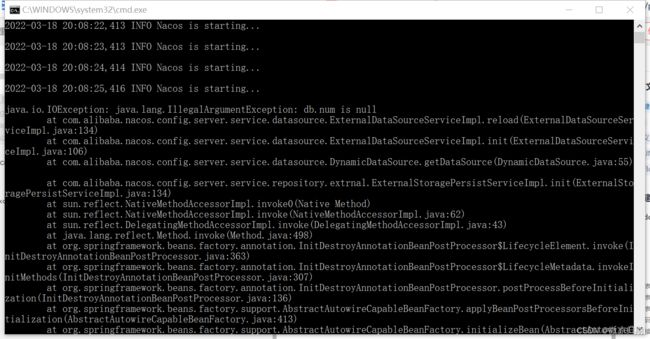
- 解决方式1
如果出现以上错误,需要指令启动:
单机模式启动 window版本 startup.cmd -m standalone
- 解决方式2
打开startup.cmd文件,27行的
set MODE="cluster"
修改为:
set MODE="standalone"
也就是说把启动模式从集群改为单机。
第四步:访问登录
- http://localhost:8848/nacos/index.html#/login
- 密码和账户同为nacos;


也可以使用安装时显示路径登录

2、Sentinel下载安装运行
第一步:下载地址
- https://github.com/alibaba/Sentinel/releases
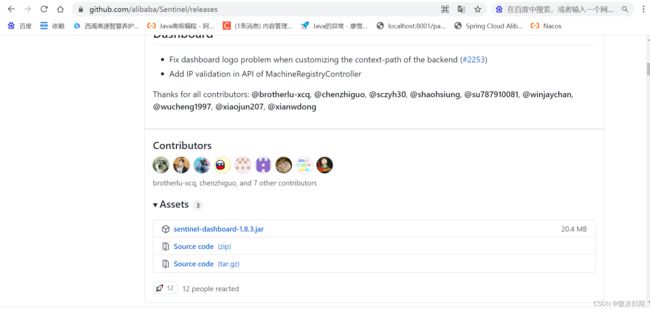
第二步:安装
- 下载完成
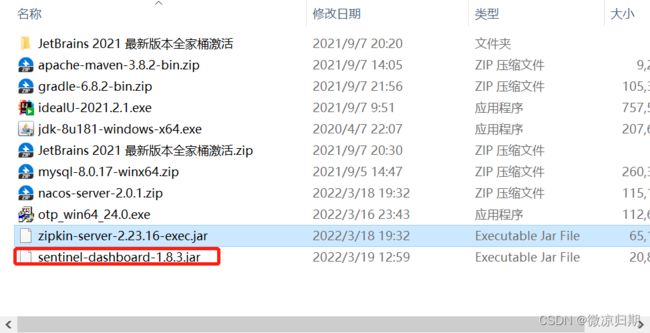
- 启动cmd,
java -jar "D:\aaa_kaifa\2 开发包\sentinel-dashboard-1.8.3.jar"运行

第三步:运行
- 访问:http://localhost:8080/#/login

- 登录:默认账号密码都是sentinel

3、Seata下载与安装(本次以1.4.2版本为例)
安装之前必须安装Nacos,如果没有安装Nacos,请查看:
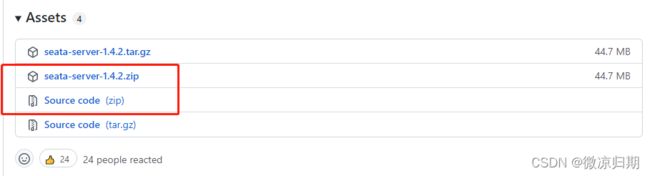
第一步:下载
- 官网下载:https://seata.io/zh-cn/blog/download.html
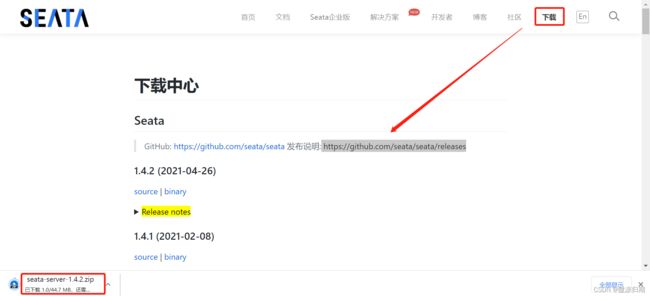
- 最好下载seata-server-1.4.2.zip、Source code两个包,如果源码包下载不下来也没关系。
第二步:更改配置
- 下载完成后,解压seata-server-1.4.2.zip到指定目录;
- 打开/conf路径下的file.conf文件,修改存储配置file.conf文件相关配置(数据库连接信息,处理事务的全局性表等);
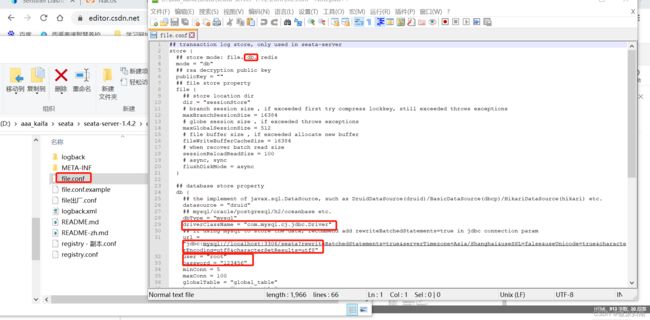
采坑:driverClassName驱动的配置需要根据mysql的版本决定
mysql5.+使用 driverClassName = “com.mysql.jdbc.Driver”
mysql8使用 driverClassName = “com.mysql.cj.jdbc.Driver”
23:01:25.563  INFO --- [ionPool-Create-2125062626] com.alibaba.druid.pool.DruidDataSource   : put physical connection to pool failed.
23:01:25.568 ERROR --- [ionPool-Create-2125062626] com.alibaba.druid.pool.DruidDataSource   : create connection holder error
==>
java.sql.SQLException: Could not retrieve transation read-only status server
        at com.mysql.jdbc.SQLError.createSQLException(SQLError.java:998)

Caused by: java.sql.SQLException: Unknown system variable 'tx_read_only'
        at com.mysql.jdbc.SQLError.createSQLException(SQLError.java:998)

<==

23:01:25.573  INFO --- [ionPool-Create-2125062626] com.alibaba.druid.pool.DruidDataSource   : put physical connection to pool failed.
Exception in thread "main" io.seata.common.exception.DataAccessException: wait millis 5001, active 0, maxActive 100, creating 0
采坑:数据库url后添加serverTimezone
Exception in thread "main" io.seata.common.exception.DataAccessException: wait millis 5000, active 0, maxActive 100, creating 0, createErrorCount 22

Caused by: com.mysql.cj.exceptions.InvalidConnectionAttributeException: The server time zone value '?й???????' is unrecognized or represents more than one time zone. You must configure either the server or JDBC driver (via the 'serverTimezone' configuration property) to use a more specifc time zone value if you want to utilize time zone support.
- 修改conf目录下的注册中心类型registry.conf配置文件,此处的namespace就是在后面在Nacos中创建的seata命名空间;
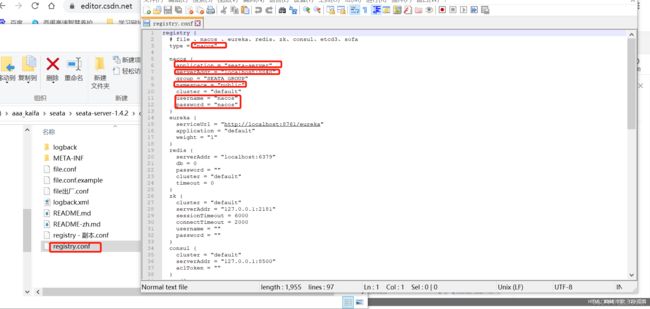
注意:
①当nacos开启安全配置后,对nacos的连接信息都要带上用户名、密码等信息;
②在seata1.4.2后才可以使用dataId = "seataServer.properties"的方式读取配置信息。
第三步:建表结构
- 阅读README-zh.md,根据sql语句路径获取建表语句;

- 如下图所示为建表语句;
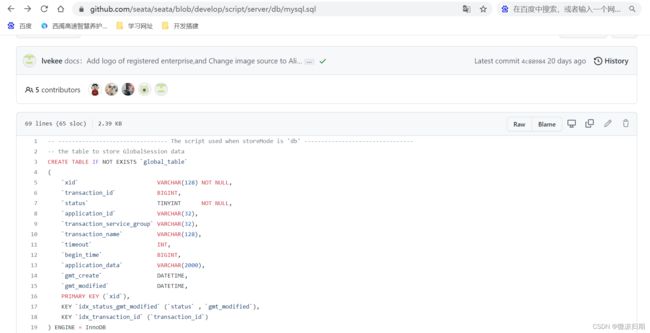
- 执行建表语句,得到如图4个表结构;

第四步:seata事务相关属性更改
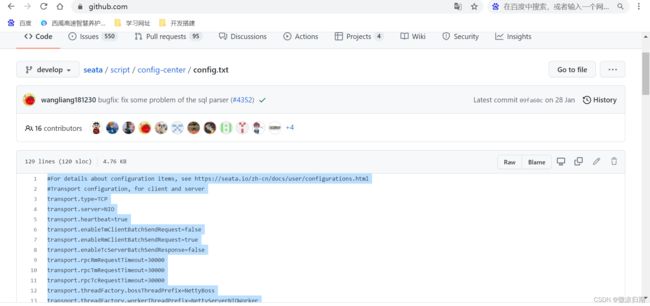
- 如果第一步下载Source code包,可以从里面找到config.txt文件,若没有则根据READEM-zh.md提示,打开config.txt文件(如下图);

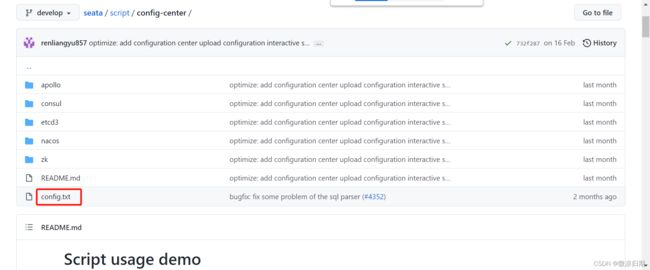
- 复制config.txt文件内容并做5处修改
transport.type=TCP
transport.server=NIO
transport.heartbeat=true
transport.enableClientBatchSendRequest=true
transport.threadFactory.bossThreadPrefix=NettyBoss
transport.threadFactory.workerThreadPrefix=NettyServerNIOWorker
transport.threadFactory.serverExecutorThreadPrefix=NettyServerBizHandler
transport.threadFactory.shareBossWorker=false
transport.threadFactory.clientSelectorThreadPrefix=NettyClientSelector
transport.threadFactory.clientSelectorThreadSize=1
transport.threadFactory.clientWorkerThreadPrefix=NettyClientWorkerThread
transport.threadFactory.bossThreadSize=1
transport.threadFactory.workerThreadSize=default
transport.shutdown.wait=3
transport.serialization=seata
transport.compressor=none
# server
server.recovery.committingRetryPeriod=1000
server.recovery.asynCommittingRetryPeriod=1000
server.recovery.rollbackingRetryPeriod=1000
server.recovery.timeoutRetryPeriod=1000
server.undo.logSaveDays=7
server.undo.logDeletePeriod=86400000
server.maxCommitRetryTimeout=-1
server.maxRollbackRetryTimeout=-1
server.rollbackRetryTimeoutUnlockEnable=false
server.distributedLockExpireTime=10000
# store
#第1处:model改为db
store.mode=db
store.lock.mode=file
store.session.mode=file
# store.publicKey=""
store.file.dir=file_store/data
store.file.maxBranchSessionSize=16384
store.file.maxGlobalSessionSize=512
store.file.fileWriteBufferCacheSize=16384
store.file.flushDiskMode=async
store.file.sessionReloadReadSize=100
store.db.datasource=druid
store.db.dbType=mysql
# 第2处:校验自己的数据库版本连接
store.db.driverClassName=com.mysql.cj.jdbc.Driver
# 第3处:改为上面创建的seata服务数据库
store.db.url=jdbc:mysql://localhost:3306/seata?serverTimezone=Asia/Shanghai&useSSL=false&useUnicode=true&characterEncoding=utf8&characterSetResults=utf8&rewriteBatchedStatements=true
# 第4处:改为自己的数据库用户名和密码
store.db.user=root
store.db.password=123456
store.db.minConn=5
store.db.maxConn=30
store.db.globalTable=global_table
store.db.branchTable=branch_table
store.db.distributedLockTable=distributed_lock
store.db.queryLimit=100
store.db.lockTable=lock_table
store.db.maxWait=5000
store.redis.mode=single
store.redis.single.host=127.0.0.1
store.redis.single.port=6379
# store.redis.sentinel.masterName=""
# store.redis.sentinel.sentinelHosts=""
store.redis.maxConn=10
store.redis.minConn=1
store.redis.maxTotal=100
store.redis.database=0
# store.redis.password=""
store.redis.queryLimit=100
# log
log.exceptionRate=100
# metrics
metrics.enabled=false
metrics.registryType=compact
metrics.exporterList=prometheus
metrics.exporterPrometheusPort=9898
# service
# 第5处:自己命名一个vgroupMapping,也可以不修改
#service.vgroupMapping.my_test_tx_group=default
service.vgroupMapping.my_learn_tx_group=default
service.default.grouplist=ip:port
service.enableDegrade=false
service.disableGlobalTransaction=false
# client
client.rm.asyncCommitBufferLimit=10000
client.rm.lock.retryInterval=10
client.rm.lock.retryTimes=30
client.rm.lock.retryPolicyBranchRollbackOnConflict=true
client.rm.reportRetryCount=5
client.rm.tableMetaCheckEnable=false
client.rm.tableMetaCheckerInterval=60000
client.rm.sqlParserType=druid
client.rm.reportSuccessEnable=false
client.rm.sagaBranchRegisterEnable=false
client.rm.tccActionInterceptorOrder=-2147482648
client.tm.commitRetryCount=5
client.tm.rollbackRetryCount=5
client.tm.defaultGlobalTransactionTimeout=60000
client.tm.degradeCheck=false
client.tm.degradeCheckAllowTimes=10
client.tm.degradeCheckPeriod=2000
client.tm.interceptorOrder=-2147482648
client.undo.dataValidation=true
client.undo.logSerialization=jackson
client.undo.onlyCareUpdateColumns=true
client.undo.logTable=undo_log
client.undo.compress.enable=true
client.undo.compress.type=zip
client.undo.compress.threshold=64k
注意点:
(1)service.vgroupMapping.my_test_tx_group=default
中的my_test_tx_group需要与bootstrap.yml中配置的seata.tx-service-group的值一致。
(2)service.vgroupMapping.my_test_tx_group=default
配置的default必须要等于registry.conf中配置的cluster=“default”。
(3)store.mode=db配置为db的方式,则需要配置db数据库方式的连接信息
store.db.url、store.db.user、store.db.password,此数据库存储下存放的表
global_table、branch_table、lock_table,用于记录全局性的事务信息
(4)service.default.grouplist=ip:port为访问seata服务器的地址和端口(仅注册中心为file时使用),8091是默认端口。
第五步:Nacos配置
- 启动Nacos,新建配置,DataId为seata-server,Group为默认分组,文件格式为properties,配置内容选择上步更改好的内容粘贴;
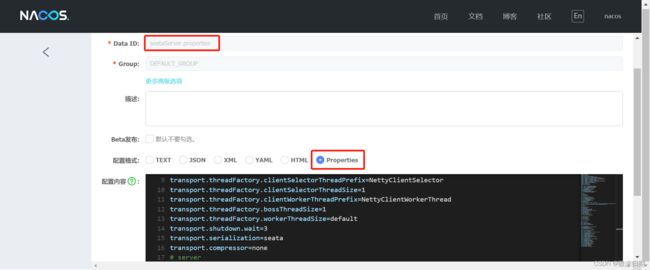
- 若是使用seata1.4.2之前的版本,以下的每个配置项在nacos中就是一个条目,需要使用script/config-center/nacos/下的nacos-config.sh或者nacos-config.py执行上传注册。
第六步:启动
- 启动Seata之前需要保证Nacos是启动成功的;
- 命令提示符打开目录位置为bin目录之下,执行 seata-server.bat;

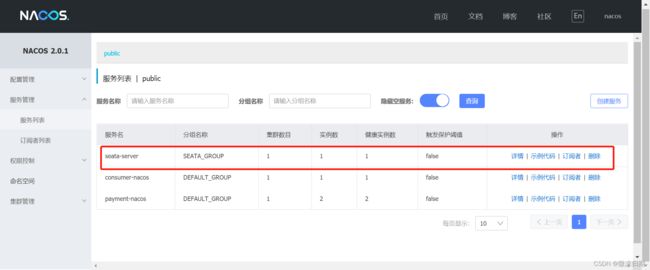
- 如下则表示启动成功;

- 查看Nacos,可以看到Seata服务已注册进服务列表;
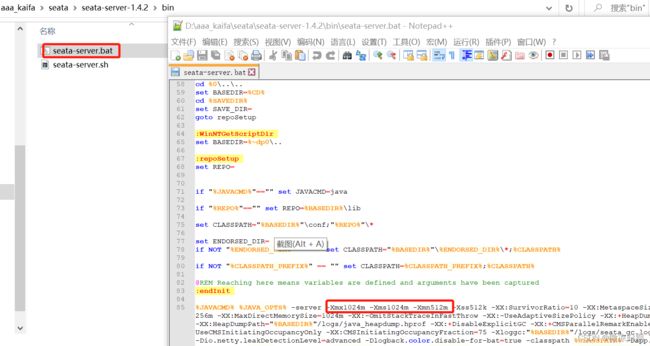
第七步:其他注意项
- 如果启动失败,有可能是内存中间不足,可以调整JVM启动参数;
- Seata 客户端的版本需要和服务端保持一致;
- 客户端指定的事务分组名称要和 Nacos 相同,比如 service.vgroupMapping.scorpios-tx-group=default。前缀 service.vgroupMapping,后缀可以自定义;
更多Seata资料可参考:https://www.jianshu.com/p/223ad263a822