搭建高可用MinIO集群
引言:我为什么要写这篇文档,因为MinIO在国内的资料比较少,但是在国外社区还是比较活跃的。从刚开始接触MinIO是因为集团要搭建文件服务系统供整个集团大大小小几百个项目组去使用,所以最终肯定奔着高可用目标去掉的。刚开始接触MinIO的时候,第一步肯定是进行一个环境的搭建,不管是测试环境,还是开发环境,甚至于生产环境,要求是一个比一个高,从单集群到多集群再到两地三中心、三地五中心。但是国内搭建的资料很少,且在CSDN上,保守来说至少50%的搭建是错误的(比如:用mkdir来充作Drive,用CI=true来忽略minio对于磁盘的检查等等),所以这里给大家看看我是如何搭建一个标准的MinIO最小集群。
看过官网的快速开始文档的应该知道,MinIO高可用集群至少满足四个节点才能开启纠删码模式,所以今天我的目标是用vm搭建一个四节点十六个Drive的最低配高可用MinIO集群。(这边我默认咱们都有MinIO基础知识了啊,比如纠删码、Set、node、drive等等)
一、准备工作
首先,我会用虚拟机创建四个节点,每个节点20G的初始流量,在创建了四个初始节点后,会根据标准的磁盘挂载的方式去对每个节点挂载四块5G总共20G的磁盘(因为minio要求作为存储的磁盘一定是要干净的,所以这边选择磁盘挂载的方式进行,我司也是这么做的),这样子我我们可以得到四个节点总共80G的底层存储空间
| ip | 名称 |
|---|---|
| 192.168.192.163 | minio-1 |
| 192.168.192.164 | minio-2 |
| 192.168.192.165 | minio-3 |
| 192.168.192.166 | minio-4 |
| 192.168.192.167 | minio-nginx(负载) |
1、初始系统环境搭建


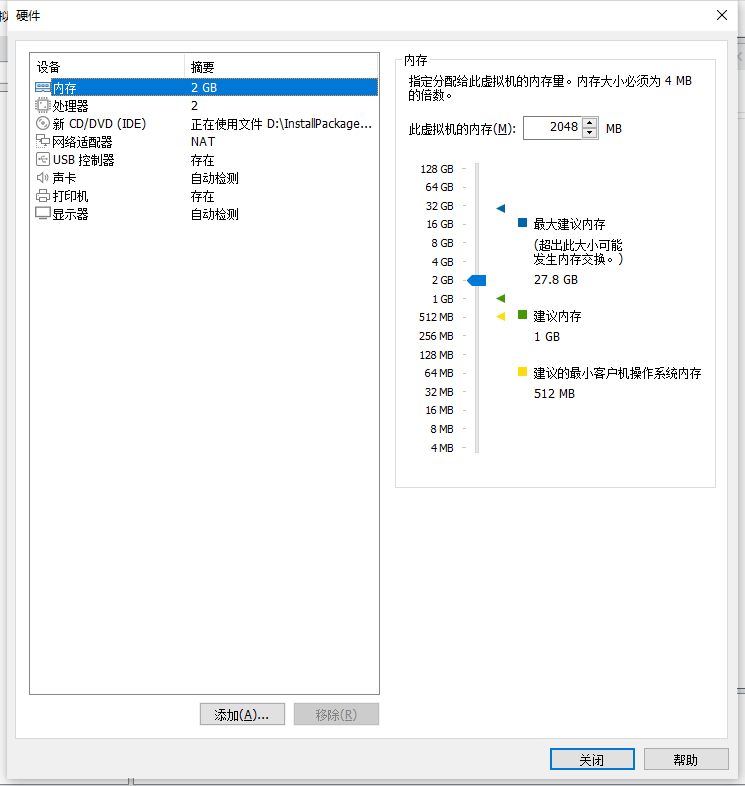
这边我内存稍微选大一点,这样操作的时候会更流畅,你们生产肯定是怎么高怎么来呗,我们测试环境单节点至少都是64G内存起步,生产更高(高得多)

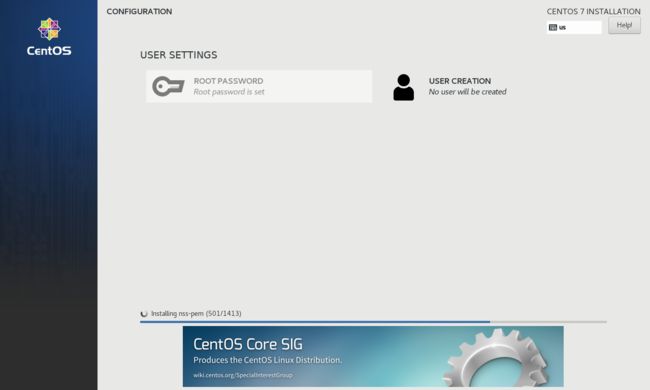
等待初始系统安装
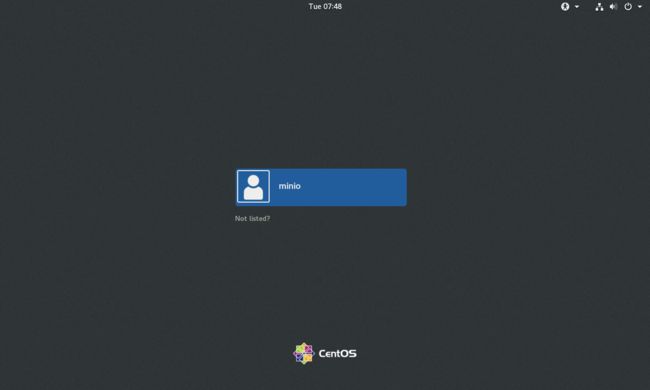
这边就安装好了,然后我们选择克隆的方式(我偷懒)克隆出另外三台机器,minio-2、minio-3、minio-4


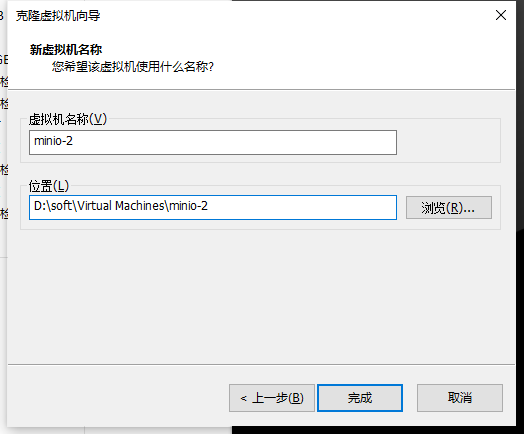
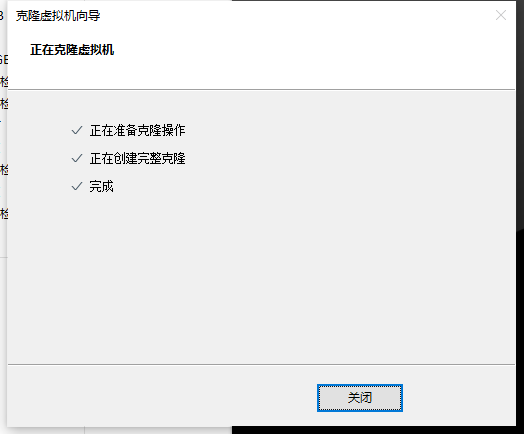
重复整个克隆操作,克隆出minio-3、minio-4
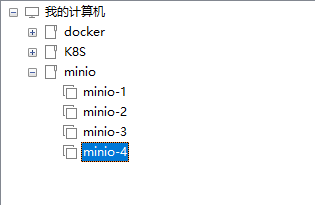
这样我们四台机器就创建好了
2、命令行工具链接
这边启动四台机器,使用ip addr命令分别获取机器的ip地址,使用命令行工具进行连接,我这边使用的Xshell7个人版
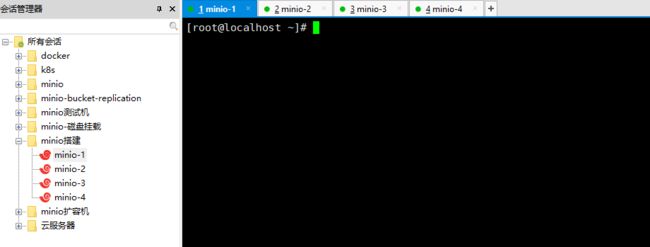
具体的ip可以开头的表格
3、关闭防火墙
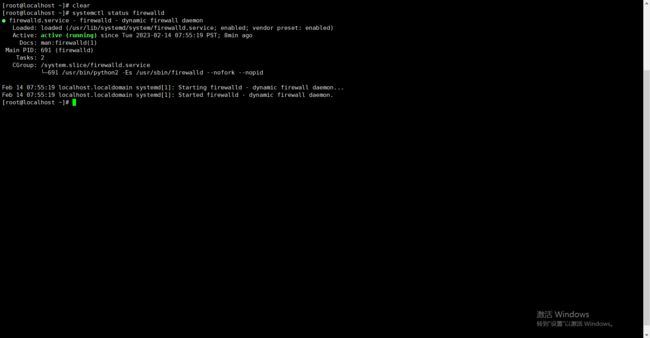
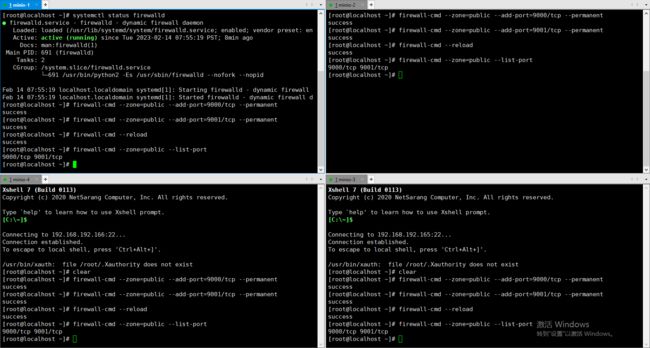
这一步其实看情况啦,公司的防火墙肯定不给关的,顶多开放固定端口,我这边直接用开放固定端口的形式了,虽然这样会麻烦一点,因为你不知道涉及哪些端口的话,后面容易出问题,minio主要是9000和9001端口,这是官方默认的端口。9000是minio-server的端口,9001是minio-cosole的端口,console空就是一个web可视化界面啦。这边把怎么开放端口的命令贴出来
## 查看防火墙状态
systemctl status firewalld
## 给9000添加永久开放端口
[root@localhost ~]# firewall-cmd --zone=public --add-port=9000/tcp --permanent
success

## 给9001添加永久开放端口
[root@localhost ~]# firewall-cmd --zone=public --add-port=9001/tcp --permanent
success
[root@localhost ~]#

## 重启防火墙
[root@localhost ~]# firewall-cmd --reload
success

## 检查是否添加成功
[root@localhost ~]# firewall-cmd --zone=public --list-port
9000/tcp 9001/tcp
4、挂载磁盘
关闭四台虚拟机,依然会用minio-1为例子来进行挂载演示


这样就给这台minio-1添加一块磁盘,但是整个时候并没有挂载到目录上哦,我们先不急,先把剩下的三块盘装完,依旧是重复上面的动作
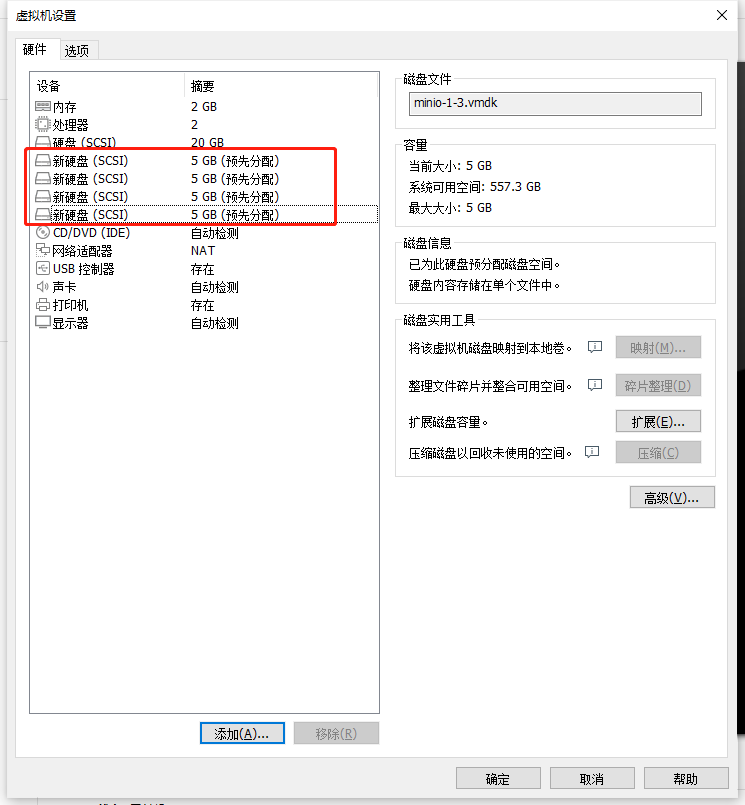

这样minio-1的四块磁盘就先准备好了
然后分别把minio-2、minio-3、minio-4也创建出四块预先分配的磁盘


现在我们的四台机器都已经创建好资源了,我们接下来要做的就是把这些创建的磁盘挂载到文件目录上去
打开四台虚拟机,使用xshell,我们开始要敲命令了
输入fdisk -l命令查看当前系统磁盘分区。

这块就是我们额外增加的四个磁盘,名称为sdb、sdc、sdd、sde
我们首先分别将这四块盘格式化为xfs格式
[root@localhost ~]# mkfs.xfs /dev/sdb -L DISK1
meta-data=/dev/sdb               isize=512    agcount=4, agsize=327680 blks
         =                       sectsz=512   attr=2, projid32bit=1
         =                       crc=1        finobt=0, sparse=0
data     =                       bsize=4096   blocks=1310720, imaxpct=25
         =                       sunit=0      swidth=0 blks
naming   =version 2              bsize=4096   ascii-ci=0 ftype=1
log      =internal log           bsize=4096   blocks=2560, version=2
         =                       sectsz=512   sunit=0 blks, lazy-count=1
realtime =none                   extsz=4096   blocks=0, rtextents=0
[root@localhost ~]# mkfs.xfs /dev/sdc -L DISK1
meta-data=/dev/sdc               isize=512    agcount=4, agsize=327680 blks
         =                       sectsz=512   attr=2, projid32bit=1
         =                       crc=1        finobt=0, sparse=0
data     =                       bsize=4096   blocks=1310720, imaxpct=25
         =                       sunit=0      swidth=0 blks
naming   =version 2              bsize=4096   ascii-ci=0 ftype=1
log      =internal log           bsize=4096   blocks=2560, version=2
         =                       sectsz=512   sunit=0 blks, lazy-count=1
realtime =none                   extsz=4096   blocks=0, rtextents=0
[root@localhost ~]# mkfs.xfs /dev/sdd -L DISK1
meta-data=/dev/sdd               isize=512    agcount=4, agsize=327680 blks
         =                       sectsz=512   attr=2, projid32bit=1
         =                       crc=1        finobt=0, sparse=0
data     =                       bsize=4096   blocks=1310720, imaxpct=25
         =                       sunit=0      swidth=0 blks
naming   =version 2              bsize=4096   ascii-ci=0 ftype=1
log      =internal log           bsize=4096   blocks=2560, version=2
         =                       sectsz=512   sunit=0 blks, lazy-count=1
realtime =none                   extsz=4096   blocks=0, rtextents=0
[root@localhost ~]# mkfs.xfs /dev/sde -L DISK1
meta-data=/dev/sde               isize=512    agcount=4, agsize=327680 blks
         =                       sectsz=512   attr=2, projid32bit=1
         =                       crc=1        finobt=0, sparse=0
data     =                       bsize=4096   blocks=1310720, imaxpct=25
         =                       sunit=0      swidth=0 blks
naming   =version 2              bsize=4096   ascii-ci=0 ftype=1
log      =internal log           bsize=4096   blocks=2560, version=2
         =                       sectsz=512   sunit=0 blks, lazy-count=1
realtime =none                   extsz=4096   blocks=0, rtextents=0
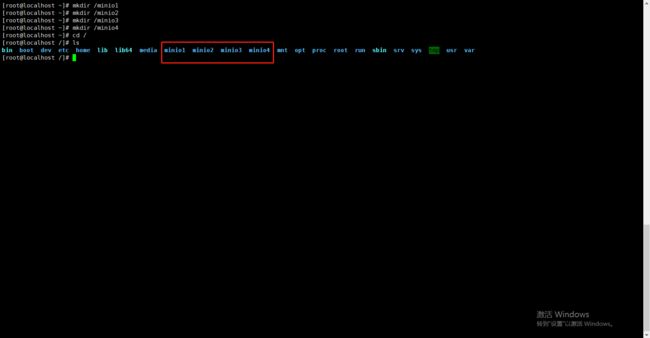
创建文件夹作为挂载源
mkdir /minio1
mkdir /minio2
mkdir /minio3
mkdir /minio4
[root@localhost /]# mount /dev/sdb /minio1
[root@localhost /]# mount /dev/sdc /minio2
[root@localhost /]# mount /dev/sdd /minio3
[root@localhost /]# mount /dev/sde /minio4
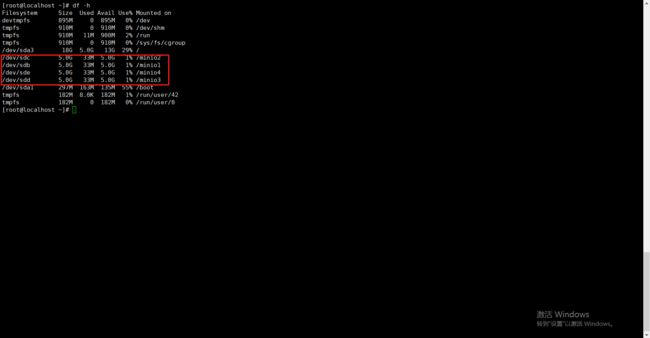
输入df -h命令检查挂载状态

mount挂载有风险,如果节点宕机重启或者因为其他因素重启,挂载就会消失,所以我们需要设置开机自动挂载
vim /etc/fstab

/dev/sdb                                  /minio1                 xfs     defaults,noatime 0 2
/dev/sdc                                  /minio2                 xfs     defaults,noatime 0 2
/dev/sdd                                  /minio3                 xfs     defaults,noatime 0 2
/dev/sde                                  /minio4                 xfs     defaults,noatime 0 2
输入reboot重启
根据上面挂载的步骤,将其他三个节点的挂载一一配置好
题外话:这种挂载由很多种方式,有的是UUID,有的用LABEL=DISK1这种,只要你能挂的上,都没问题
paas:写到这里突然想到一个问题,我这刚安装的系统的时间肯定不对,到时候minio-console的上面显示的时间肯定不对,你们生产环境肯定有ntp同步时间啦,我这边就懒得做了,知道就行。
二、搭建
1、下载minio
## 普通x86的机器
wget https://dl.min.io/server/minio/release/linux-amd64/archive/minio-20230210184839.0.0.x86_64.rpm -O minio.rpm

## 苹果m1 m2的
wget https://dl.min.io/server/minio/release/linux-arm64/archive/minio-20230210184839.0.0.aarch64.rpm -O minio.rpm
如果是离线操作,直接去官网下载二进制文件安装就好了
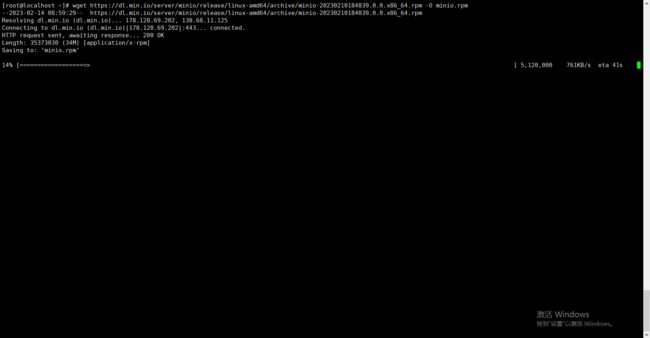
等待下载完成
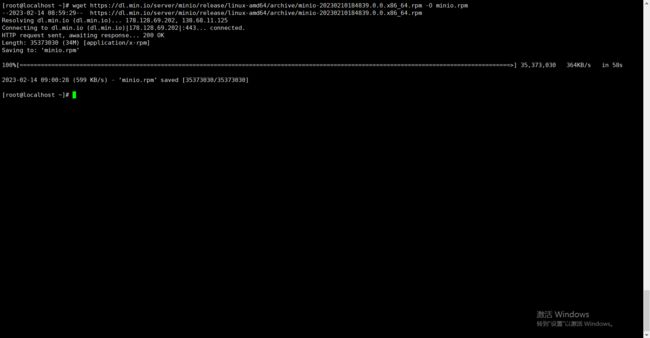 下载完成
下载完成
rpm -i minio.rpm
文件安装的位置默认是/usr/local/bin

我信了官网个鬼

这个老外毒奶粉玩家这条命令不行,还是我的好用(毒奶粉玩家我猜的)
2、配置service
这一步是为了让我们后面可以直接使用systemctl start minio这样的方式启动
如果你是跟我我上面安装的,会自动生成minio.servie文件的
vim /etc/systemd/system/minio.service

[Unit]
Description=MinIO
Documentation=https://docs.min.io
Wants=network-online.target
After=network-online.target
AssertFileIsExecutable=/usr/local/bin/minio

[Service]
WorkingDirectory=/usr/local

User=minio-user
Group=minio-user
ProtectProc=invisible

EnvironmentFile=-/etc/default/minio
ExecStartPre=/bin/bash -c "if [ -z \"${MINIO_VOLUMES}\" ]; then echo \"Variable MINIO_VOLUMES not set in /etc/default/minio\"; exit 1; fi"
ExecStart=/usr/local/bin/minio server $MINIO_OPTS $MINIO_VOLUMES

# Let systemd restart this service always
Restart=always

# Specifies the maximum file descriptor number that can be opened by this process
LimitNOFILE=1048576

# Specifies the maximum number of threads this process can create
TasksMax=infinity

# Disable timeout logic and wait until process is stopped
TimeoutStopSec=infinity
SendSIGKILL=no

[Install]
WantedBy=multi-user.target

# Built for ${project.name}-${project.version} (${project.name})
官网版本:
[Unit]
Description=MinIO
Documentation=https://min.io/docs/minio/linux/index.html
Wants=network-online.target
After=network-online.target
AssertFileIsExecutable=/usr/local/bin/minio

[Service]
WorkingDirectory=/usr/local

User=minio-user
Group=minio-user
ProtectProc=invisible

EnvironmentFile=-/etc/default/minio
ExecStartPre=/bin/bash -c "if [ -z \"${MINIO_VOLUMES}\" ]; then echo \"Variable MINIO_VOLUMES not set in /etc/default/minio\"; exit 1; fi"
ExecStart=/usr/local/bin/minio server $MINIO_OPTS $MINIO_VOLUMES

# Let systemd restart this service always
Restart=always

# Specifies the maximum file descriptor number that can be opened by this process
LimitNOFILE=65536

# Specifies the maximum number of threads this process can create
TasksMax=infinity

# Disable timeout logic and wait until process is stopped
TimeoutStopSec=infinity
SendSIGKILL=no

[Install]
WantedBy=multi-user.target

# Built for ${project.name}-${project.version} (${project.name})
如果是二进制版本安装的兄弟,把自己去创建这个文件/etc/systemd/system/minio.service,然后把上面这段复制进去
上面这些参数信息,我们只需要关注几个
- WorkingDirectory:工作目录
- EnvironmentFile: 变量文件,minio-server启动的时候,会去这个文件里面读取配置文件(这个我们一会需要修改)
- User/Group:运行minio-server的用户
我好像还没有创建运行的用户,现在创建一个把,也不晚
[root@localhost bin]# groupadd -r minio-user
[root@localhost bin]# useradd -M -r -g minio-user minio-user
[root@localhost bin]# chown minio-user:minio-user /minio1 /minio2 /minio3 /minio4
3、修改环境变量文件
同样,如果是根据我上面安装的,这个变量文件会自己生成,如果是二进制安装包安装的,需要自己去创建这个文件,然后补充信息(根据安装包的版本,也会有差异,我目前遇到过,就算不是二进制这个文件也不存在的情况,到时候兄弟们遇上了就直接把下面的配置copy进去就好了)
vim /etc/default/minio
我先把官网的贴出来,二进制安装的兄弟们,直接把这个内容复制到自己创建的文件就好了
# Set the hosts and volumes MinIO uses at startup
# The command uses MinIO expansion notation {x...y} to denote a
# sequential series.
#
# The following example covers four MinIO hosts
# with 4 drives each at the specified hostname and drive locations.
# The command includes the port that each MinIO server listens on
# (default 9000)

MINIO_VOLUMES="https://minio{1...4}.example.net:9000/mnt/disk{1...4}/minio"

# Set all MinIO server options
#
# The following explicitly sets the MinIO Console listen address to
# port 9001 on all network interfaces. The default behavior is dynamic
# port selection.

MINIO_OPTS="--console-address :9001"

# Set the root username. This user has unrestricted permissions to
# perform S3 and administrative API operations on any resource in the
# deployment.
#
# Defer to your organizations requirements for superadmin user name.

MINIO_ROOT_USER=minioadmin

# Set the root password
#
# Use a long, random, unique string that meets your organizations
# requirements for passwords.

MINIO_ROOT_PASSWORD=minio-secret-key-CHANGE-ME

# Set to the URL of the load balancer for the MinIO deployment
# This value *must* match across all MinIO servers. If you do
# not have a load balancer, set this value to to any *one* of the
# MinIO hosts in the deployment as a temporary measure.
MINIO_SERVER_URL="https://minio.example.net:9000"
接下来我们对这个文件进行一些变动
# Set the hosts and volumes MinIO uses at startup
# The command uses MinIO expansion notation {x...y} to denote a
# sequential series.
#
# The following example covers four MinIO hosts
# with 4 drives each at the specified hostname and drive locations.
# The command includes the port that each MinIO server listens on
# (default 9000)
## 这块是文件磁盘的位置 因为我们是集群节点是163-166 这边是一种池化写法
MINIO_VOLUMES="http://192.168.192.16{3...6}:9000/minio{1...4}"

# Set all MinIO server options
#
# The following explicitly sets the MinIO Console listen address to
# port 9001 on all network interfaces. The default behavior is dynamic
# port selection.

## minio-console的地址 就是web界面控制台
MINIO_OPTS="--console-address :9001"

# Set the root username. This user has unrestricted permissions to
# perform S3 and administrative API operations on any resource in the
# deployment.
#
# Defer to your organizations requirements for superadmin user name.

# console的登陆账号
MINIO_ROOT_USER=minioadmin

# Set the root password
#
# Use a long, random, unique string that meets your organizations
# requirements for passwords.

# console的登陆密码
MINIO_ROOT_PASSWORD=minioadmin

# Set to the URL of the load balancer for the MinIO deployment
# This value *must* match across all MinIO servers. If you do
# not have a load balancer, set this value to to any *one* of the
# MinIO hosts in the deployment as a temporary measure.
# 负载均衡地址 如果没有负载均衡就不要放开这个配置
#MINIO_SERVER_URL="http://192.168.192.163:9000"
然后在其他三台机器依次安装,并修改/etc/default/minio环境变量文件
如果你们公司有自己的域名映射的话,你们就走域名咯,如果域名不连贯的话(建议还是连贯),可以分开配置
MINIO_VOLUMES="http://192.168.192.163:9000/minio{1...4} http://192.168.192.155:9000/minio{1...4}"
参考以上格式,用空格分隔,我只写了两个节点
三、启动
systemctl start minio
浏览器访问任意一节点的9001端口

密码:minioadmin/minioadmin

查看下监控信息,确保所有服务已启动
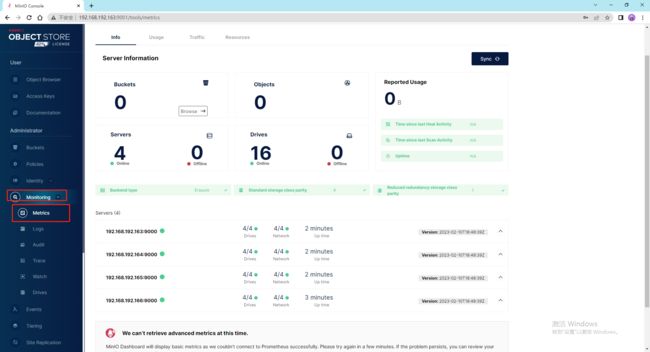
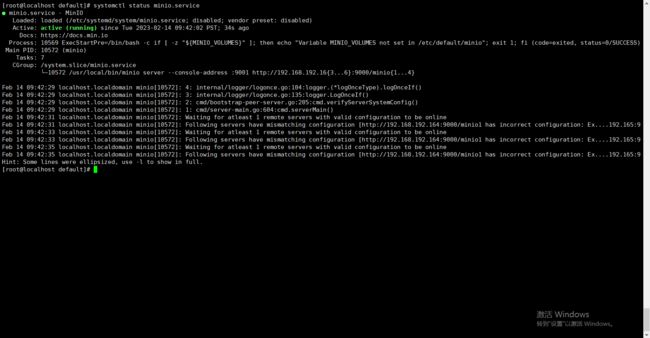
四个节点总共16快挂载的磁盘,
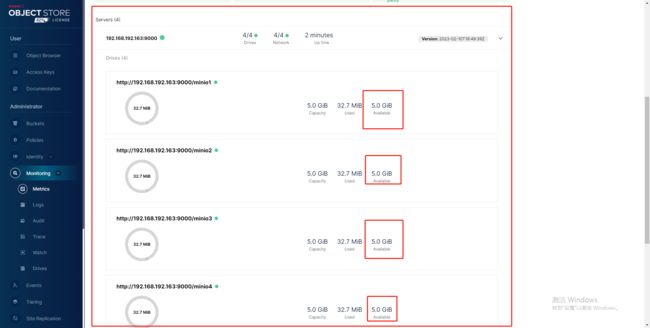
每块盘5GB,没错
四、使用负载均衡器
这里选用nginx来作为负载均衡,会另外使用一台机器,提供统一的入口,然后将请求分发到这四个节点的9000端口
nginx版本:nginx-1.20.2.tar.gz
够用就行
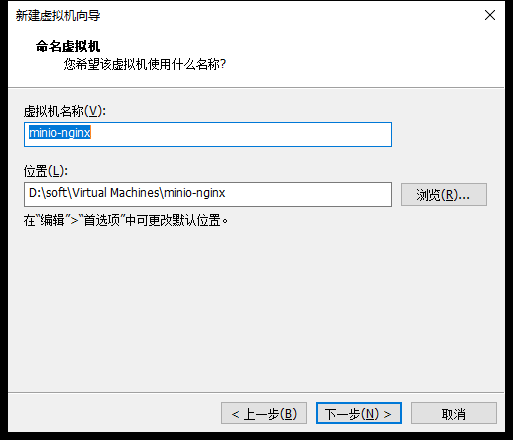
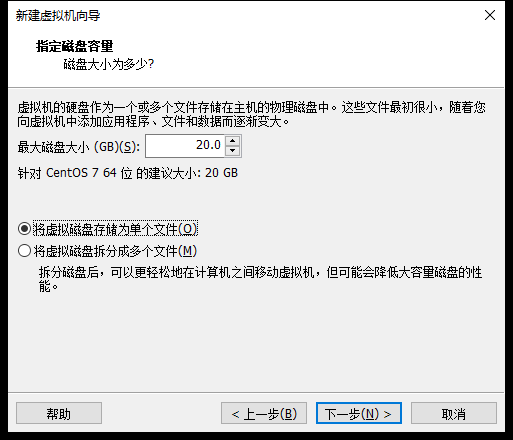

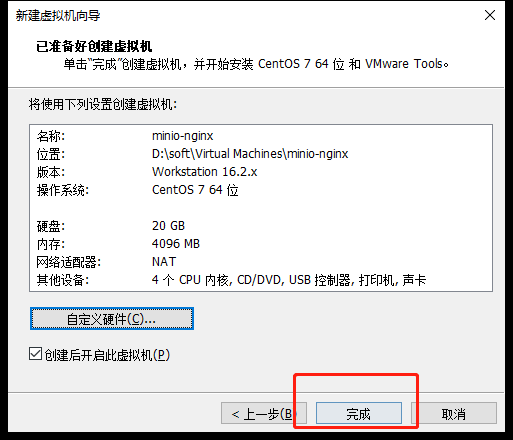
嘿,哥们电脑配置还行,随便奢侈一把,我32G 三星DDR5内存

等待安装
一会我们会监听nginx的机器的9000端口 转发到四台服务上
安装成功了,我先配置一下Xshell

传输nginx安装包
解压
tar -zxvf nginx-1.20.2.tar.gz
//一键安装上面四个依赖
yum -y install gcc zlib zlib-devel pcre-devel openssl openssl-devel
./configure
编译安装
make
make install
查找安装路径
whereis nginx
修改ngix配置文件
vim /user/loal/nginx/conf/nginx.conf
worker_processes  1;

events {
    worker_connections  1024;
}


http {
    include       mime.types;
    default_type  application/octet-stream;

    sendfile        on;

    keepalive_timeout  65;

    upstream minio_server {
			server	192.168.192.163:9000;
			server  192.168.192.164:9000;
			server  192.168.192.165:9000;
			server  192.168.192.166:9000;
    }

    upstream minio_console {
			server 192.168.192.163:9001;
			server 192.168.192.164:9001;
			server 192.168.192.165:9001;
			server 192.168.192.166:9001;
    }


    server {
        listen       9000;
        server_name  localhost;

        location / {
            proxy_pass http://minio_server;
        }

        error_page   500 502 503 504  /50x.html;
        location = /50x.html {
            root   html;
        }
  	server {
        listen       9001;
        server_name  localhost;

        location / {
            proxy_pass http://minio_console;
        }

        error_page   500 502 503 504  /50x.html;
        location = /50x.html {
            root   html;
        }

    }
}
访问192.168.192.167:9001端口

哦对了,这个负载均衡的机器记得把9000和9001端口打开,参考上面
五、测试
1、创建bucket
2、upload
3、download
六、留个坑
关于ng配置这块,因为涉及到文件上传下载等,还需要配置文件流以及大小的配置哦。
