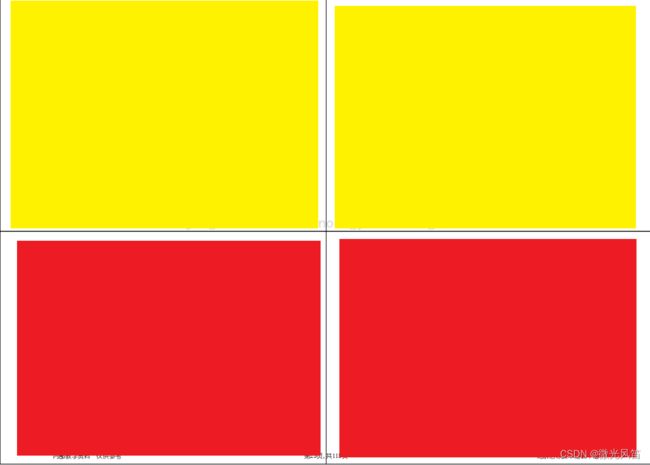
将PDF1页分割为4页
运行效果
原始PDF
分割后PDF
一、python代码(用的是python3.9.0版本)
import os
import tempfile
from pdf2image import convert_from_path
from PIL import Image
from PyPDF2 import PdfReader, PdfWriter

def split_pdf_page(pdf_path, output_path):
    # Convert PDF to images
    images = convert_from_path(pdf_path)

    # Create a PdfWriter object for the output PDF
    output_pdf = PdfWriter()

    # Create a list to store the parts of all images
    img_parts_all = []

    for img in images:
        # Split the image into 4 parts
        width, height = img.size
        img_parts = [
            img.crop((0, 0, width // 2, height // 2)),  # Top left
            img.crop((width // 2, 0, width, height // 2)),  # Top right
            img.crop((0, height // 2, width // 2, height)),  # Bottom left
            img.crop((width // 2, height // 2, width, height)),  # Bottom right
        ]

        # Append the parts of this image to the list
        img_parts_all.extend(img_parts)

    # Convert each image part back to PDF and add it to the output PDF
    for img_part in img_parts_all:
        fd, temp_filename = tempfile.mkstemp(suffix=".pdf")  # Create a new temp file
        os.close(fd)  # Close the file descriptor, we only need the filename
        img_part.save(temp_filename, "PDF")  # Save the PIL Image as a PDF
        pdf = PdfReader(temp_filename)  # Load the PDF file
        output_pdf.add_page(pdf.pages[0])  # Add the page to the output PDF
        os.remove(temp_filename)  # Remove the temp file

    # Write the output PDF to a file
    with open(output_path, "wb") as f:
        output_pdf.write(f)

# Test the function
split_pdf_page("input.pdf", "output.pdf")
默认是脚本文件与input.pdf放在一个文件夹目录内
二、代码解释
-
首先,我们使用
convert_from_path函数从pdf2image库将PDF文件转换为图像,这样我们就可以使用Python的图像处理库PIL处理这些图像了。 -
然后,我们创建一个
PdfWriter对象,它将被用于生成新的PDF文件。 -
在
for img in images:循环中,我们处理从PDF文件中提取出的每一张图像:- 首先,我们使用
img.size获取图像的尺寸(宽度和高度)。 - 然后,我们使用
img.crop函数将图像分割为四部分。这个函数需要一个四元组作为参数,这个四元组表示一个矩形区域:(left, upper, right, lower),它们分别表示矩形左边,上边,右边,和下边的坐标。 - 我们将这四部分图像存储在
img_parts列表中,并使用img_parts_all.extend(img_parts)将这个列表添加到img_parts_all中。
- 首先,我们使用
-
在
for img_part in img_parts_all:循环中,我们将每一部分图像转换回PDF,并添加到输出PDF中:- 使用
tempfile.mkstemp函数创建一个新的临时文件,这个函数会返回一个文件描述符和文件的路径。我们只需要文件的路径,所以立即关闭了文件描述符。 - 使用
img_part.save函数将PIL图像保存为PDF格式。 - 使用
PdfReader从临时文件中读取PDF文件,然后使用output_pdf.add_page将PDF文件的第一页(也是唯一的一页)添加到输出PDF中。 - 最后,我们使用
os.remove删除临时文件。
- 使用
-
最后,我们将输出PDF写入文件。
需要注意的是,我们假设了输入PDF的每一页都可以等分为四个部分。如果有些页的尺寸不符合这个假设,可能需要对代码进行一些修改。
三、代码运行准备
首先安装python库:PyPDF2,pdf2image、Pillow
pip install PyPDF2 pdf2image Pillow另外,pdf2image库需要使用到poppler-utils
在Ubuntu系统下,你可以使用以下命令安装:
sudo apt-get install -y poppler-utils在windows系统下
-
首先,从这个页面下载Poppler for Windows的二进制文件。你应该下载最新版本的文件。
-
下载后,你需要解压下载的文件。解压到你喜欢的任何位置,例如
C:\poppler。 -
接下来,你需要将Poppler的二进制文件添加到你的系统路径中。这样Python就可以在任何地方访问它。右击“计算机”->选择“属性”->点击“高级系统设置”->点击“环境变量”->在“系统变量”下找到“Path”并点击“编辑”->在变量值的最后输入你刚刚解压Poppler的位置,并在前后添加分号
;。例如,如果你将其解压到C:\poppler,那么你应该添加C:\poppler\bin。 -
最后,你需要重新启动你的命令行界面,以使这些改变生效。
安装完毕,到文件夹目录下打开命令行界面使用:
python script.py即可运行该python文件

