RGB简单人脸活体检测(Liveness Detection)
参考:
https://github.com/minivision-ai/Silent-Face-Anti-Spoofing(主要这个库)
https://github.com/computervisioneng/face-attendance-system(使用案例)
##概念: 活体检测是指针对人脸识别过程中的人脸做进一步的检测,确定要识别的对象是否是是真人。目前攻击人脸识别系统的方式可以总结为三大类,一是照片类,二是视频类、三是面具类,这三类中面具类是最难解决的攻击方式,主要由于其真实度与真人比较接近。目前主流的活体检测方案可以划分为三类,一是基于二维平面RGB相机的活体检测方案、二是基于红外IR相机的活体检测方案,三是基于三维深度相机的活体检测方案。
二维平面的RGB相机活体检测方案主要是基于深度学习实现的方案较为有效,红外IR相机的活体检测方案不仅可结合二维图形的特点,还能结合红外热成像的特点进行活体检测,比如视频类人脸在红外IR相机上是不呈像的,基于三维深度相机的活体检测方案对照片和视频类都有很好的活体检测效果,但对于三维的面具就比较吃力,需要在算法方面进行改进。
代码
https://github.com/minivision-ai/Silent-Face-Anti-Spoofing 下载下来稍微改下可以摄像头测试,模型放在./resources/anti_spoof_models 活体检测的融合模型;直接测试
python test.py --image_name your_image_name
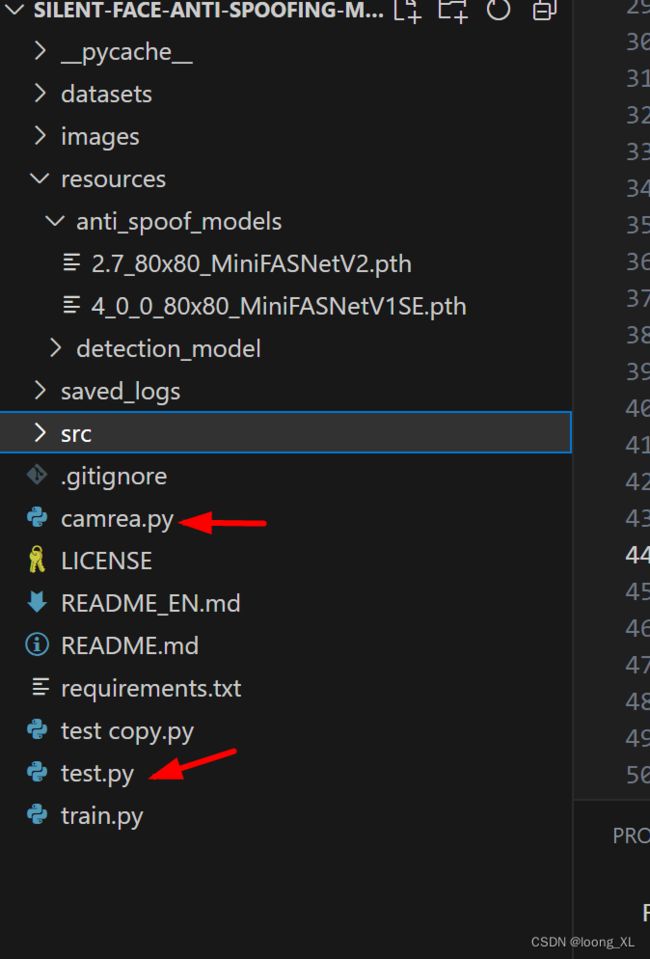
增加camrea.py 摄像头代码,另外test.py稍微修改下
camrea.py(直接运行这个文件,就可以摄像头检测)
import cv2
from test import test


# Start video capture
cap = cv2.VideoCapture(0) # By default webcam is index 0

# Load gesture recognition class
# gest = GestureRecognition(mode='eval')

counter = 0
while cap.isOpened():
    ret, img = cap.read()
    if not ret:
        break

    label,value,image_bbox = test(
                image_name=img,
                model_dir=r'E:\Silent-Face-Anti-Spoofing-master\Silent-Face-Anti-Spoofing-master\resources\anti_spoof_models',
                device_id=0
                )

    if label == 1:
        print("Image is Real Face. Score: {:.2f}.".format( value))
        result_text = "RealFace Score: {:.2f}".format(value)
        color = (255, 0, 0)
    else:
        print("Image is Fake Face. Score: {:.2f}.".format( value))
        result_text = "FakeFace Score: {:.2f}".format(value)
        color = (0, 0, 255)

    # print("Prediction cost {:.2f} s".format(test_speed))
    cv2.rectangle(
        img,
        (image_bbox[0], image_bbox[1]),
        (image_bbox[0] + image_bbox[2], image_bbox[1] + image_bbox[3]),
        color, 2)
    cv2.putText(
        img,
        result_text,
        (image_bbox[0], image_bbox[1] - 5),
       ## cv2.FONT_HERSHEY_COMPLEX, 0.5*img.shape[0]/1024, color)
        cv2.FONT_HERSHEY_COMPLEX, 1, color)

    cv2.imshow('frame', img)

    key = cv2.waitKey(1)
    if key==27:
        break


cap.release()
test.py 这个函数修改下简单
def test(image_name, model_dir, device_id):
    model_test = AntiSpoofPredict(device_id)
    image_cropper = CropImage()
    print(image_name.shape)
    #image = cv2.imread(SAMPLE_IMAGE_PATH + image_name)
    #image = cv2.imread(image_name)
    #result = check_image(image)
    #if result is False:
    #    return
    image = image_name
    image_bbox = model_test.get_bbox(image)
    prediction = np.zeros((1, 3))
    test_speed = 0
    # sum the prediction from single model's result
    for model_name in os.listdir(model_dir):
        h_input, w_input, model_type, scale = parse_model_name(model_name)
        param = {
            "org_img": image,
            "bbox": image_bbox,
            "scale": scale,
            "out_w": w_input,
            "out_h": h_input,
            "crop": True,
        }
        if scale is None:
            param["crop"] = False
        img = image_cropper.crop(**param)
        start = time.time()
        prediction += model_test.predict(img, os.path.join(model_dir, model_name))
        test_speed += time.time()-start

    # draw result of prediction
    label = np.argmax(prediction)
    value = prediction[0][label]/2
    return label,value,image_bbox
    # if label == 1:
    #     print("Image '{}' is Real Face. Score: {:.2f}.".format(image_name, value))
    #     result_text = "RealFace Score: {:.2f}".format(value)
    #     color = (255, 0, 0)
    # else:
    #     print("Image '{}' is Fake Face. Score: {:.2f}.".format(image_name, value))
    #     result_text = "FakeFace Score: {:.2f}".format(value)
    #     color = (0, 0, 255)
    # print("Prediction cost {:.2f} s".format(test_speed))
    # cv2.rectangle(
    #     image,
    #     (image_bbox[0], image_bbox[1]),
    #     (image_bbox[0] + image_bbox[2], image_bbox[1] + image_bbox[3]),
    #     color, 2)
    # cv2.putText(
    #     image,
    #     result_text,
    #     (image_bbox[0], image_bbox[1] - 5),
    #     cv2.FONT_HERSHEY_COMPLEX, 0.5*image.shape[0]/1024, color)

    # format_ = os.path.splitext(image_name)[-1]
    # result_image_name = image_name.replace(format_, "_result" + format_)
    # cv2.imwrite(SAMPLE_IMAGE_PATH + result_image_name, image)
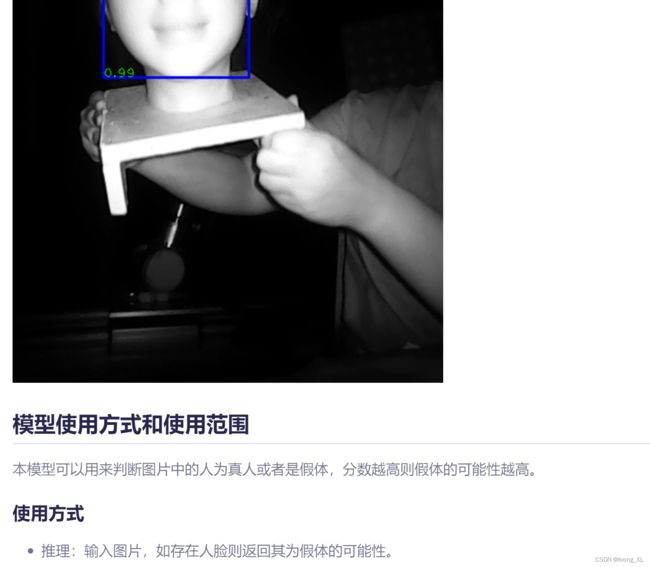
红外IR 活体检测
参考:https://modelscope.cn/models/damo/cv_manual_face-liveness_flir/summary
安装:
pip install modelscope

pip install mmcv-full==1.6.0  mmdet==2.25.0  numpy==1.23.0  ##测试下来这几个对应版本运行不会报错
from modelscope.pipelines import pipeline
from modelscope.utils.constant import Tasks


face_liveness_ir = pipeline(Tasks.face_liveness, 'damo/cv_manual_face-liveness_flir')
# img_path = 'https://modelscope.oss-cn-beijing.aliyuncs.com/test/images/face_liveness_ir.jpg'
img_path = r"C:\Users\loong\Downloads\candidate-face\0029_IR_frontface.jpg"
result = face_liveness_ir(img_path)
print(f'face liveness output: {result}.')
##或者简单直接运行
p = pipeline('face-liveness', 'damo/cv_manual_face-liveness_flir')
# p('https://modelscope.oss-cn-beijing.aliyuncs.com/test/images/retina_face_detection.jpg',)
p(r"C:\Users\loong\Downloads\candidate-face\0025_IR_frontface.jpg")


