13.1.1 翻转裁减,改变颜色,结合多种图像增广方法进行图像增广
一.图像增广的好处
随机改变训练样本可以减少模型对某些属性的依赖,从而提高模型的泛化能力。
裁剪图像可以减少模型对于对象出现位置的依赖
以不同的方式裁剪图像,使感兴趣的对象出现在不同的位置,减少模型对于对象出现位置的依赖
调整亮度、颜色等因素可以降低模型对颜色的敏感度。
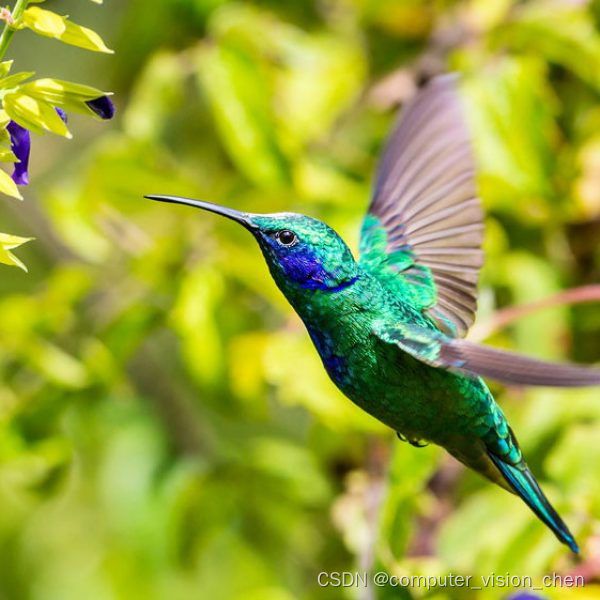
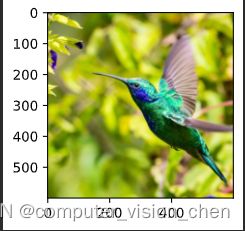
二.代码实现:展示原图片
%matplotlib inline
import torch
import torchvision
from torch import nn
from d2l import torch as d2l
import time
# 不用opencv显示,而是用如下方式显示是因为,它可以显示在jupter网页上
d2l.set_figsize()
img = d2l.Image.open('../data/images/bird.jpg')
d2l.plt.imshow(img);
# 定义图像增广函数:aug接收图像增广的方法,scale是显示的比例
def apply(img, aug, num_rows=2, num_cols=4, scale=1.5):
    Y = [aug(img) for _ in range(num_rows * num_cols)]
    d2l.show_images(Y, num_rows, num_cols, scale=scale)
二.代码实现:对原图片翻转和裁减
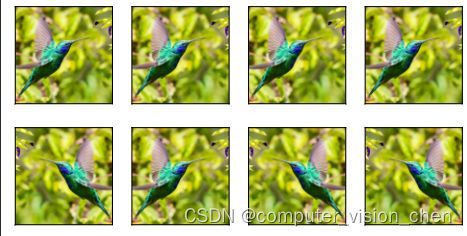
2.1 水平翻转
apply(img, torchvision.transforms.RandomHorizontalFlip())
2.2 上下翻转
apply(img, torchvision.transforms.RandomVerticalFlip())
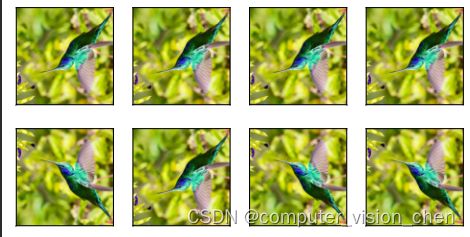
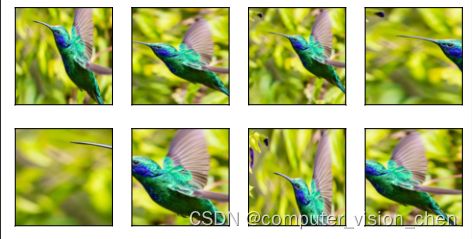
2.3 随机裁减,使目标物体以不同的比例出现在图像的不同位置,降低对目标位置的敏感
'''
    在我们使用的示例图像中,猫位于图像的中间,但并非所有图像都是这样。
    汇聚层可以降低卷积层对目标位置的敏感性。可以通过对图像进行随机裁剪,使物体以不同的比例出现在图像的不同位置。这也可以降低模型对目标位置的敏感性。
'''
# 随机裁剪一个面积为原始面积10%到100%的区域,该区域的宽高比从0.5〜2之间随机取值。然后,区域的宽度和高度都被缩放到200像素
shape_aug = torchvision.transforms.RandomResizedCrop(
    (200, 200), scale=(0.1, 1), ratio=(0.5, 2))
apply(img, shape_aug)
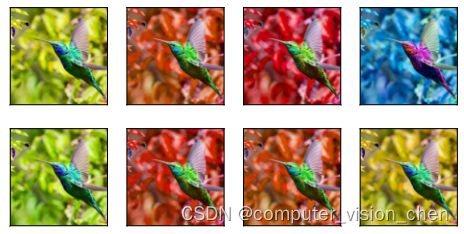
三.代码实现:改变颜色
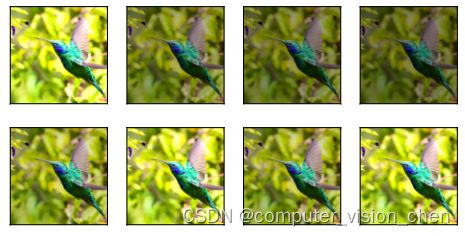
3.1 改变亮度
‘’’
另一种增广方法是改变颜色。我们可以改变图像颜色的四个方面:亮度、对比度、饱和度和色调。在下面的
示例中,我们随机更改图像的亮度,随机值为原始图像的 50%(1 − 0.5)到150%(1 + 0.5)之间。
‘’’
apply(img, torchvision.transforms.ColorJitter(
    brightness=0.5, contrast=0, saturation=0, hue=0))
3.2 改变对比度
'''
    对比度为原始图像的 50%(1 − 0.5)到150%(1 + 0.5)之间。
'''
apply(img, torchvision.transforms.ColorJitter(
    brightness=0, contrast=0.5, saturation=0, hue=0))
3.3 改变饱和度
# 饱和度为原始图像的 50%(1 − 0.5)到150%(1 + 0.5)之间。
apply(img, torchvision.transforms.ColorJitter(
    brightness=0, contrast=0, saturation=0.5, hue=0))
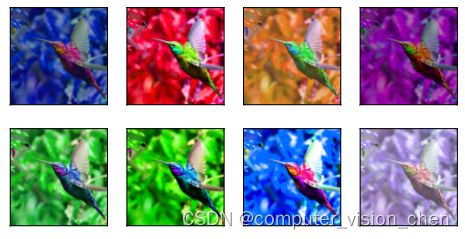
3.4 改变色调
# 色调为原始图像的 50%(1 − 0.5)到150%(1 + 0.5)之间。
apply(img, torchvision.transforms.ColorJitter(
    brightness=0, contrast=0, saturation=0, hue=0.5))
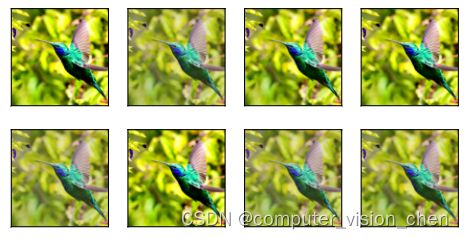
3.5 随机更改图像的亮度(brightness)、对比度(contrast)、饱和度(saturation)和色调(hue)
# 我们还可以创建一个RandomColorJitter实例,并设置如何同时随机更改图像的亮度(brightness)、对比度(contrast)、饱和度(saturation)和色调(hue)。
color_aug = torchvision.transforms.ColorJitter(
brightness=0.5, contrast=0.5, saturation=0.5, hue=0.5)
apply(img, color_aug)
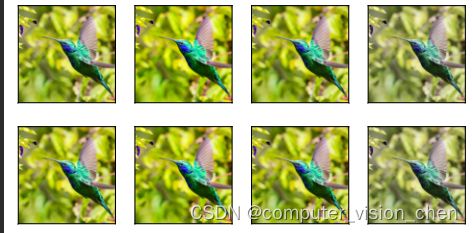
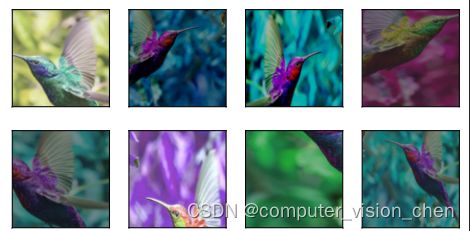
四.代码实现:结合多种图像增广方法
augs = torchvision.transforms.Compose([
torchvision.transforms.RandomHorizontalFlip(), color_aug, shape_aug])
apply(img, augs)
