个人主页:@Weraphael
✍作者简介:目前学习C++和算法
✈️专栏:C++航路
希望大家多多支持,咱一起进步!
如果文章对你有帮助的话
欢迎 评论 点赞 收藏 加关注✨
vector
容器和数组非常相似,与普通数组的区别:数组是静态空间,而vector
可以动态扩展。vector
容器需要包含头文件:#include
vector
可以存储多种不同的数据类型,是因为它是一个模板容器vector
中指定要存储的数据类型,例如:vector<int> vi // 整型容器
vector<char> vc // 字符型容器
vector<double> vd // 浮点型容器
vector<string> vs // string类型容器
vector<vector<int>> // 本质是二维数组
// 等等...
类模板实例化与普通类的实例化不同,类模板实例化需要在类模板名字后跟<>
,然后将实例化的类型放在<>
中即可,而普通类的类名就是类型。
注意:需要注意数据类型的统一性。例如,如果创建了一个存储整数的vector
,就应该只向其中存储整数类型的数据,否则可能会出现类型错误或数据损坏的问题。
#include
#include
using namespace std;
int main()
{
// 默认构造函数
vector<int> v;
return 0;
}
默认构造的对象,size
和capacity
都为0。
【函数原型】
vector<T> v(n,elem);
【代码示例】
#include
#include
using namespace std;
int main()
{
// 构造函数将n个元素拷贝给本身
// 将3个100拷贝给本身
vector<int> v(3, 100);
for (int i = 0; i < v.size(); i++)
{
cout << v[i] << ' ';
}
cout << endl;
return 0;
}
【输出结果】
【函数原型】
vector (const vector& x);
【代码示例】
#include
#include
using namespace std;
int main()
{
// 构造函数将3个100拷贝给本身
vector<int> v1(3, 100);
cout << "v1:";
for (int i = 0; i < v1.size(); i++)
{
cout << v1[i] << ' ';
}
cout << endl;
// 拷贝构造函数
// v2是v1的副本
vector<int> v2(v1);
cout << "v2:";
for (int i = 0; i < v2.size(); i++)
{
cout << v2[i] << ' ';
}
cout << endl;
return 0;
}
【输出结果】
【函数原型】
vector(v.begin(),v.end());
【代码示例】
#include
#include
using namespace std;
int main()
{
// 构造函数将n个元素拷贝给本身
// 将5个100拷贝给本身
vector<int> v1;
// 写入1 2 3 4 5
v1.push_back(1);
v1.push_back(2);
v1.push_back(3);
v1.push_back(4);
v1.push_back(5);
// 区间拷贝
// 拷贝v1对象中的2、3、4、5
vector<int> v2(v1.begin() + 1, v1.end());
cout << "v2:";
for (int i = 0; i < v2.size(); i++)
{
cout << v2[i] << ' ';
}
cout << endl;
return 0;
}
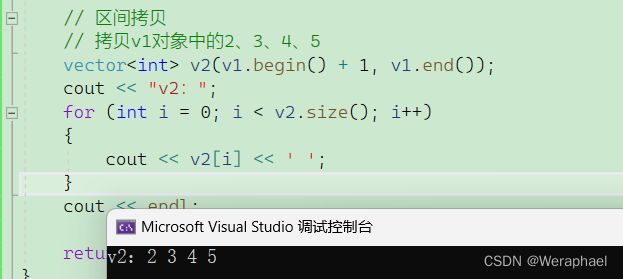
【输出结果】
#include
#include
#include
using namespace std;
int main()
{
vector<int> v1{ 1,2,3,4,5,6 };
vector<char> v2{ 'h','e','l','l','o' };
vector<string> v3{ "hello", "vector" };
return 0;
}
【输出结果】
大家可以认为迭代器是指针。begin
指向第一个数据的位置,end
指向最后一个数据的下一个位置
【代码示例】
#include
#include
using namespace std;
int main()
{
vector<char> v;
// 插入abcdefg
v.push_back('a');
v.push_back('b');
v.push_back('c');
v.push_back('d');
v.push_back('e');
v.push_back('f');
v.push_back('g');
vector<char>::iterator begin = v.begin();
// begin指向第一个元素,对齐解引用就能得到
cout << "第一个元素为:" << *begin << endl;
vector<char>::iterator end = v.end();
// end指向最后一个元素的下一个位置
cout << "最后一个元素为:" << *(end - 1) << endl;
return 0;
}
【输出结果】
【代码示例】
#include
#include
using namespace std;
int main()
{
vector<char> v;
// 插入abcdefg
v.push_back('a');
v.push_back('b');
v.push_back('c');
v.push_back('d');
v.push_back('e');
v.push_back('f');
v.push_back('g');
// vector::iterator 如果认为太长
// 可用auto
auto vci = v.rbegin();
// vci指向最后一个元素
cout << "最后一个元素:" << *vci << endl;
auto vcc = v.rend();
// vcc指向第一个元素的前一个位置
// 对其-1。就指向第一个元素
cout << "第一个元素" << *(vcc - 1) << endl;
return 0;
}
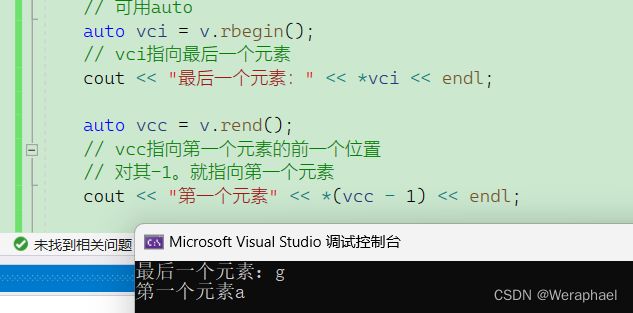
【输出结果】
vector
底层重载了下标访问操作符[]
,因此可以像数组一样变量
#include
#include
using namespace std;
int main()
{
vector<char> v;
// 插入abcdefg
v.push_back('a');
v.push_back('b');
v.push_back('c');
v.push_back('d');
v.push_back('e');
v.push_back('f');
v.push_back('g');
// operator[]
for (int i = 0; i < v.size(); i++)
{
cout << v[i] << ' ';
}
cout << endl;
return 0;
}
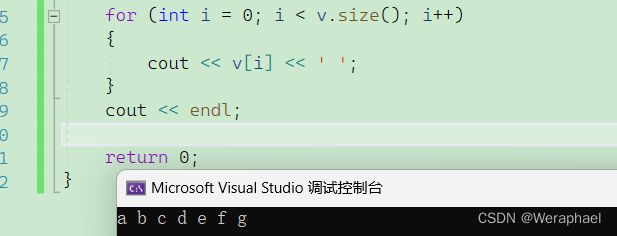
【输出结果】
#include
#include
using namespace std;
int main()
{
vector<char> v;
// 插入abcdefg
v.push_back('a');
v.push_back('b');
v.push_back('c');
v.push_back('d');
v.push_back('e');
v.push_back('f');
v.push_back('g');
// 迭代器
vector<char>::iterator begin = v.begin();
while (begin != v.end())
{
cout << *begin << ' ';
begin++;
}
cout << endl;
// 以上用for循环也是可以的
for (vector<char>::iterator begin = v.begin(); begin != v.end(); begin++)
{
cout << *begin << ' ';
}
cout << endl;
return 0;
}
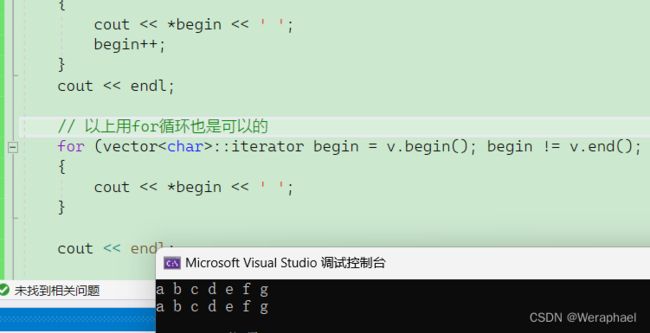
【输出结果】
在
string
类时,我们讲过 范围for
的底层是迭代器。
#include
#include
using namespace std;
int main()
{
vector<char> v;
// 插入abcdefg
v.push_back('a');
v.push_back('b');
v.push_back('c');
v.push_back('d');
v.push_back('e');
v.push_back('f');
v.push_back('g');
// 范围for
for (auto x : v)
{
cout << x << ' ';
}
cout << endl;
return 0;
}
【输出结果】
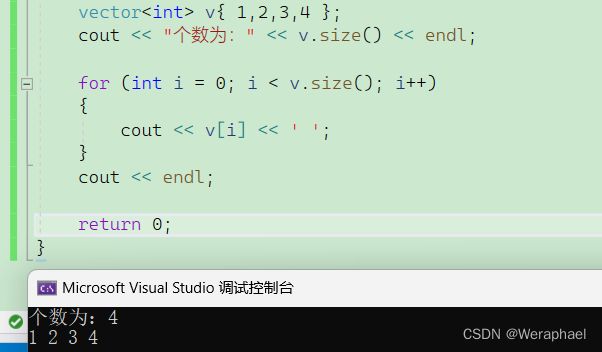
功能:获取数据的有效个数
#include
#include
using namespace std;
int main()
{
vector<int> v{ 1,2,3,4 };
cout << "个数为:" << v.size() << endl;
for (int i = 0; i < v.size(); i++)
{
cout << v[i] << ' ';
}
cout << endl;
return 0;
}
【输出结果】
功能:判断容器是否为空。如果为空返回1,否则返回0
#include
#include
using namespace std;
int main()
{
// 默认构造默认有效个数size为0
vector<int> vi;
cout << "vi:" << vi.empty() << endl;
vector<char> vc{ 'h', 'e', 'l', 'l','o' };
cout << "vc:" << vc.empty() << endl;
return 0;
}
【输出结果】
【函数原型1】
resize(int num);
功能:重新指定容器的长度为
num
情况1:若有效数据size > num
,则会保留前num
个,剩下的删除
#include
#include
using namespace std;
int main()
{
vector<int> v{ 1,2,3,4,5,6 };
cout << "改变之前的长度:" << v.size() << endl;
// 重新指定容器长度
// 保留前3个
v.resize(3);
cout << "改变后的长度:" << v.size() << endl;
cout << "改变后的内容为:";
for (int i = 0; i < v.size(); i++)
{
cout << v[i] << ' ';
}
cout << endl;
return 0;
}
【程序结果】
【函数原型2】
resize(int num, elem);
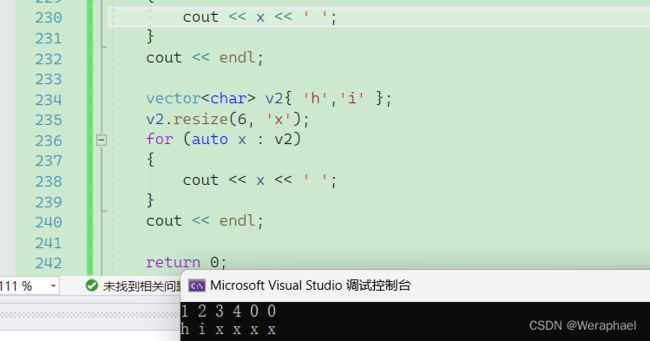
情况2:若num > size
,则会增加有效长度。如果不指定第二个参数,默认增加的内容是0
#include
#include
using namespace std;
int main()
{
vector<int> v1{ 1,2,3,4 };
v1.resize(6);
// 增加了2个,不指定第二个参数默认是0
for (auto x : v1)
{
cout << x << ' ';
}
cout << endl;
vector<char> v2{ 'h','i' };
v2.resize(6, 'x');
for (auto x : v2)
{
cout << x << ' ';
}
cout << endl;
return 0;
}
【输出结果】
功能:改变
vector
容器的容量。一般都是扩容。
#include
#include
using namespace std;
int main()
{
vector<int> v;
int capacity = v.capacity();
for (int i = 0; i < 100; i++)
{
// 插入100个数据
v.push_back(i);
// v.capacity是输出当前容量的
if (capacity != v.capacity())
{
capacity = v.capacity();
cout << "容量改变:" << capacity << '\n';
}
}
return 0;
}
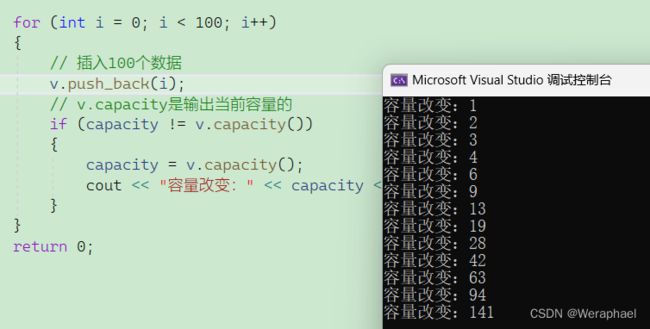
【输出结果】
通过以上代码我们发现:vs
下的容量是按1.5
倍增长的g++是按2倍增长的。
然后我们再把以上代码拿到Linux
环境下测试:
我们发现:Linux
下使用的vector
是按照2倍方式扩容。
因此,如果已经确定vector
中要存储元素大概个数,可以提前将空间设置足够就可以避免边插入边扩容导致效率低下的问题了。
#include
#include
using namespace std;
int main()
{
vector<int> v;
int capacity = v.capacity();
// 提前开好大小为100的容量
v.reserve(100);
for (int i = 0; i < 100; i++)
{
// 插入100个数据
v.push_back(i);
// v.capacity是输出当前容量的
if (capacity != v.capacity())
{
capacity = v.capacity();
cout << "容量改变:" << capacity << '\n';
}
}
return 0;
}
【输出结果】
或者还能这样开空间:
【函数原型】
swap(vec); // 将vec与本身的元素互换
【代码示例】
#include
#include
using namespace std;
int main()
{
vector<int> v1{1,2,3,4,5,6};
v1.reserve(100);
cout << "交换前:" << endl;
cout << "v1:";
for (auto x : v1)
{
cout << x << ' ';
}
cout << endl;
vector<int> v2{ 7,8,9,10,11, 12 };
cout << "v2:";
for (auto x : v1)
{
cout << x << ' ';
}
cout << endl;
cout << "v1的容量" << v1.capacity() << endl;
cout << "v2的容量" << v2.capacity() << endl;
// 交换
v1.swap(v2);
cout << "交换后:" << endl;
cout << "v1:";
for (auto x : v1)
{
cout << x << ' ';
}
cout << endl;
cout << "v2:";
for (auto x : v1)
{
cout << x << ' ';
}
cout << endl;
cout << "v1的容量" << v1.capacity() << endl;
cout << "v2的容量" << v2.capacity() << endl;
return 0;
}
【输出结果】
通过以上发现:swap
不仅可以交换容器内容,同时还达到实用的收缩内存效果
#include
#include
using namespace std;
int main()
{
vector<int> v;
// 尾插1、2、3、4
v.push_back(1);
v.push_back(2);
v.push_back(3);
v.push_back(4);
for (auto x : v)
{
cout << x << ' ';
}
cout << endl;
return 0;
}
【输出结果】
#include
#include
using namespace std;
int main()
{
vector<int> v;
// 尾插1、2、3、4
v.push_back(1);
v.push_back(2);
v.push_back(3);
v.push_back(4);
for (auto x : v)
{
cout << x << ' ';
}
cout << endl;
// 删掉4
v.pop_back();
for (auto x : v)
{
cout << x << ' ';
}
cout << endl;
return 0;
}
【输出结果】
【函数原型1】
iterator insert (iterator position, const value_type& val);
注意:insert
是要配合迭代器使用的!
#include
#include
using namespace std;
int main()
{
vector<int> v;
// 尾插1、2、3、4
v.push_back(1);
v.push_back(2);
v.push_back(3);
v.push_back(4);
for (auto x : v)
{
cout << x << ' ';
}
cout << endl;
// 头插一个6
v.insert(v.begin(), 6);
for (auto x : v)
{
cout << x << ' ';
}
cout << endl;
return 0;
}
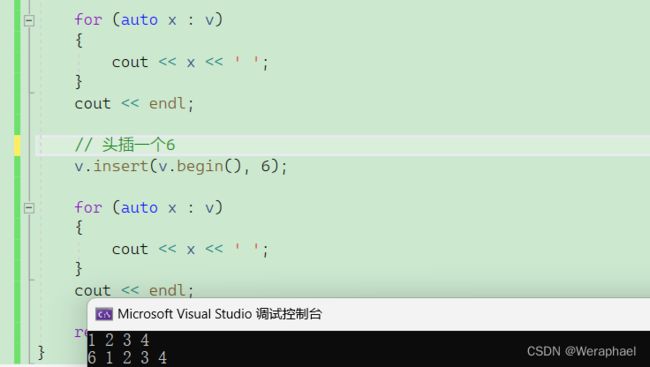
【输出结果】
【函数原型2】
void insert (iterator position, size_type n, const value_type& val);
【代码样例】
#include
#include
using namespace std;
int main()
{
vector<int> v;
// 尾插1、2、3、4
v.push_back(1);
v.push_back(2);
v.push_back(3);
v.push_back(4);
for (auto x : v)
{
cout << x << ' ';
}
cout << endl;
// 尾插4个6
v.insert(v.end(), 4, 6);
for (auto x : v)
{
cout << x << ' ';
}
cout << endl;
return 0;
}
【输出结果】
【函数原型1】
erase(const iterator pos);
注意:erase
也是要配合迭代器使用的
#include
#include
using namespace std;
int main()
{
vector<int> v;
v.push_back(1);
v.push_back(2);
v.push_back(3);
// 删除最后一个数据
v.erase(v.end() - 1);
for (auto x : v)
{
cout << x << ' ';
}
cout << endl;
return 0;
}
【输出结果】
【函数原型2】
erase(const iterator start,const iterator end)
功能:删除某个区间的数据
【代码示例】
#include
#include
using namespace std;
int main()
{
vector<int> v;
v.push_back(1);
v.push_back(2);
v.push_back(3);
// 清空数据
v.erase(v.begin(), v.end());
for (auto x : v)
{
cout << x << ' ';
}
cout << endl;
return 0;
}
【输出结果】
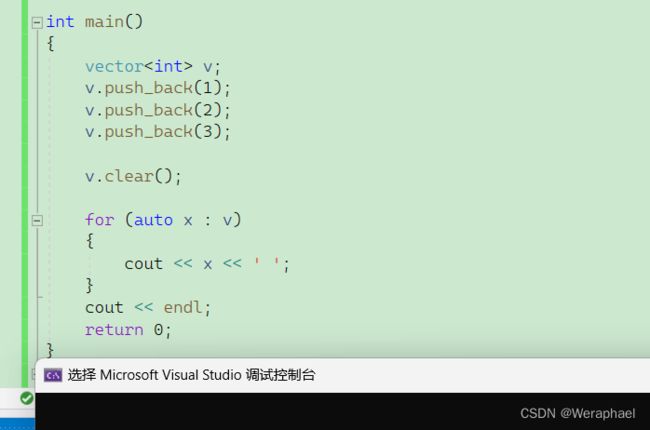
除了以上方式可以清空数据,clear
同样也行
#include
#include
using namespace std;
int main()
{
vector<int> v;
v.push_back(1);
v.push_back(2);
v.push_back(3);
v.clear();
for (auto x : v)
{
cout << x << ' ';
}
cout << endl;
return 0;
}
【输出结果】
注意:使用库里的算法需要加上头文件
#include
#include
#include
using namespace std;
#include
int main()
{
vector<int> a{ 4,7,1,0,5,3, 2 };
// 从小到大
sort(a.begin(), a.end());
for (auto x : a)
{
cout << x << ' ';
}
cout << endl;
// 从大到小
sort(a.rbegin(), a.rend());
for (auto x : a)
{
cout << x << ' ';
}
cout << endl;
return 0;
}
【输出结果】
#include
#include
using namespace std;
#include
int main()
{
vector<int> a{ 1,2,3,4,5,6 };
//逆置reverse
reverse(a.begin(), a.end());
for (auto x : a)
{
cout << x << ' ';
}
cout << endl;
return 0;
}
【输出结果】
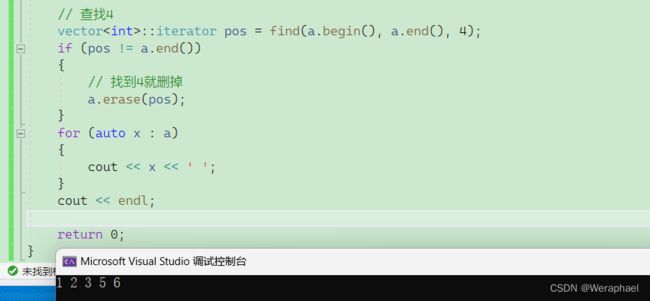
注意:vector
是没有提供find
接口的。而我们知道vecto
r是一个类似于数组的容器,因此如果想找一个数据,直接遍历即可。但是算法库提供了find
#include
#include
using namespace std;
#include
int main()
{
vector<int> a{ 1,2,3,4,5,6 };
// 查找4
vector<int>::iterator pos = find(a.begin(), a.end(), 4);
if (pos != a.end())
{
// 找到4就删掉
a.erase(pos);
}
for (auto x : a)
{
cout << x << ' ';
}
cout << endl;
return 0;
}
【输出结果】
迭代器失效实际就是迭代器底层对应指针所指向的空间被销毁了,而使用一块已经被释放的空间,造成的后果是程序崩溃。即如果继续使用已经失效的迭代器,程序可能会崩溃。
string
是一个特殊的容器,它是由字符组成的连续序列,类似于C语言的字符串。string
类会动态地管理内部存储区域,确保足够的容量容纳字符串。当我们向string
中插入或删除字符时,并不会导致整个字符串被复制到新的内存位置,因此迭代器不会失效。
对比vector
,它是一个动态数组,它使用连续的内存存储元素。当我们向vector
中插入元素时,如果导致当前内存不足以容纳所有元素,vector
会重新分配更大的内存空间,并将所有元素复制到新的内存中。这样一来,原来指向旧内存中的元素的迭代器就会失效,因为它们指向的位置已经改变了。
当涉及到插入或删除操作时,我们需要注意vector迭代器的失效问题
resize
、reserve
、insert
、push_back
等#include
#include
using namespace std;
int main()
{
vector<int> v{ 1, 2, 3 };
// 1. 将有效元素个数增加到100个
// 多出的位置使用6填充,操作期间底层会扩容
v.resize(100, 6);
// 2. reserve的作用就是改变扩容大小但不改变有效元素个数,
// 操作期间可能会引起底层容量改变
v.reserve(100);
// 3. insert和尾插期间
// 可能会引起扩容,而导致原空间被释放
v.insert(v.begin(), 0);
v.push_back(10);
return 0;
}
以上操作可能会导致vector
扩容,扩容就会导致旧空间被释放掉,而返回的迭代器是指向被释放的空间,如果再对迭代器进行使用,会引起代码崩溃。
#include
#include
using namespace std;
int main()
{
int a[] = { 1, 2, 3, 4, 5 };
vector<int> v(a, a + sizeof(a) / sizeof(int));
// 使用find查找4所在位置
auto pos = find(v.begin(), v.end(), 4);
// 删除pos位置的数据,
v.erase(pos);
// 预测打印5
cout << *pos << endl;
return 0;
}
【输出结果】
理论上删除了4
,*pos
应该是5
,可是为什么没有打印出来呢?
我们可以通过调试来观察:
当我再按F10
,发现pos
的地址变了:
理论上删除4后,5应该占据4的空间,然而地址却变了。因此导致了迭代器失效了。
那如果是删除最后一个数据,那么结果更加明显:
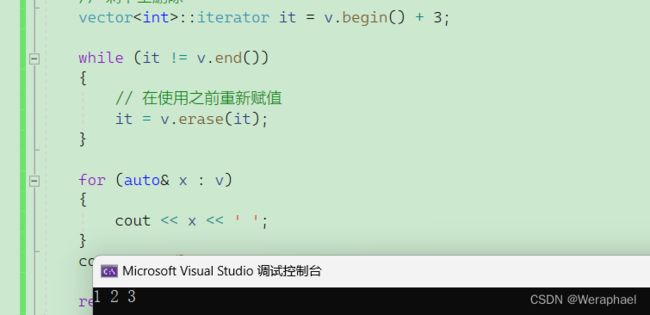
在使用前,对迭代器重新赋值即可。
#include
#include
using namespace std;
int main()
{
vector<int> v{ 1,2,3,4,5,6,7,8,9,10};
// 保留1 2 3
// 剩下全删除
vector<int>::iterator it = v.begin() + 3;
while (it != v.end())
{
// 在使用之前重新赋值
it = v.erase(it);
}
for (auto& x : v)
{
cout << x << ' ';
}
cout << endl;
return 0;
}
【输出结果】