VTK_Learning_三维图像切片(二)———鼠标交互(回调函数、观察者-命令模式)
学习三维图像切面的提取后,我们可以实现一个稍微复杂的程序——通过滑动鼠标来切换三维图像切片,这也是医学图像处理软件中一个很基本的功能。实现该功能难点是怎样在VTK中控制鼠标来实时提取图像切片。我们采用观察者/命令(Observer/Command)模式机制来实现。
VTK中鼠标消息是在交互类型对象(interactorstyle)中响应,因此通过为交互类型对象(interactorstyle)添加观察者(observer)来监听相应的消息,当消息触发时,由命令模式执行相应的回调函数。
1.鼠标滑动提取三维图像切片--重新定义切片中心
//记下鼠标Y向变化的幅值大小
int deltaY = lastPos[1] - currPos[1];

//记下鼠标X向变化的幅值大小
int deltaX = lastPos[0] - currPos[0];

//reslice->Update();
double sliceSpacing = reslice->GetOutput()->GetSpacing()[2];
vtkMatrix4x4 *matrix = reslice->GetResliceAxes();
//重新定位切片需要经过的中心点
double point[4];
double center[4];
point[0] = 0;
point[1] = 0;
point[2] = sliceSpacing * deltaY;
point[3] = 1.0;
matrix->MultiplyPoint(point, center);
matrix->SetElement(0, 3, center[0]);
matrix->SetElement(1, 3, center[1]);
matrix->SetElement(2, 3, center[2]);
鼠标竖直滑动重新定义切片的中心位置。注意:理解MultiplyPoint 是两个矩阵相乘,表示 center4*1 = matrix4*4 乘以 point4*1。
2.鼠标滑动设置窗宽、窗位--重新定义窗位的位置
static double colorWindowLevel = 500;
static double colorWindowWith = 2000;
colorWindowLevel += deltaX;

colorMap->GetLookupTable()->SetRange(colorWindowLevel - colorWindowWith / 2, colorWindowLevel + colorWindowWith / 2);
鼠标横着滑动,会改变窗位的位置,而窗宽是固定不变的。
关于窗宽、窗位的理解:
窗宽、窗位不是指可视化的窗口的宽度,而是指设置CT图像的灰度值的范围,用于可视化的灰度值范围,CT灰度值范围是0到65536。窗位定以后,根据窗宽值,则可视化的灰度值范围:[窗位-窗宽/2,窗位+窗宽/2]
见链接:https://www.cnblogs.com/vranger/p/3806956.html
3.代码
#includeVTK_MODULE_INIT(vtkRenderingOpenGL2); #include #include #include #include #include #include #include #include #include #include #include #include //建立“观察者/命令”模式监听鼠标消息 完成交互 #include #include class vtkImageInteractionCallback : public vtkCommand { public: static vtkImageInteractionCallback *New() //回调函数初始化函数 { return new vtkImageInteractionCallback; } vtkImageInteractionCallback() { this->Slicing = 0; this->ImageReslice = 0; this->Interactor = 0; } void SetImageReslice(vtkImageReslice *reslice) { this->ImageReslice = reslice; } vtkImageReslice *GetImageReslice() { return this->ImageReslice; } void SetImageResliceColorMap(vtkImageMapToColors * colorMap) { this->colorMap= colorMap; } vtkImageMapToColors *GetImageResliceColorMap() { return this->colorMap; } void SetInteractor(vtkRenderWindowInteractor *interactor) { this->Interactor = interactor; } vtkRenderWindowInteractor *GetInteractor() { return this->Interactor; } virtual void Execute(vtkObject *, unsigned long event, void *) { vtkRenderWindowInteractor *interactor = GetInteractor(); int lastPos[2]; interactor->GetLastEventPosition(lastPos); int currPos[2]; interactor->GetEventPosition(currPos); if (event == vtkCommand::LeftButtonPressEvent) { this->Slicing = 1; //标志位 } else if (event == vtkCommand::LeftButtonReleaseEvent) { this->Slicing = 0; //标志位 } else if (event == vtkCommand::MouseMoveEvent) { if (this->Slicing)//检验鼠标左键已经按下 正在执行操作 { vtkImageReslice *reslice = this->ImageReslice; //记下鼠标Y向变化的幅值大小 int deltaY = lastPos[1] - currPos[1]; //记下鼠标X向变化的幅值大小 int deltaX = lastPos[0] - currPos[0]; //reslice->Update(); double sliceSpacing = reslice->GetOutput()->GetSpacing()[2]; vtkMatrix4x4 *matrix = reslice->GetResliceAxes(); //重新定位切片需要经过的中心点 double point[4]; double center[4]; point[0] = 0; point[1] = 0; point[2] = sliceSpacing * deltaY; point[3] = 1.0; matrix->MultiplyPoint(point, center); //***********理解MultiplyPoint center4*1 = matrix4*4 乘以 point4*1 for (int i = 0; i < 4; i++) { for (int j = 0; j < 4;j++) { std::cout << matrix->GetElement(i,j)<< "\t"; } std::cout << "\n"; } std::cout << "\n"; std::cout << point[0] << "\t" << point[1] << "\t" << point[2] << "\t" << point[3] << "\n"; std::cout << center[0] << "\t" << center[1] << "\t" << center[2] << "\t" << center[3] << "\n"; //****************** matrix->SetElement(0, 3, center[0]); matrix->SetElement(1, 3, center[1]); matrix->SetElement(2, 3, center[2]); static double colorWindowLevel = 500; static double colorWindowWith = 2000; colorWindowLevel += deltaX; colorMap->GetLookupTable()->SetRange(colorWindowLevel - colorWindowWith / 2, colorWindowLevel + colorWindowWith / 2); reslice->Update(); colorMap->Update(); interactor->Render(); } else { vtkInteractorStyle *style = vtkInteractorStyle::SafeDownCast( interactor->GetInteractorStyle()); if (style) { style->OnMouseMove(); } } } } private: int Slicing; vtkImageReslice *ImageReslice; vtkImageMapToColors * colorMap; vtkRenderWindowInteractor *Interactor; }; //**********************************************************************************// #include //IMPLEMENT_UEG_NAV_LOGGER(main) int main(int argc, char *argv[]) { vtkSmartPointer reader = vtkSmartPointer ::New(); //创建读取dicom图片指针对象 reader->SetDirectoryName("D:/workSpace/DICM/sunguihua/SGH"); //设置医学图像文件夹路径 reader->SetDataByteOrderToLittleEndian(); reader->Update(); cout << "读取数据完成" << endl; int extent[6]; double spacing[3]; double origin[3]; reader->GetOutput()->GetExtent(extent); reader->GetOutput()->GetSpacing(spacing); reader->GetOutput()->GetOrigin(origin); double center[3]; center[0] = origin[0] + spacing[0] * 0.5 * (extent[0] + extent[1]); center[1] = origin[1] + spacing[1] * 0.5 * (extent[2] + extent[3]); center[2] = origin[2] + spacing[2] * 0.5 * (extent[4] + extent[5]); //*****************************************************************// static double axialElements[16] = { 1, 0, 0, 0, 0, 1, 0, 0, 0, 0, 1, 0, 0, 0, 0, 1 }; vtkSmartPointer resliceAxes = vtkSmartPointer ::New(); resliceAxes->DeepCopy(axialElements); resliceAxes->SetElement(0, 3, center[0]); resliceAxes->SetElement(1, 3, center[1]); resliceAxes->SetElement(2, 3, center[2]); vtkSmartPointer reslice = vtkSmartPointer ::New(); reslice->SetInputConnection(reader->GetOutputPort()); reslice->SetOutputDimensionality(2); reslice->SetResliceAxes(resliceAxes); reslice->SetInterpolationModeToLinear(); //*****************************************************************// vtkSmartPointer colorTable = vtkSmartPointer ::New(); colorTable->SetRange(-500,1500); colorTable->SetValueRange(0.0, 1.0); colorTable->SetSaturationRange(0.0, 0.0); colorTable->SetRampToLinear(); colorTable->Build(); vtkSmartPointer colorMap = vtkSmartPointer ::New(); colorMap->SetLookupTable(colorTable); colorMap->SetInputConnection(reslice->GetOutputPort()); colorMap->Update(); //*****************************************************************// vtkSmartPointer imgActor = vtkSmartPointer ::New(); imgActor->SetInputData(colorMap->GetOutput()); vtkSmartPointer renderer = vtkSmartPointer ::New(); renderer->AddActor(imgActor); renderer->SetBackground(0.4, 0.5, 0.6); vtkSmartPointer renderWindow = vtkSmartPointer ::New(); renderWindow->AddRenderer(renderer); renderWindow->Render(); renderWindow->SetSize(640, 480); renderWindow->SetWindowName("Extract3Dslice"); vtkSmartPointer rwi = vtkSmartPointer ::New(); vtkSmartPointer imagestyle = vtkSmartPointer ::New(); rwi->SetInteractorStyle(imagestyle); rwi->SetRenderWindow(renderWindow); rwi->Initialize(); //****************建立 观察者-命令 模式****************// vtkSmartPointer callback = vtkSmartPointer ::New(); callback->SetImageReslice(reslice); callback->SetInteractor(rwi); callback->SetImageResliceColorMap(colorMap); imagestyle->AddObserver(vtkCommand::MouseMoveEvent, callback); imagestyle->AddObserver(vtkCommand::LeftButtonPressEvent, callback); imagestyle->AddObserver(vtkCommand::LeftButtonReleaseEvent, callback); rwi->Start(); return 0; } vtkImageInteractionCallback继承自vtkCommand类,并覆盖父类函数Execute()。
该类提供了两个接口:SetImageReslice和SetInteractor。
SetImageReslice用以设置vtkImageSlice对象,vtkImageSlice根据设置的变换矩阵提取三维图像切片。SetInteractor用以设置vtkRenderWindowInteractor,vtkRenderWindowInteractor类对象负责每次提取切片后刷新视图。
下面重点看Execute函数,该函数提供了具体的切片提取功能。在该函数里面,主要监听了三个消息:
vtkCommand::LeftButtonPressEvent,
vtkCommand::LeftButtonReleaseEvent,
vtkCommand::MouseMoveEvent,
前两个消息分别是鼠标左键的按下和弹起消息。当鼠标左键按下时,就设置切片提取标志为1,而当弹起时,将标志置为0。这样在鼠标移动时,只有在确定切片提取标志为1时,执行切片提取功能。
vtkCommand::MouseMoveEvent即为鼠标移动消息。当检测到该消息时,首先检查切片提取标志,当为1时提取切片。提取切片时,需要为vtkImageSlice对象设置变换矩阵。这里在函数开始时,首先获取了鼠标滑动的前后两次点的位置lastPos和currPos。然后根据两点的Y坐标差deltaY,计算新的中心点center并变换至vtkImageSlice当前变换矩阵中,得到变换中心点,将其设置到原来的变换矩阵matrix中,并设置到vtkImageSlice中,最后执行interactor->Render()即可不断的根据鼠标移动刷新图像。Command对象定义完毕后,即可为交互对象InteractorStyle添加观察者,响应鼠标消息。
这里主要是定义了vtkImageInteractionCallback对象,并设置vtkImageSlice对象和vtkRenderWindowInteractor对象。然后为交互对象vtkInteractorStyle添加观察者来监控相应的消息,这里主要是三个消息:
vtkCommand::LeftButtonPressEvent,
vtkCommand::LeftButtonReleaseEvent,
vtkCommand::MouseMoveEvent,
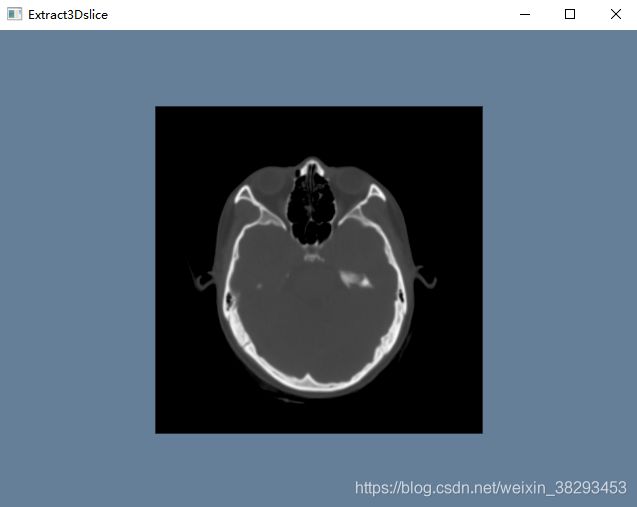
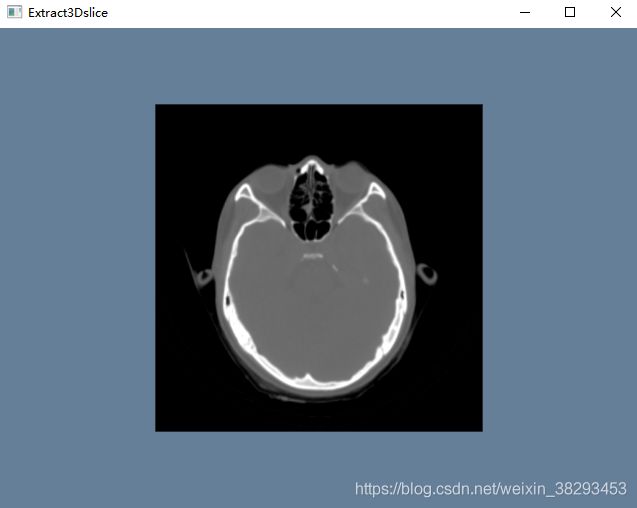
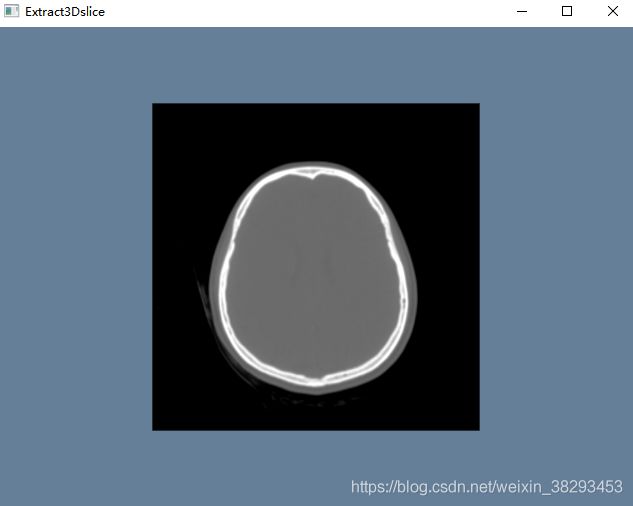
当响应到这三个消息时,立即执行vtkImageInteractionCallback的Execute函数,以便实现切片的实时提取和更新。完成以后,运行程序,当鼠标在图像上移动时,会发现图像会跟着鼠标的移动而变化。
4.效果图