【Unity3D】UI Toolkit自定义元素
1 前言
UI Toolkit 支持通过继承 VisualElement 实现自定义元素,便于通过脚本控制元素。另外,UI Toolkit 也支持将一个容器及其所有子元素作为一个模板,便于通过脚本复制模板。
如果读者对 UI Toolkit 不是太了解,可以参考以下内容。
- UI Toolkit简介
- UI Toolkit容器
- UI Toolkit元素
- UI Toolkit样式选择器
2 自定义元素
1)UI 搭建
搭建 UI 如下,其中 Background 和 MyContainer 是 VisualElement,NameLab 是 Label,ActionBtn 是 Button。
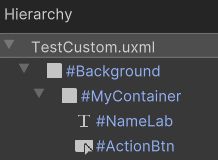
TestCustom.uxml
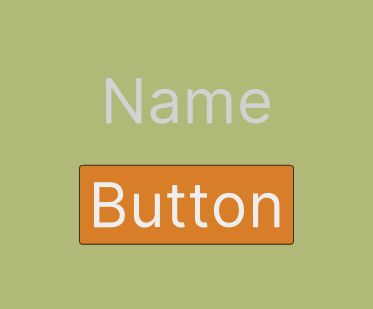
显示如下。
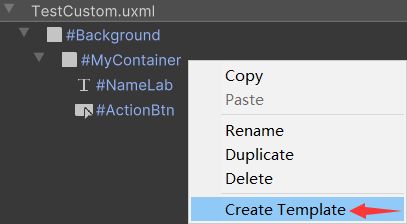
2)创建模板
选中 MyContainer,右键弹出菜单,选择 Create Template,选择 Resources 目录下保存 MyContainer.uxml 文件。
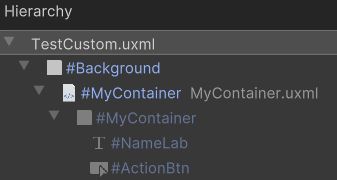
保存模板后,Hierarchy 层级结构如下。可以看到,原来的 MyContainer 变成不可编辑的了,并且其上又套了一个空对象。这里先删去新的 MyContainer,只留下 Background,后面会通过脚本加载 MyContainer。
3)自定义元素
MyContainer.cs
using UnityEngine;
using UnityEngine.UIElements;
public class MyContainer : VisualElement {
private TemplateContainer container;
// 便于在UI Builder中导入自定义UI, 需要有无参构造函数
public new class UxmlFactory : UxmlFactory {}
public MyContainer() {
container = Resources.Load("MyContainer").Instantiate();
container.style.flexGrow = 1.0f;
hierarchy.Add(container);
}
public MyContainer(int index) : this() {
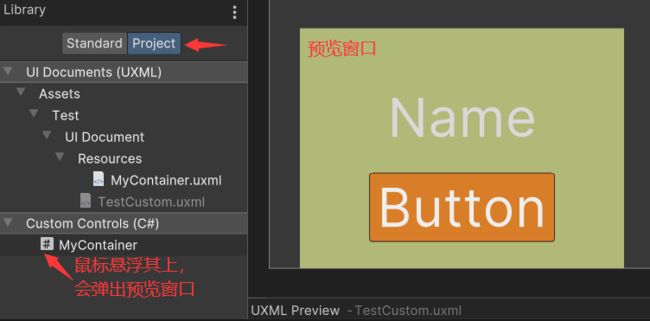
Label label = container.Q 编译后,在 UI Builder 中可以看到自定义的 UI,可以像内置 UI 一样拖拽到 Hierarchy 中使用。将鼠标悬浮在 MyContainer.cs 上,会弹出 UI 预览效果,如下。
4)加载元素
UILoader.cs
using UnityEngine;
using UnityEngine.UIElements;

public class UILoader : MonoBehaviour {
    private VisualElement root;

    private void Awake() {
        root = GetComponent().rootVisualElement;
        var bodyContainer = root.Q("Background");
        bodyContainer.Clear();
        for(int i = 0; i < 3; i++) {
            MyContainer customContainer = new MyContainer(i);
            bodyContainer.Add(customContainer);
        }
    }
}
5)运行效果
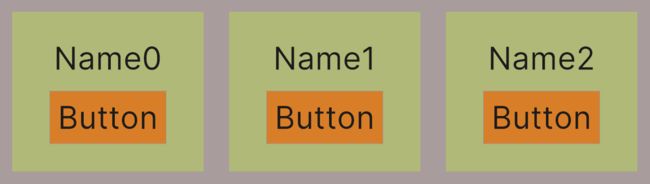
依次点击 3 个按钮,打印日志如下。
