YOLOv5-7.0训练中文标签的数据集
链接:https://pan.baidu.com/s/1KSROxTwyYnNoNxI5Tk13Dg
提取码:8888
以显示楷体为例(上面的百度网盘里面有黑体、宋体、楷体ttf文件)
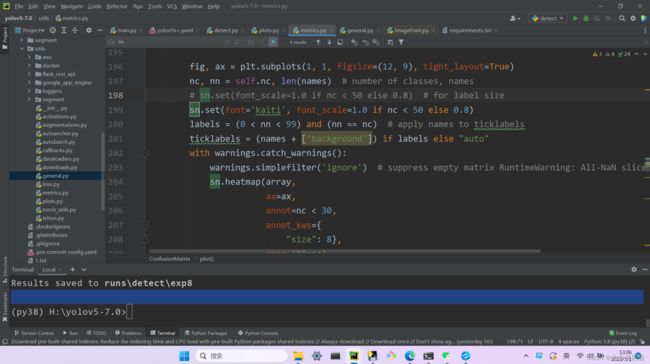
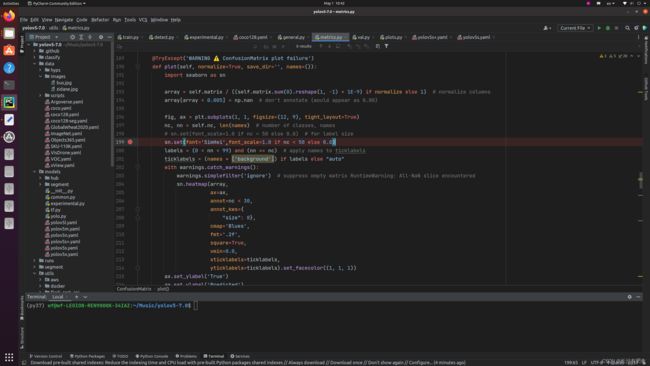
(1)将metric.py中:
将
sn.set(font_scale=1.0 if nc < 50 else 0.8) # for label size改为:
sn.set(font='kaiti', font_scale=1.0 if nc < 50 else 0.8)Windows11:
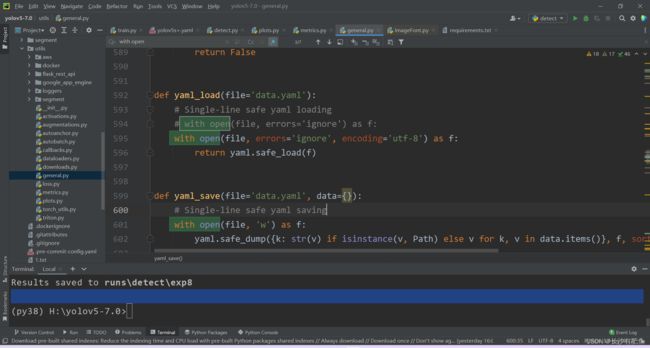
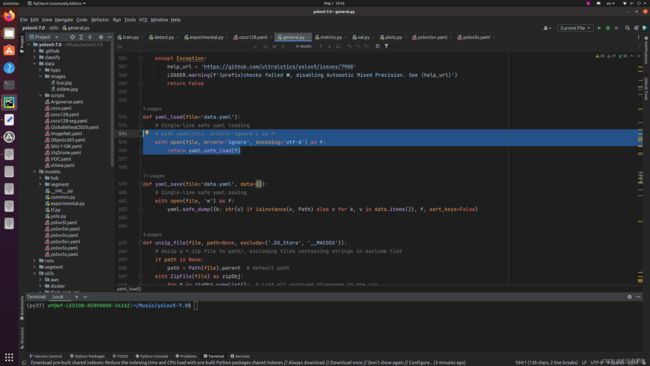
(2)将general.py中:
将
with open(file, errors='ignore') as f:改为:
with open(file, errors='ignore', encoding='utf-8') as f:Windows11:
Ubuntu20.04:
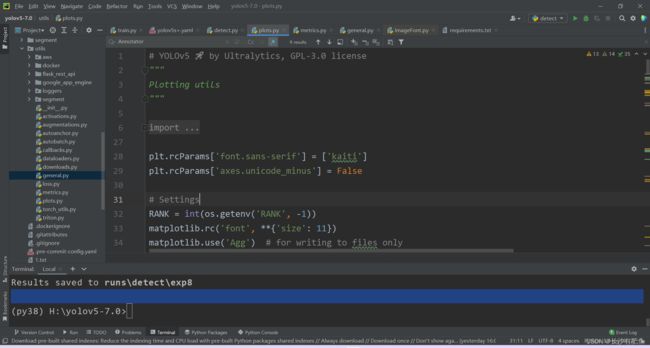
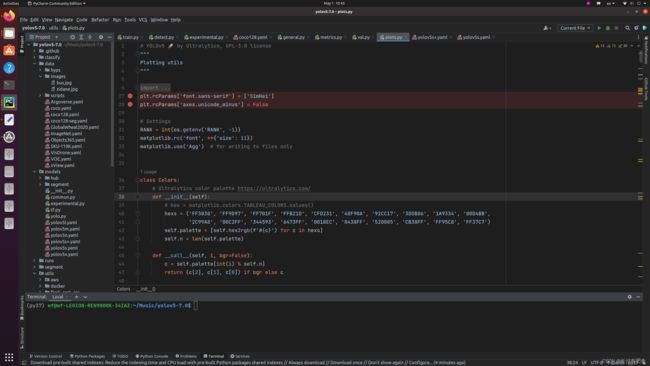
(3)将plots.py中:
在头文件处加上:
plt.rcParams['font.sans-serif'] = ['kaiti']
plt.rcParams['axes.unicode_minus'] = False
Windows11:
Ubuntu20.04:
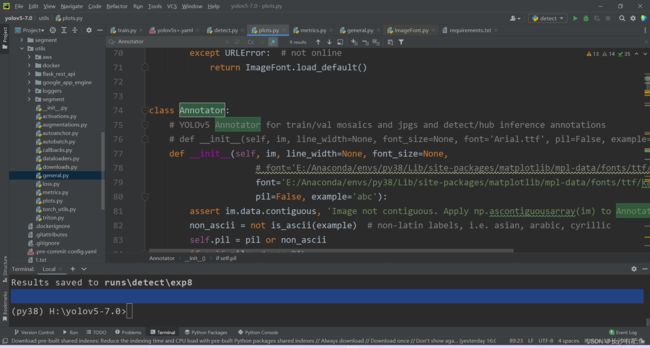
在plots.py找到class Annotator:
def __init__(self, im, line_width=None, font_size=None, font='Arial.ttf', pil=False, example='abc'):改为:
def __init__(self, im, line_width=None, font_size=None,
                     font='E:/Anaconda/envs/py38/Lib/site-packages/matplotlib/mpl-data/fonts/ttf/kaiti.ttf',
                     pil=False, example='abc'):
将
self.font = check_pil_font(font='Arial.Unicode.ttf' if non_ascii else font,
                                       size=font_size or max(round(sum(self.im.size) / 2 * 0.035), 12))
改为:
 self.font = check_pil_font(
                font='E:/Anaconda/envs/py38/Lib/site-packages/matplotlib/mpl-data/fonts/ttf/kaiti.ttf' if non_ascii else font,
                size=font_size or max(round(sum(self.im.size) / 2 * 0.035), 12))
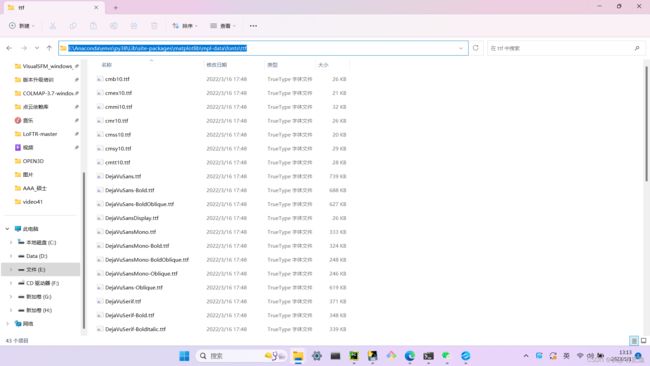
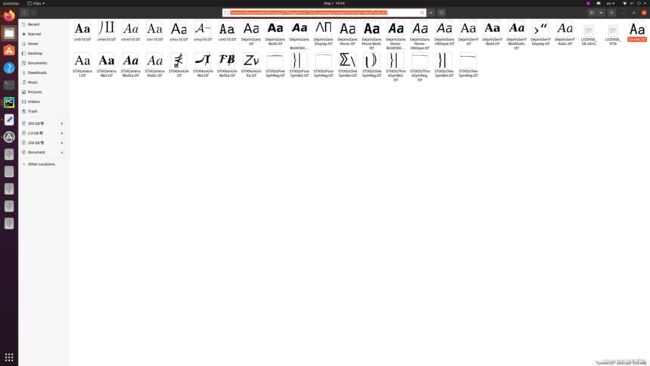
其中font里面的地址是中文字体的绝对路径,此时你可以用我给你的百度网盘五年间里面的字体复制到你使用的虚拟环境下面,就在matplotlib里面,根据上面的绝对路径去找,然后复制进去,然后把你的绝对路径复制到.py文件中即可,例如:
我的Windows11下面的地址是这样的:
我的Ubuntu20.04下面的虚拟环境是这样的:
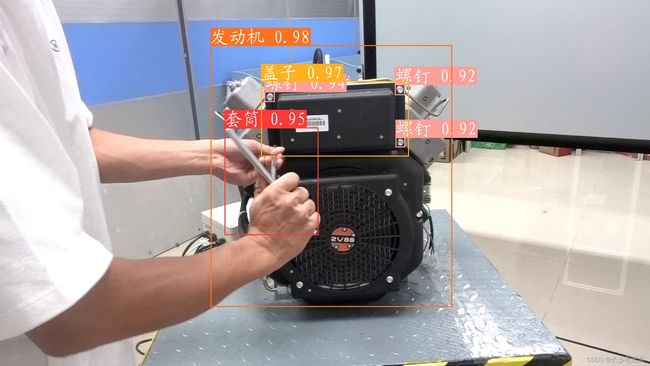
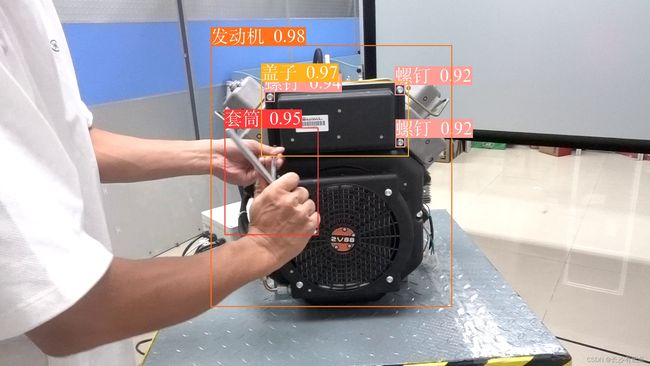
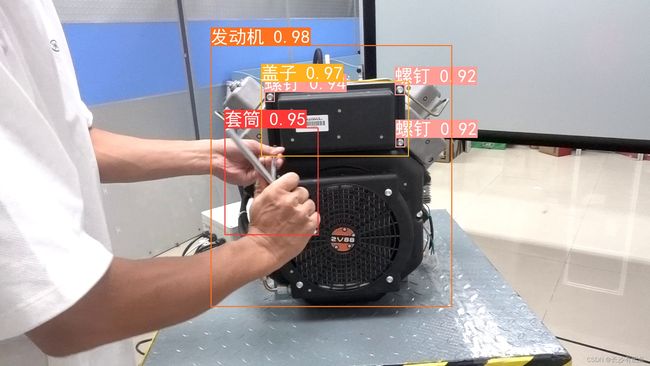
训练的时候,把你的yaml文件name改成中文就行了,这里就不叙述了,和训练英文标签是一样的!
