Flutter基础组件:按钮组件、单选组件、复选组件、滑块组件
常用按钮组件
参考:Flutter实战,按钮
RaisedButton
RaisedButton:Material风格”凸起“的按钮。
  @override
  Widget build(BuildContext context) {
    return Column(
      children: [
        RaisedButton(
            onPressed: () => print("点击了"),
            textTheme: ButtonTextTheme.accent,
            child: const Text("RaisedButton"))
      ],
    );
  }

注:该按钮已被弃用,可以使用ElevatedButton来代替
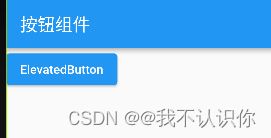
ElevatedButton
ElevatedButton 即"漂浮"按钮,它默认带有阴影和灰色背景。按下后,阴影会变大。
  Widget build(BuildContext context) {
    return Column(
      children: [
        ElevatedButton (
            onPressed: () => print("点击了"),
            child: const Text("ElevatedButton"))
      ],
    );
  }
FlatButton
FlatButton:扁平的按钮。
  Widget build(BuildContext context) {
    return Column(
      children: [
        FlatButton (
            onPressed: () => print("点击了"),
            child: const Text("FlatButton"))
      ],
    );
  }
注:该按钮已被弃用,可以使用TextButton来代替
TextButton
TextButton即文本按钮,默认背景透明并不带阴影。按下后,会有背景色
  Widget build(BuildContext context) {
    return Column(
      children: [
        TextButton (
            onPressed: () => print("点击了"),
            child: const Text("TextButton"))
      ],
    );
  }
OutlineButton
类似于文本按钮,但是默认会有一个边框
  Widget build(BuildContext context) {
    return Column(
      children: [
        OutlinedButton (
            onPressed: () => print("点击了"),
            child: const Text("OutlineButton"))
      ],
    );
  }
IconButton
IconButton是一个可点击的Icon,不包括文字,默认没有背景,点击后会出现背景
Widget build(BuildContext context) {
    return Column(
      children: [
        IconButton(
          icon: const Icon(Icons.thumb_up,color:Colors.blue),
          onPressed: () {
            print("点击了");
          },
        )
      ],
    );
  }
带图标的按钮
ElevatedButton、TextButton、OutlineButton都有一个icon 构造函数,通过它可以轻松创建带图标的按钮
  Widget build(BuildContext context) {
    return Column(
      children: [
        ElevatedButton.icon(
          icon: const Icon(Icons.send),
          label: const Text("发送"),
          onPressed: (){

          },
        ),
      ],
    );
  }
单选组件
Radio
var radioGroupValue = '';
@override
Widget build(BuildContext context) {
  return Column(
    children: [
      Radio(
          value: '1',
          groupValue: radioGroupValue,
          onChanged: (value) {
            setState(() {
              radioGroupValue = value;
            });
          })
    ],
  );
}
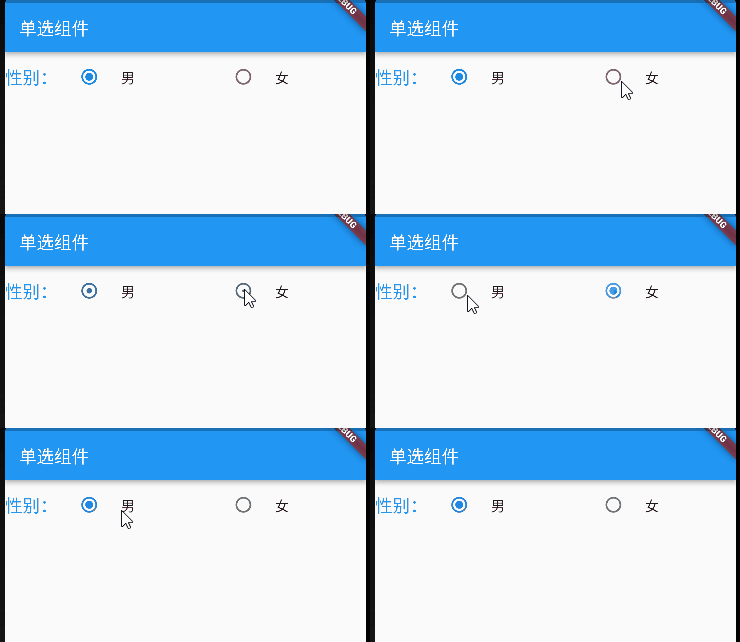
Radio控件本身没有State状态,当value的值和groupValue值相等时,Radio显示选中状态,

通常情况下,有多个单选按钮,当选中一个时,其他自动变为未选中状态:
 var radioGroupValue = '男';
  @override
  Widget build(BuildContext context) {
    return Row(children: [
      const Text(
        "性别:",
        style: TextStyle(fontSize: 20, color: Colors.blue),
      ),
      Radio(
          value: '男',
          groupValue: radioGroupValue,
          activeColor: Colors.red,  //激活时的颜色
          onChanged: (value) {
            setState(() {
              radioGroupValue = value.toString();
            });
          }),
      Radio(
          value: '女',
          groupValue: radioGroupValue,
          activeColor: Colors.red,  //激活时的颜色
          onChanged: (value) {
            setState(() {
              radioGroupValue = value.toString();
            });
          })
    ]);
  }
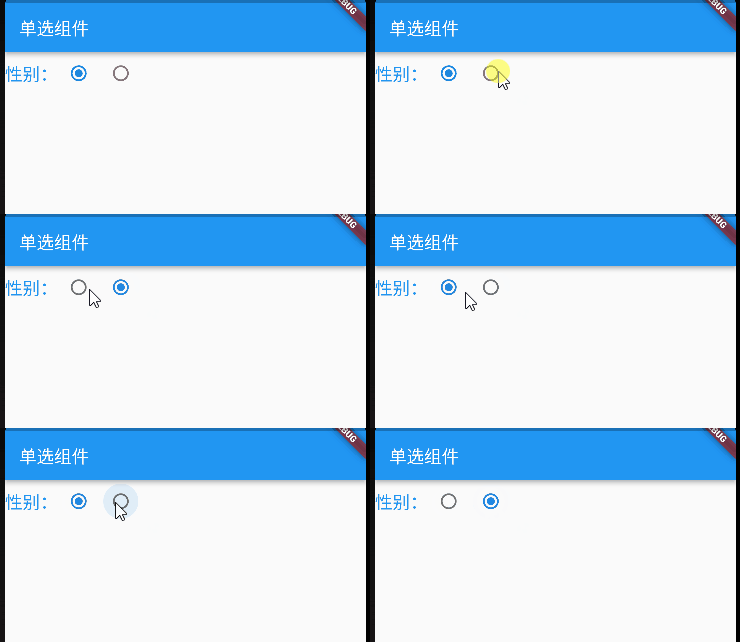
这样其实是还需要text组件才能添加上文本,因此flutter还提供了RadioListTile
RadioListTile
RadioListTile必须配合Flexible不然会报错
var radioGroupValue = '男';
  @override
  Widget build(BuildContext context) {
    return Row(children: [
      const Text(
        "性别:",
        style: TextStyle(fontSize: 20, color: Colors.blue),
      ),
      Flexible(
        child: RadioListTile(
          title: const Text('男'),
          value: '男',
          groupValue: radioGroupValue,
          onChanged: (value) {
            setState(() {
              radioGroupValue = value.toString();
            });
          },
        ),
      ),
      Flexible(
          child: RadioListTile(
        title: const Text('女'),
        value: '女',
        groupValue: radioGroupValue,
        onChanged: (value) {
          setState(() {
            radioGroupValue = value.toString();
          });
        },
      )),
    ]);
  }
复选组件
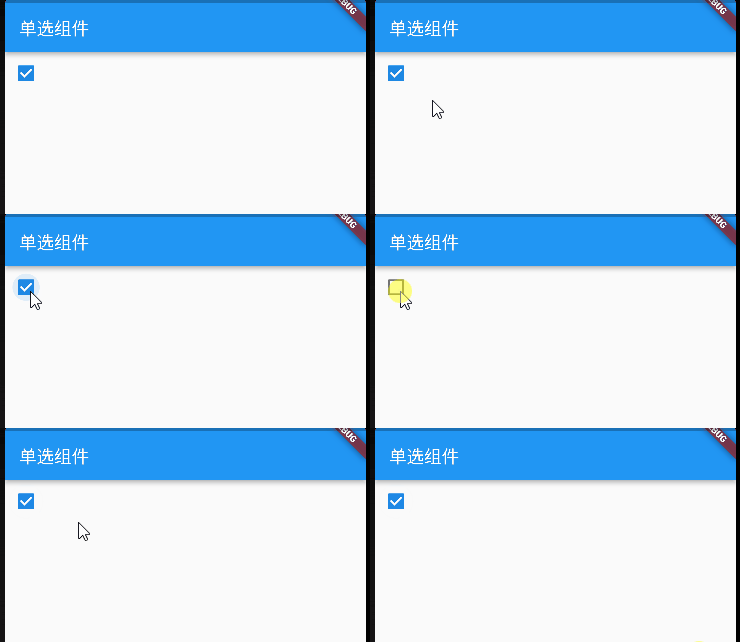
复选组件和单选组件用法基本上差不多
Checkbox
 var checkboxValue = true;
  @override
  Widget build(BuildContext context) {
    return Row(children: [
      Checkbox(
          value: checkboxValue,
          onChanged: (value) {
            setState(() {
              // !是类型断言,表示不是null
              checkboxValue = value!;
            });
          })
    ]);
  }
- value值为bool类型,true表示选择状态。
- onChanged为发生变化时回调,即点击控件时回调,方法内的参数为新的值。
- activeColor为激活状态下颜色,是矩形区域内的颜色,checkColor是选中后“对勾”的颜色,
CheckboxListTile
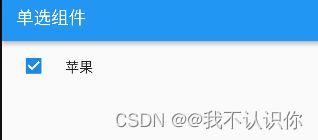
CheckboxListTile 外面也需要有个容器包裹
 var checkboxValue = true;
  @override
  Widget build(BuildContext context) {
    return Row(children: [
      SizedBox(
        width: 120,
        child: CheckboxListTile(
          title: const Text('苹果'),
          value: checkboxValue,
          controlAffinity:ListTileControlAffinity.leading,
          onChanged: (value){
            setState(() {
              checkboxValue = value!;
            });
          },
        ),
      )
    ]);
- controlAffinity:复选框的位置;
ListTileControlAffinity.leading是前面,ListTileControlAffinity.trailing是后面,ListTileControlAffinity.platform是跟随平台,也是默认值
滑块组件
Slider
class _YcHomeBodyState extends State<YcHomeBody> {
  double number = 0;
  @override
  Widget build(BuildContext context) {
    return Column(children: [
      Text("当前数值:$number"),
      Slider(
          value: number,
          min: 0, //最小值
          max: 10, //最大值
          divisions: 10, //分成几份
          onChanged: (value) {
            setState(() {
              number = value;
            });
          })
    ]);
  }
}
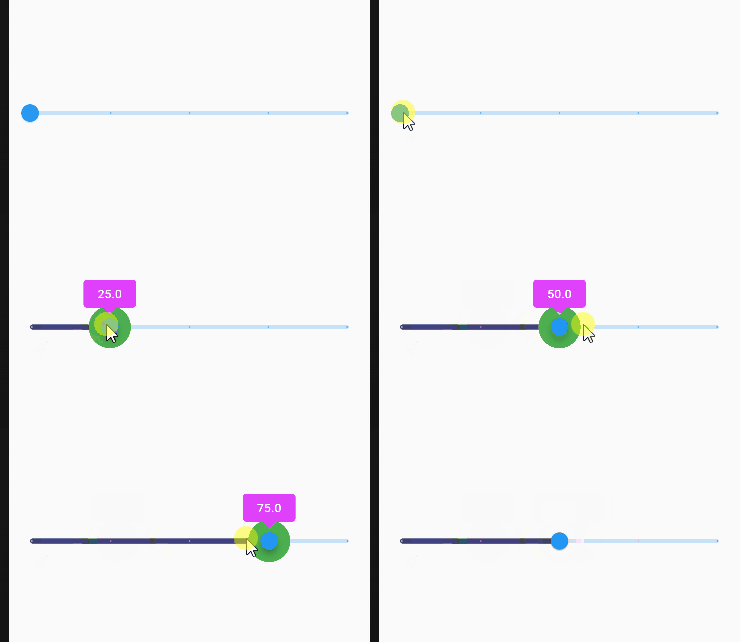
自定义样式
class _YcHomeBodyState extends State<YcHomeBody> {
  double number = 0;
  @override
  Widget build(BuildContext context) {
    return Column(mainAxisAlignment: MainAxisAlignment.center, children: [
      SliderTheme(
        data: SliderTheme.of(context).copyWith(
            activeTrackColor: const Color(0xff404080),
            thumbColor: Colors.blue,
            overlayColor: Colors.green,
            valueIndicatorColor: Colors.purpleAccent),
        child: Slider(
          value: number,
          label: '$number',
          min: 0,
          max: 100,
          divisions: 4,
          onChanged: (v) {
            setState(() {
              number = v;
            });
          },
        ),
      )
    ]);
  }
RangeSlider
RangeSlider 和 Slider 几乎一样,RangeSlider 是范围滑块,想要选择一段值,可以使用 RangeSlider。
class _YcHomeBodyState extends State<YcHomeBody> {
  RangeValues number = const RangeValues(20, 50);
  @override
  Widget build(BuildContext context) {
    return Column(mainAxisAlignment: MainAxisAlignment.center, children: [
      RangeSlider(
          values: number,
          labels: RangeLabels('${number.start}', '${number.end}'),
          min: 0,
          max: 100,
          divisions: 4,
          onChanged: (range) {
            setState(() {
              number = range;
            });
          })
    ]);
  }
}
这里要注意:
- 默认值是0到1,要是设置了初始值,一定要保证在范围之内
- 必须加上divisions,不然不会线上气泡
自适配
根据平台来显示不同的风格,ios显示ios风格,安卓显示Material
Slider.adaptive(
  value: _sliderValue,
  onChanged: (v) {
    setState(() {
      _sliderValue = v;
    });
  },
)
