【手写数字识别】CNN卷积神经网络入门案例
-
安装Anaconda
下载地址:https://mirrors.tuna.tsinghua.edu.cn/anaconda/archive/
安装完成后,在CMD窗口 输入conda --help查看是否安装成功 -
使用conda创建环境
 conda create --name tf python3.7
 conda activate tf
-
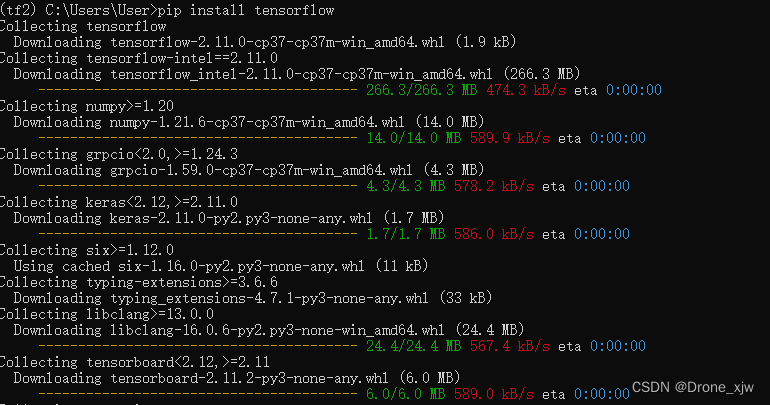
在 tf 环境中安装TensorFlow
pip install tensorflow
-
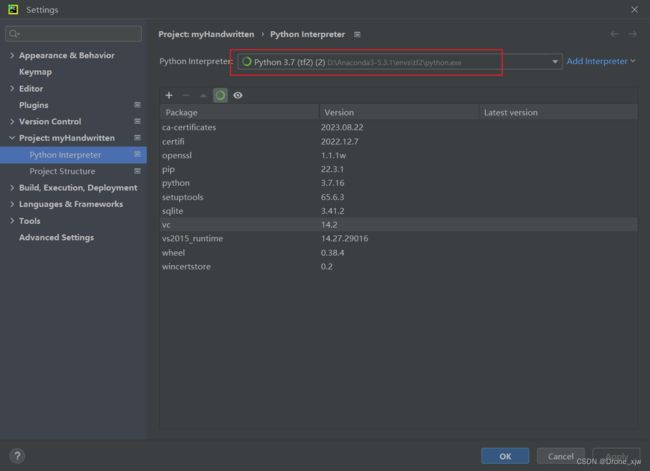
在pycharm中选择
Anaconda安装目录/envs/所需要添加的Conda环境名字/python.exe作为Python Interpreter,即可正常开发。
示例如下:
import tensorflow as tf

A = tf.constant([[1,2],[3,4]])
B = tf.constant([[5,6],[7,8]])
C = tf.matmul(A,B)
print(C)
- 训练模型
import tensorflow as tf
import keras
from keras.datasets import mnist
from keras.models import Sequential
from keras.layers import Dense, Dropout, Flatten
from keras.layers import Conv2D, MaxPooling2D
from keras import backend as K

# the data, split between train and test sets
(x_train, y_train), (x_test, y_test) = mnist.load_data()

print(x_train.shape, y_train.shape)
print(tf.__version__)
x_train = x_train.reshape(x_train.shape[0], 28, 28, 1)
x_test = x_test.reshape(x_test.shape[0], 28, 28, 1)
input_shape = (28, 28, 1)

# convert class vectors to binary class matrices
num_classes = 10
y_train = keras.utils.to_categorical(y_train, num_classes)
y_test = keras.utils.to_categorical(y_test, num_classes)

x_train = x_train.astype('float32')
x_test = x_test.astype('float32')
x_train /= 255
x_test /= 255
print('x_train shape:', x_train.shape)
print(x_train.shape[0], 'train samples')
print(x_test.shape[0], 'test samples')

# 创建模型
batch_size = 128
epochs = 30

model = Sequential()
model.add(Conv2D(32, kernel_size=(3, 3),activation='relu',input_shape=input_shape))
model.add(Conv2D(64, (3, 3), activation='relu'))
model.add(MaxPooling2D(pool_size=(2, 2)))
model.add(Dropout(0.25))
model.add(Flatten())
model.add(Dense(256, activation='relu'))
model.add(Dropout(0.5))
model.add(Dense(num_classes, activation='softmax'))

model.compile(loss=keras.losses.categorical_crossentropy,optimizer=keras.optimizers.Adadelta(),metrics=['accuracy'])
hist = model.fit(x_train, y_train,batch_size=batch_size,epochs=epochs,verbose=1,validation_data=(x_test, y_test))
print("The model has successfully trained")

model.save('mnist.h5')
print("Saving the model as mnist.h5")
score = model.evaluate(x_test, y_test, verbose=0)
print('Test loss:', score[0])
print('Test accuracy:', score[1])
- 模型预测
from keras.models import load_model
from tkinter import *
import tkinter as tk
import win32gui
from PIL import ImageGrab, Image
import numpy as np
model = load_model('mnist.h5')
def predict_digit(img):
#resize image to 28x28 pixels
img = img.resize((28,28))
#convert rgb to grayscale
img = img.convert('L')
img = np.array(img)
#reshaping to support our model input and normalizing
img = img.reshape(1,28,28,1)
img = img/255.0
#predicting the class
res = model.predict([img])[0]
return np.argmax(res), max(res)
class App(tk.Tk):
def __init__(self):
tk.Tk.__init__(self)
self.x = self.y = 0
# Creating elements
self.canvas = tk.Canvas(self, width=300, height=300, bg = "white", cursor="cross")
self.label = tk.Label(self, text="Thinking..", font=("Helvetica", 48))
self.classify_btn = tk.Button(self, text = "Recognise", command = self.classify_handwriting)
self.button_clear = tk.Button(self, text = "Clear", command = self.clear_all)
# Grid structure
self.canvas.grid(row=0, column=0, pady=2, sticky=W, )
self.label.grid(row=0, column=1,pady=2, padx=2)
self.classify_btn.grid(row=1, column=1, pady=2, padx=2)
self.button_clear.grid(row=1, column=0, pady=2)
#self.canvas.bind("", self.start_pos)
self.canvas.bind("" , self.draw_lines)
def clear_all(self):
self.canvas.delete("all")
def classify_handwriting(self):
HWND = self.canvas.winfo_id() # get the handle of the canvas
rect = win32gui.GetWindowRect(HWND) # get the coordinate of the canvas
im = ImageGrab.grab(rect)
digit, acc = predict_digit(im)
self.label.configure(text= str(digit)+', '+ str(int(acc*100))+'%')
def draw_lines(self, event):
self.x = event.x
self.y = event.y
r=8
self.canvas.create_oval(self.x-r, self.y-r, self.x + r, self.y + r, fill='black')
app = App()
mainloop()
参考文献
https://data-flair.training/blogs/python-deep-learning-project-handwritten-digit-recognition/
https://tf.wiki/zh_hans/basic/basic.html