Necessitas–让你在 Android 上享受 Qt 的乐趣!
转自:http://www.cnblogs.com/gaolinjie/archive/2011/10/31/2229840.html
最早接触 Qt 是由于对 Meego 开发非常感兴趣,但是,很不辛 Nokia 和 Intel 相继抛弃了这个让我充满期待的移动操作系统。相信做过 Qt 开发的人都会觉得这是一套非常优秀的开发环境,但是令人尴尬的是却不能很好的将其应用到当下最火热的移动开发领域中(虽然 Qt 支持 Symbian 和嵌入式 Linux,但是...)。好在罗马尼亚人 Bogdan Vatra 通过 Necessitas 将 Qt 带到了 Android —当今市场份额最大的移动操作系统上。
最早接触 Qt 是由于对 Meego 开发非常感兴趣,但是,很不辛 Nokia 和 Intel 相继抛弃了这个让我充满期待的移动操作系统。相信做过 Qt 开发的人都会觉得这是一套非常优秀的开发环境,但是令人尴尬的是却不能很好的将其应用到当下最火热的移动开发领域中(虽然 Qt 支持 Symbian 和嵌入式 Linux,但是...)。好在罗马尼亚人 Bogdan Vatra 通过 Necessitas 将 Qt 带到了 Android —当今市场份额最大的移动操作系统上。
现在 Necessitas 还处于 alpha 阶段,配置它的过程中难免会一些小问题。但是不经过折腾,怎能更深刻的体验到成功的喜悦呢?正所谓,生命在于折腾嘛!
闲话少叙,还是让我们看看配置 Necessitas 的具体步骤吧!
我是在 Ubuntu 11.04 安装 Necessitas 的,当然它也同样支持 Windows 和 Mac 平台。
step #1 : 安装 ant 和 jdk
在终端中输入:
sudo apt-get install ant
sudo apt-get install openjdk-6-jdk
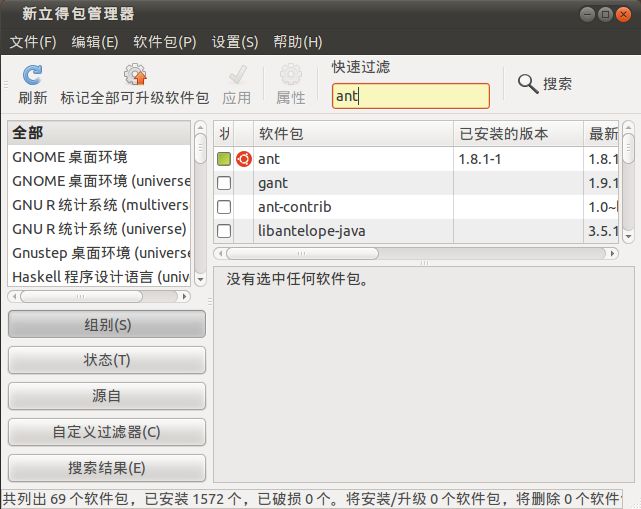
或者在新立得中搜索 ant 和 openjdk 选择安装:

step #2 : 安装 Android SDK 和 Android NDK
从 http://developer.android.com/sdk/index.html 下载最新的 SDK,将下载的文件移动到主目录,打开终端输入以下命令:
tar -xf android-sdk_r14-linux.tgz
android-sdk*/tools/android
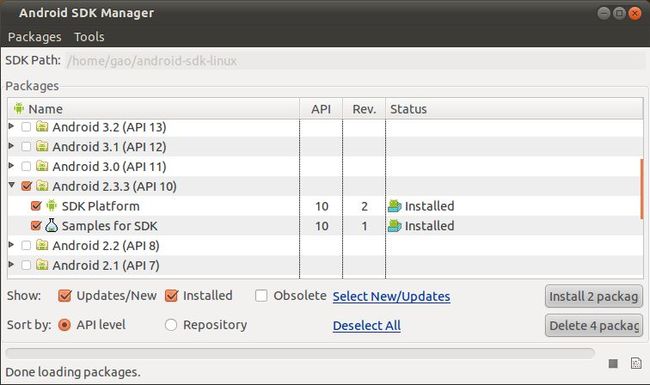
在弹出的安装界面上选择 Tools 和 Android 2.3.3 (API 10) 安装:
从 http://developer.android.com/sdk/ndk/index.html 下载最新的 NDK,同样将下载的文件移动到主目录,在终端输入以下命令:
tar -xf android-ndk-r6b-linux-x86.tar.bz2
这样就将NDK解压到主目录了。
step #3 : 安装 necessitas SDK
现在 necessitas 正式发布的最新版本是 alpha2 版本,这个版本我之前也成功安装过,但是创建的应用程序不能显示中文。为了这个问题我在网上找了很多资料,但是始终未能解决。无奈只能上 necessitas 的 google 论坛上求救了,热心的 Bogdan Vatra 给我提供了未正式发布的 alpha3 版本,该本版经过我的测试后发现已经可以完美显示中文了。
Necessitas alpha3 下载地址:http://files.kde.org/necessitas/installer/
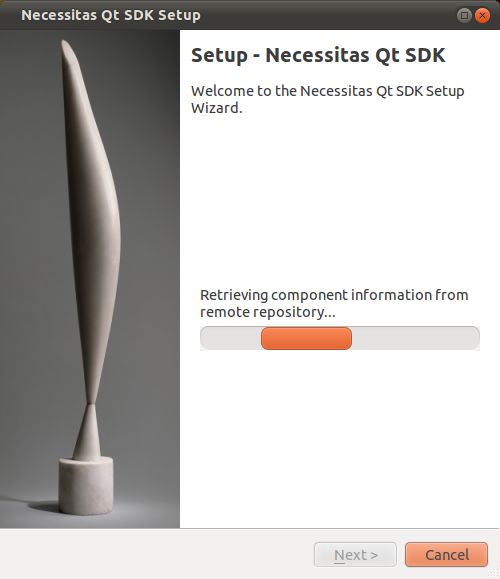
直接双击下载到的 necessitas 安装包,会弹出安装界面:
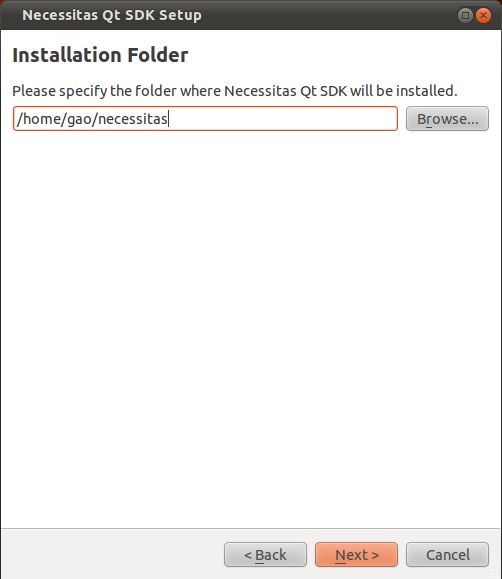

你可以选择安装的模块,包括了 Android SDK 和 NDK 以及 Ant,但是可能是网速的原因,如果把这三项组件选上的话,你会发现安装的时间会特别长,所以我还是推荐大家不要选择这三项,而是按 step #1 和 #2 的步骤自己手动安装。(当然你也可以试试在 step #1 和 #2 中只安装 jdk,然后在这步再安装这三项,如果网速可以的话,说不定可以简化你的安装步骤)
step #4 :Necessitas Qt Creator 设置
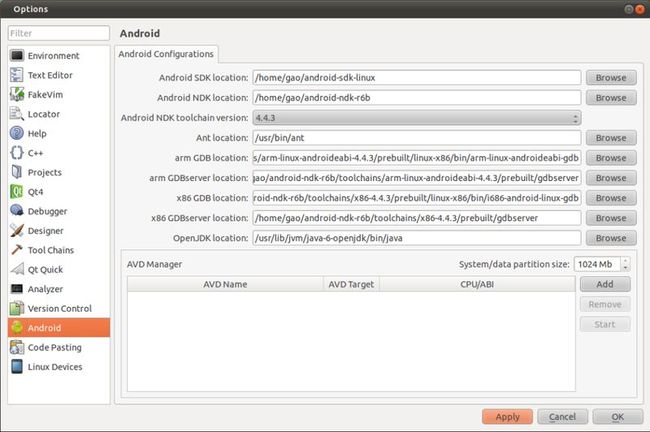
在ubuntu的应用程序菜单中的编程菜单中选择 Necessitas Qt Creator 来打开 necessitas 开发环境,在菜单栏选择 Tools->Options,在弹出的对话框左侧选择 Android 项,按下图配置工具的路径:
step #5 : 在Android设备上安装Ministro
同样在 http://files.kde.org/necessitas/installer/ 下载最新的 MinistroService.apk 和 MinistroConfigurationTool.apk,并将它们拷贝到 ~/android-sdk-linux/platform-tools/ 目录中,在终端中也将目录 cd 到该目录下,然后输入下面的命令来安装这两个 apk 到你的手机上:
sudo ./adb install MinistroService.apk

sudo ./adb install MinistroConfigurationTool.apk
step #6 : 建立中文版测试程序
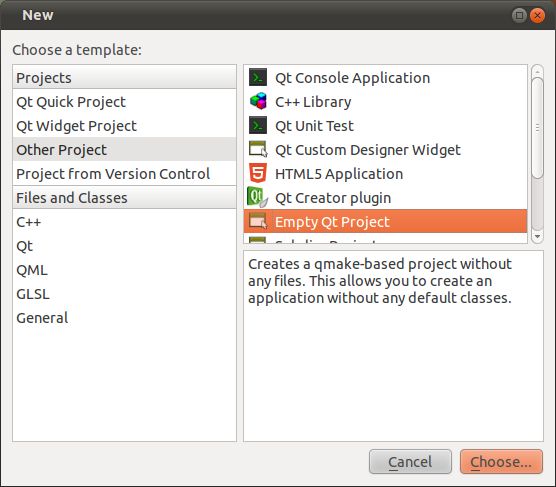
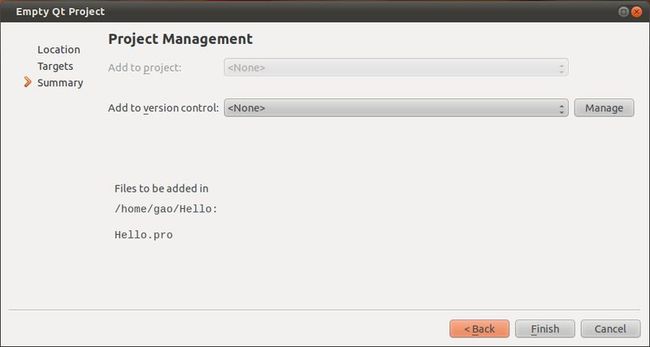
1. 打开Necessitas Qt Creator,选择 File->New File or Project...,在弹出的对话框中选择 Other Project->Empty Qt Project:

输入项目名称、选择 Android 平台最后选择 Finish 完成创建。

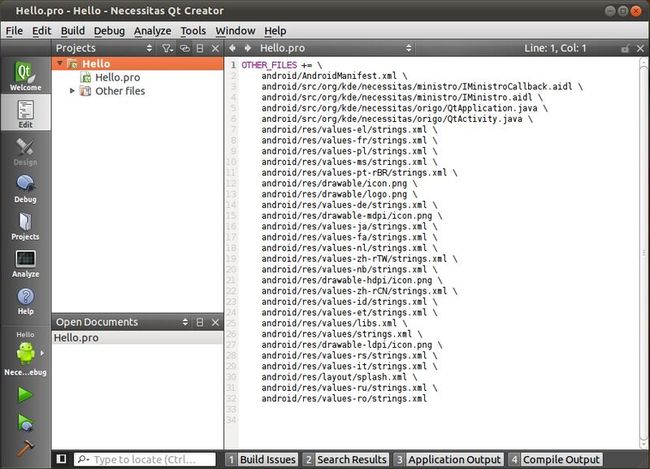
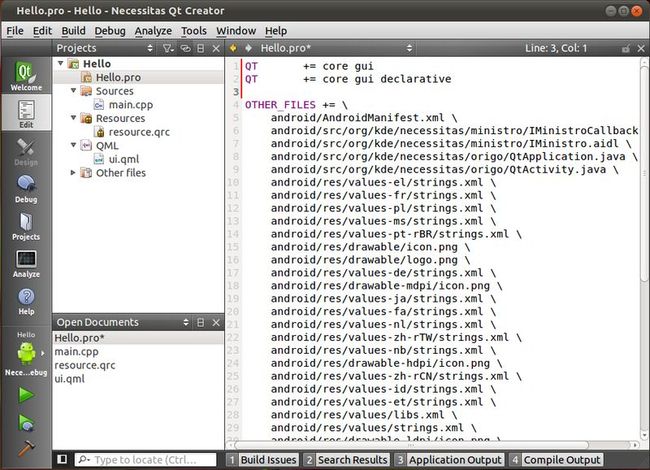
2. 新建的Hello项目如下所示:
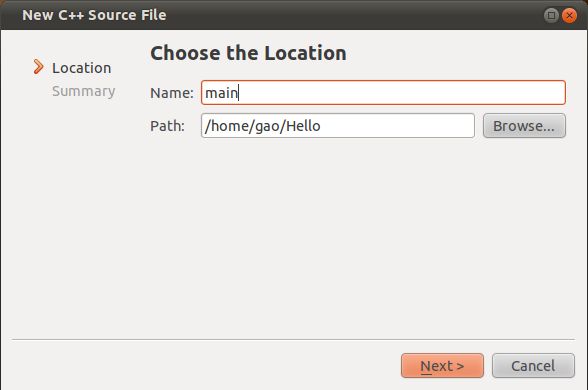
3. 新建 main.cpp:

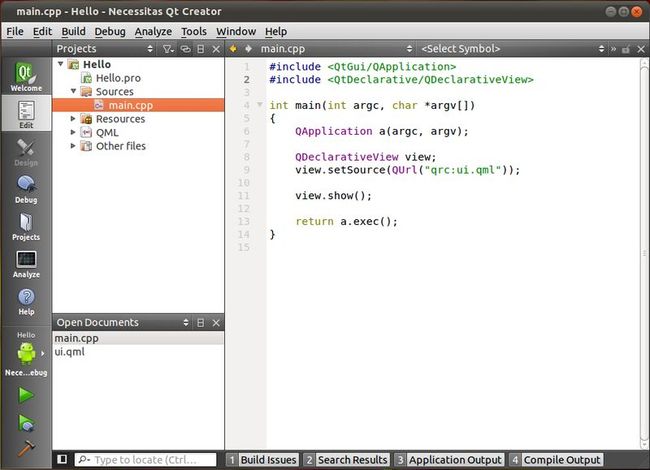
程序代码:
#include <QtGui/QApplication>
#include <QtDeclarative/QDeclarativeView>

int main(int argc, char *argv[])
{
    QApplication a(argc, argv);

    QDeclarativeView view;
    view.setSource(QUrl("qrc:ui.qml"));

    view.show();

    return a.exec();
}
4. 在 Hello.pro 加入所使用的 Qt 模块:
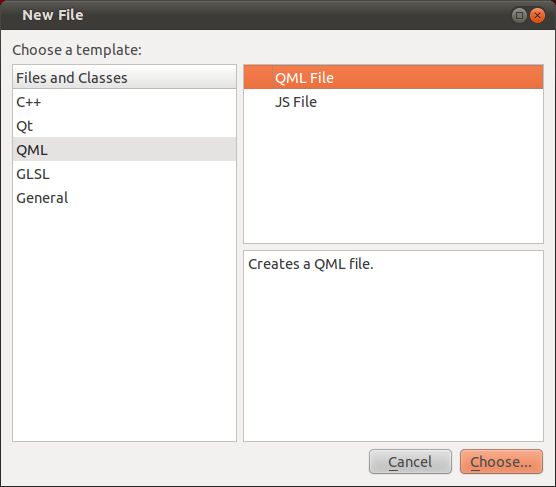
5. 新建 ui.qml:

程序代码:
import QtQuick 1.0

Rectangle {
       width: 480; height: 800

       Image {
               id: background
               source: "qt.png"
               anchors.centerIn: parent

                       Text {
                              id: txt
                              anchors.horizontalCenter: parent.horizontalCenter
                              y: 100
                              font.pointSize: 22
                              text: "你好Qt!"
                              color: "red"

                                     MouseArea {
                                              anchors.fill: parent
                                              onClicked: {
                                                     txt.text = "你好中文!"
                                              }
                                      }
                          }
        }
}
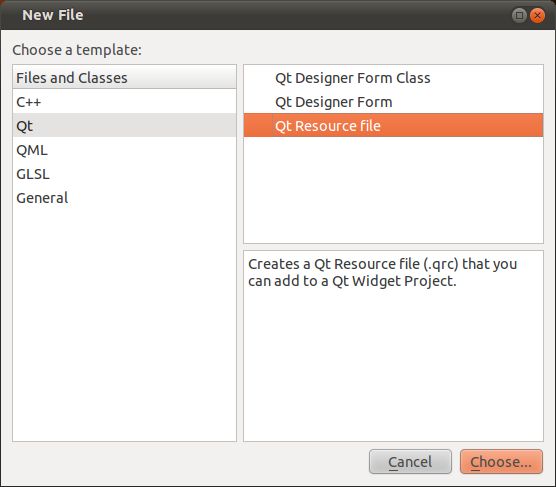
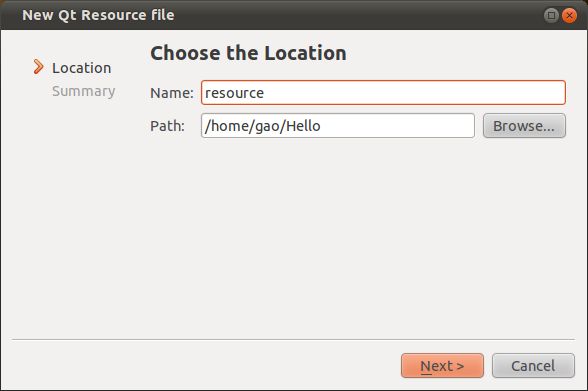
6. 新建 resource.qrc
7. 将 ui.qml 和 qt.png 加入到资源系统中:

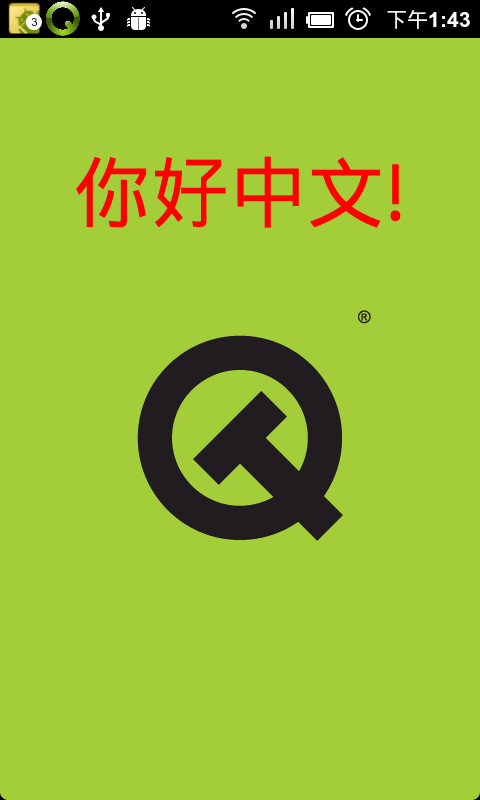
8.最后运行程序。
程序在我的 Nexus One 上运行的截图如下,触摸“你好 Qt !" 后文字会变成“你好中文!”: