RHEL5下构建LAMP+Postfix+Dovecot+SquirrelMail+Extmail+Extman+SpamAssassin防垃圾邮件-下
RHEL5下构建LAMP+Postfix+Dovecot+SquirrelMail+
Extmail+Extman+SpamAssassin防垃圾邮件--下
本人历时20个小时,终于登上邮件服务的第十八重天!其中出现很多问题,但是想办法还是解决了!
Linux下mail服务器架构之
Linux下mail服务器架构之源码实现postfix全功能电子邮件—上:http://xjzhujunjie.blog.51cto.com/3582724/831843
RHEL5下构建LAMP+Postfix+Dovecot+SquirrelMail+
Extmail+Extman+SpamAssassin防垃圾邮件—上:http://xjzhujunjie.blog.51cto.com/3582724/831843
第十四重天设置邮件系统的图形化日志信息
[root@mail ~]# ln -sf /usr/local/apache2/htdocs/extman/addon/mailgraph_ext/mailgraph-init /usr/sbin/
[root@mail ~]# ln -sf /usr/local/apache2/htdocs/extman/addon/mailgraph_ext/qmonitor.pl /usr/sbin/
[root@mail ~]# cp -a /usr/local/apache2/htdocs/extman/addon/mailgraph_ext/ /usr/local/
[root@mail ~]# qmonitor.pl start &
[root@mail ~]# echo "/usr/sbin/qmoonitor.pl start" >> /etc/rc.d/rc.local
[root@mail ~]# echo "/usr/sbin/mailgraph-init start" >> /etc/rc.d/rc.local
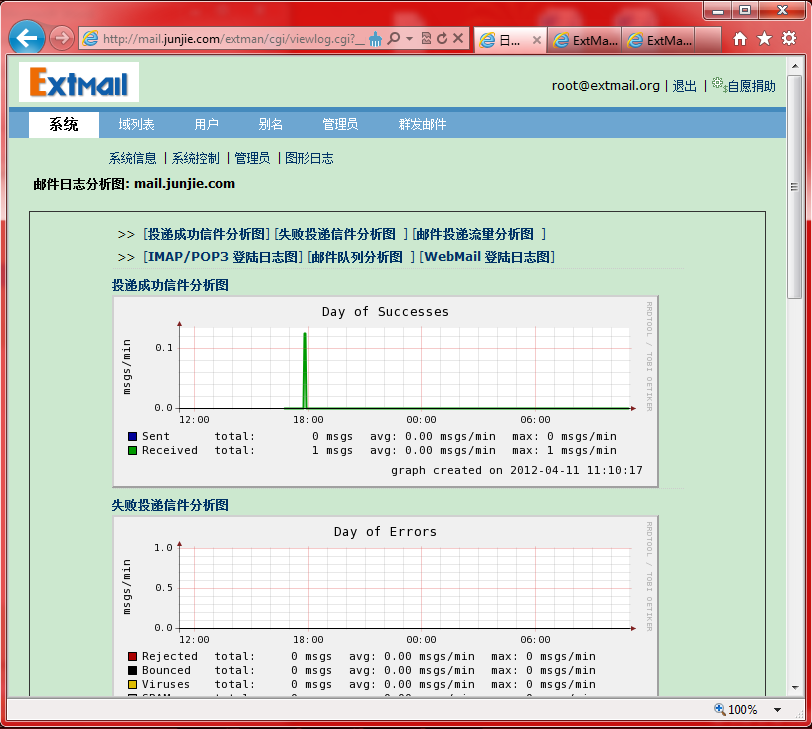
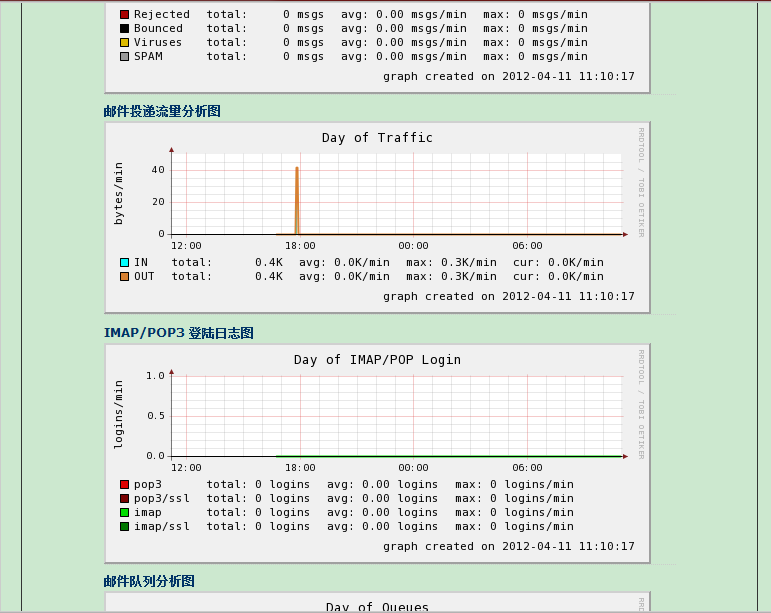
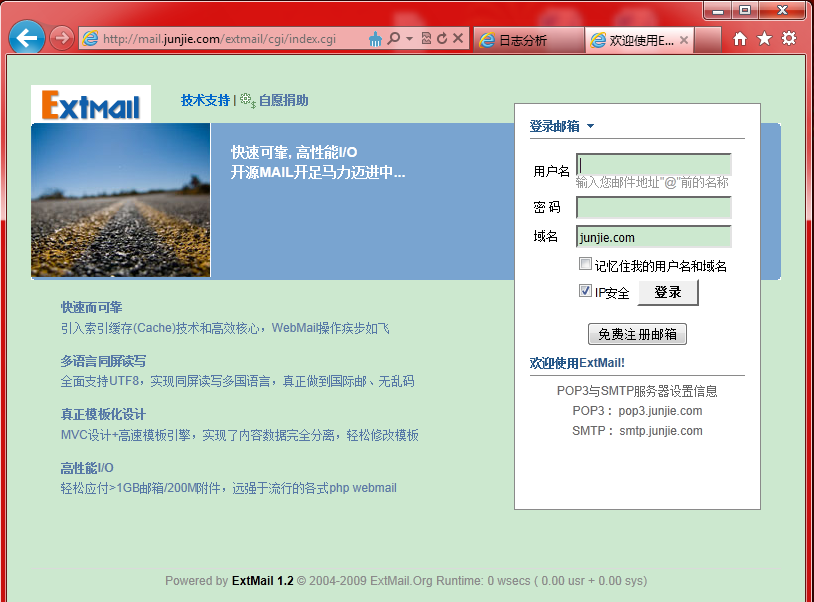
15.1 Extmail 登录页面,输入http://mail.junjie.com/extmail
15.2 Extman登录页面,输入http://mail.junjie.com/extman
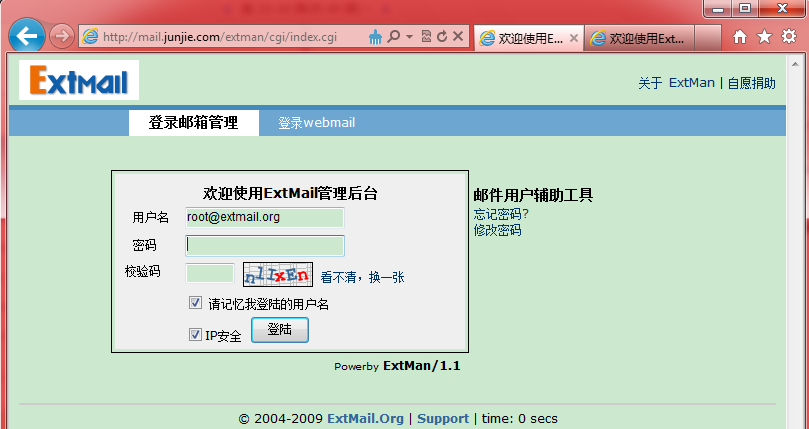
这里需要注意一点就是要登录extmail必须解析域名,使用IP访问时候无法登录,会提示IP域名无效。下面我们看一下登录进去的界面。
第十六重天 Extman后台管理设置
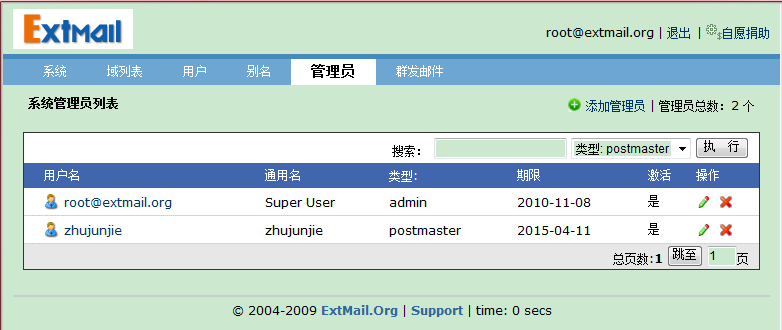
16.1 首页概况,登录进去首页显示系统管理员列表

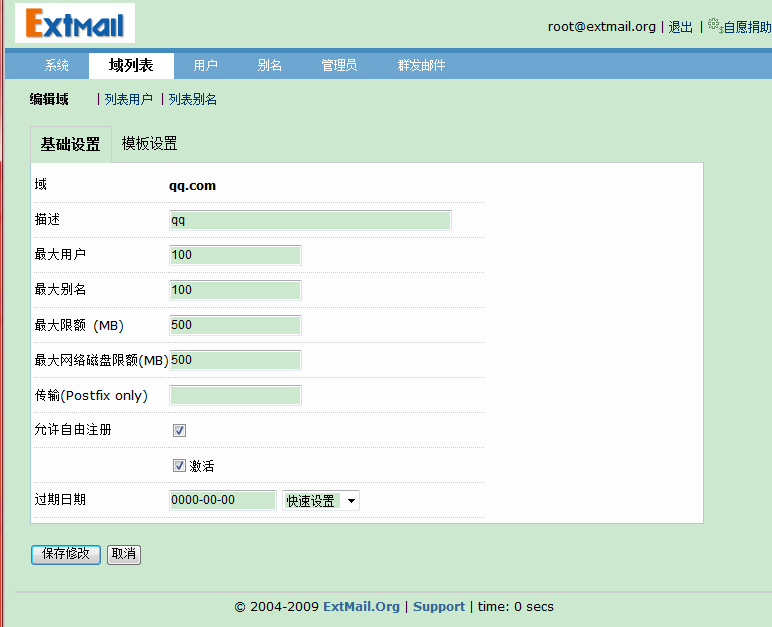
域列表中的qq.com,junjie.com是我们刚才创建的

16.2 添加域
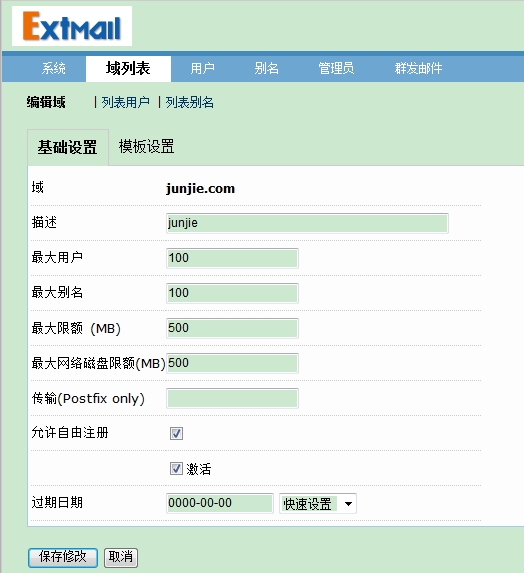
基础设置设置域名、域名描述、最大用户、最大别名、最大限额、最大网络磁盘限额、传输方式、还有是否允许自由注册(如果勾上这个选项的话,在ExtMail登录页面下面有一个免费注册邮箱就可以注册,如果不勾的话注册免费邮箱时候就会提示域名不提供注册服务!)是否激活域名、最后是域名过期日期。
16.2.1 模版设置

16.3 添加用户
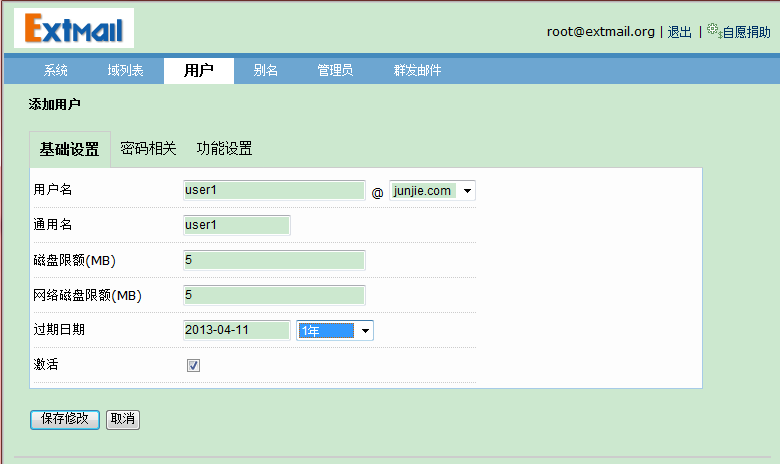
基础设置设置用户名,后面可选用户所在的域。
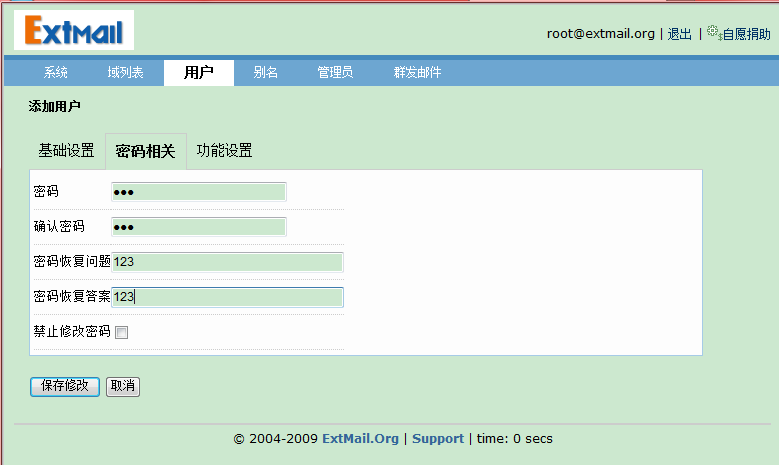
16.3.1 密码设置
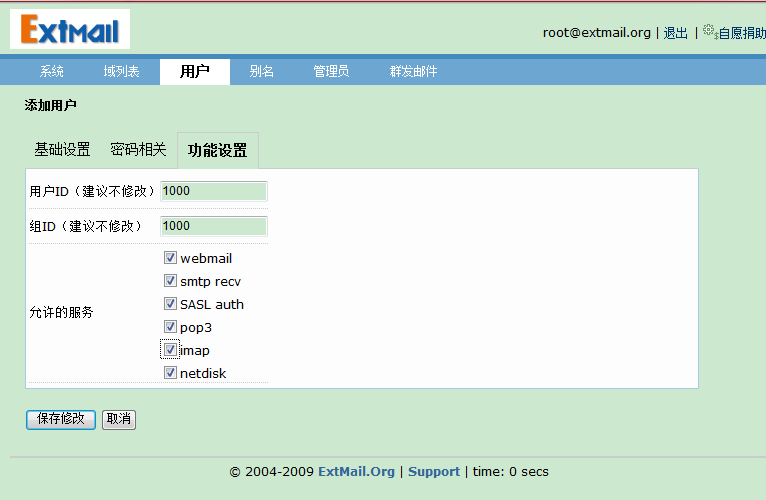
16.3.2 功能设置
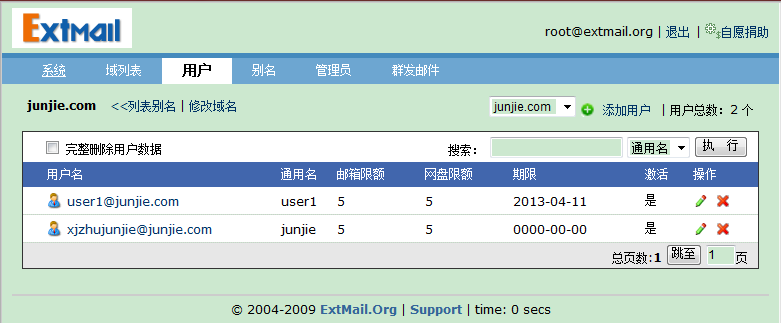
16.4 添加别名
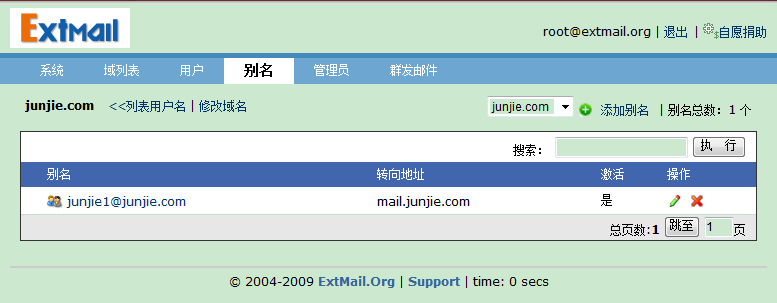
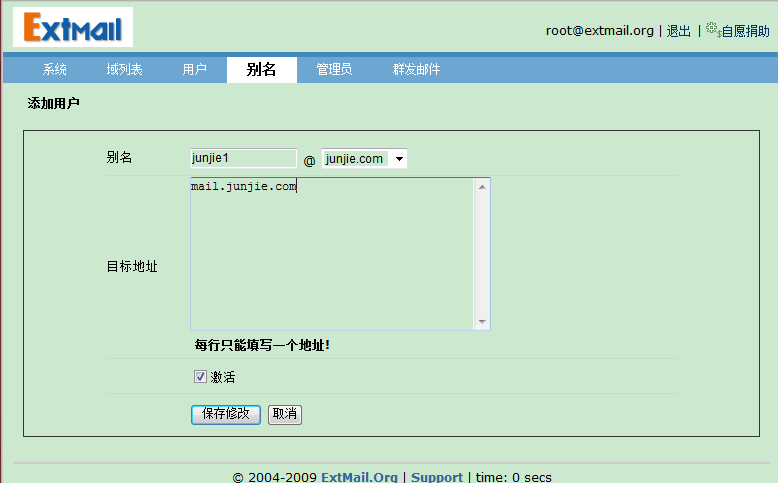
可以添加别名、别名所在的域,设置多个目标地址提示目标地址每行只能写一个并激活
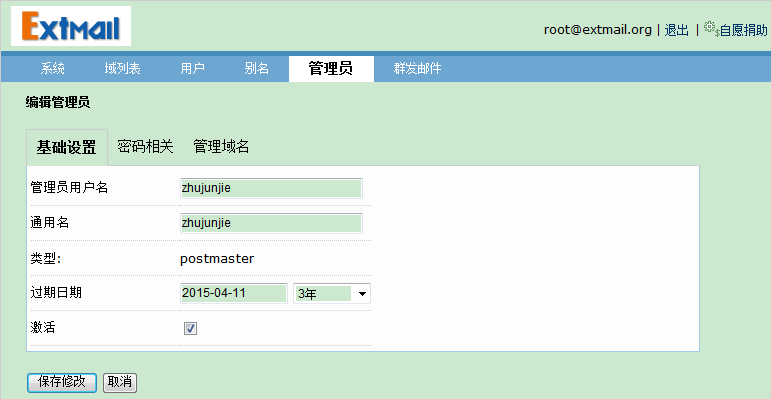
16.5 添加管理员
16.5.1 密码相关设置
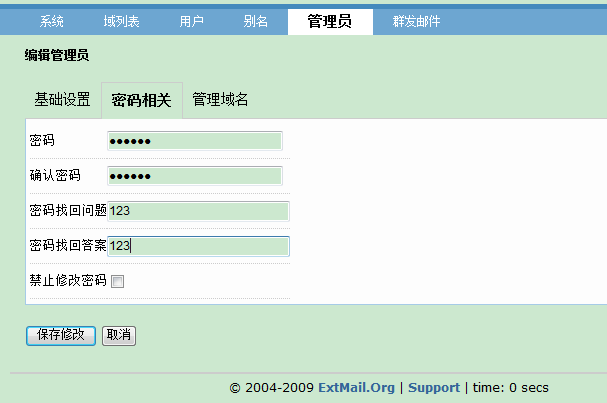
同普通用户一样也是设置密码、找回密码问题与答案是否禁止用户修改密码等
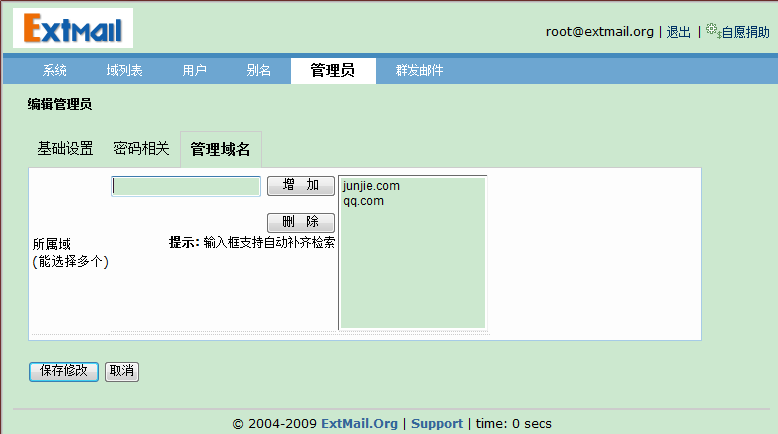
16.5.2 管理域名
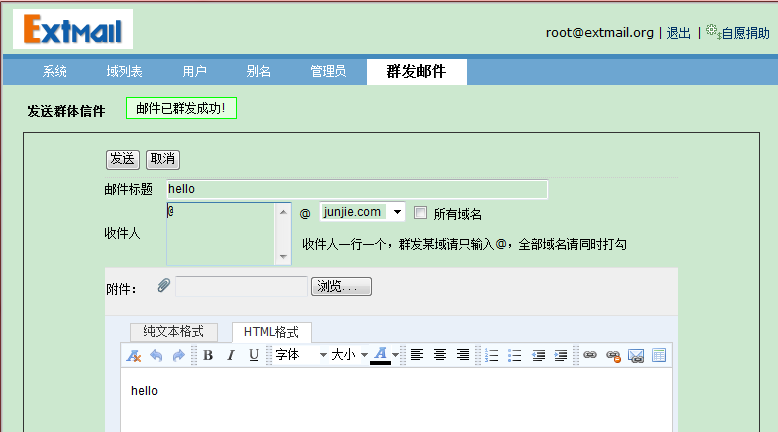
16.6 群发邮件
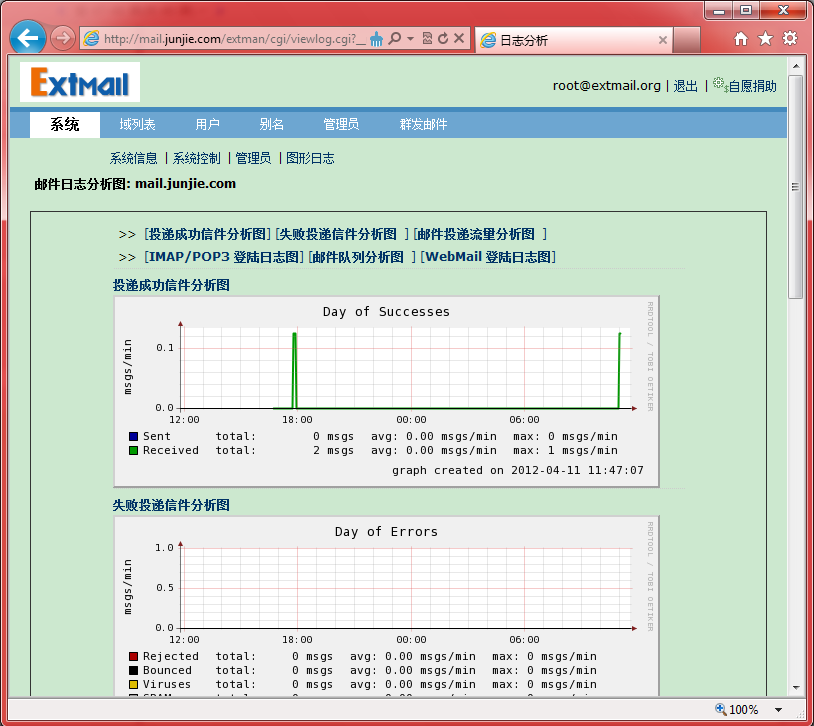
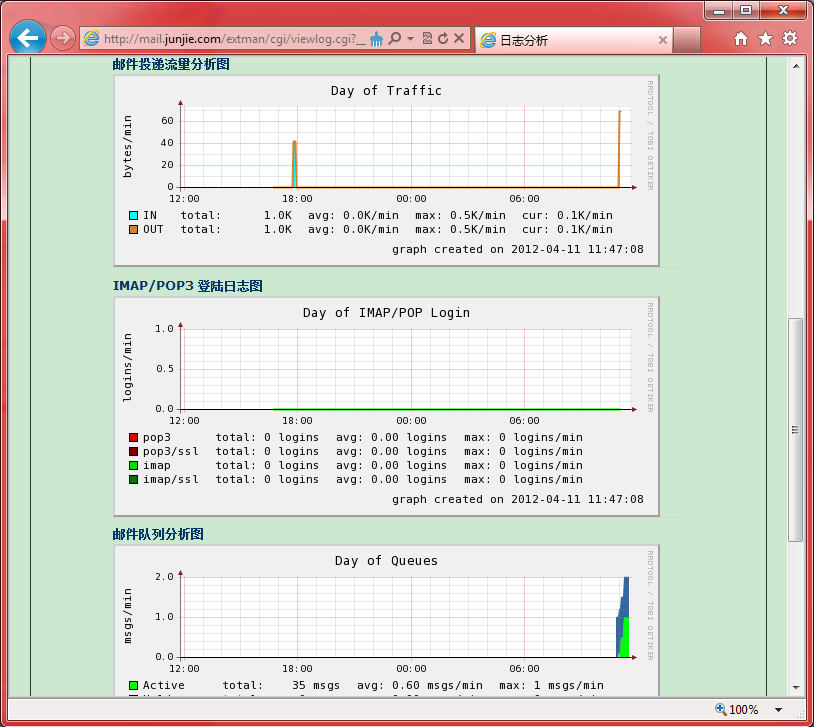
16.7 图像日志
17.1 邮件用户注册界面首页,点击免费注册邮箱
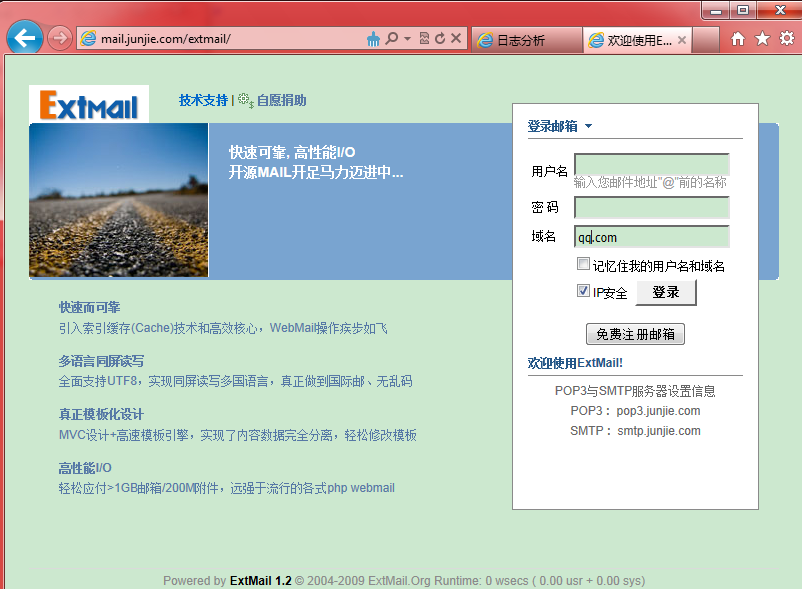
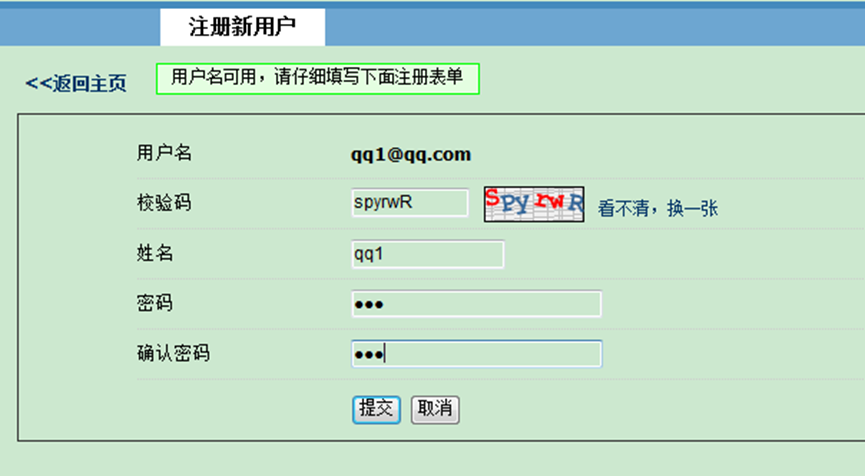

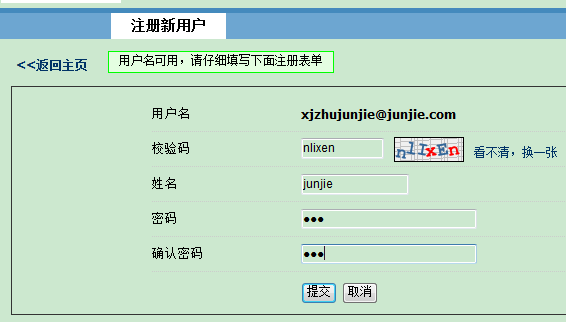
17.2 邮件用户登录界面首页


17.3 偏好设置
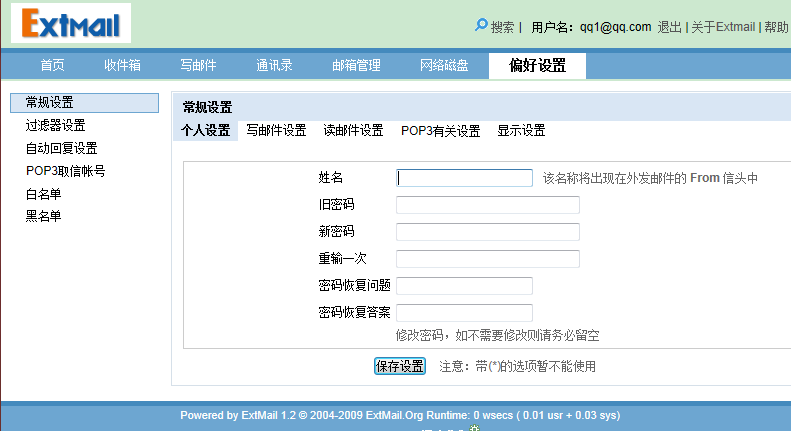
17.4 发信测试
[email protected]给[email protected]发信测试
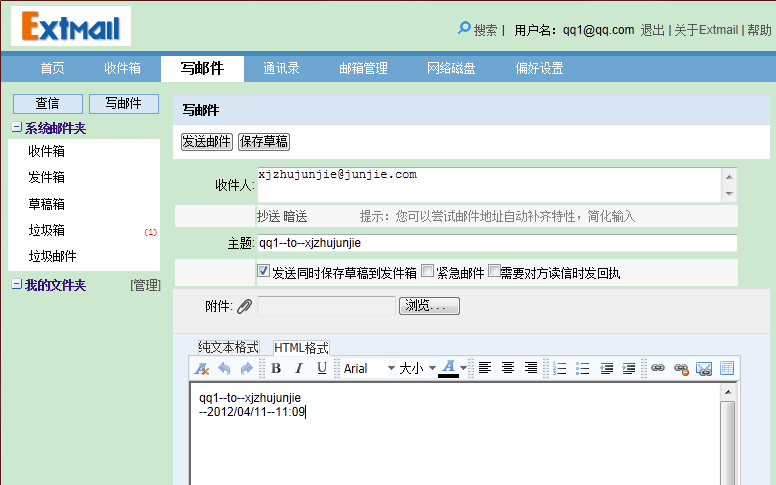
[email protected]登录收信测试
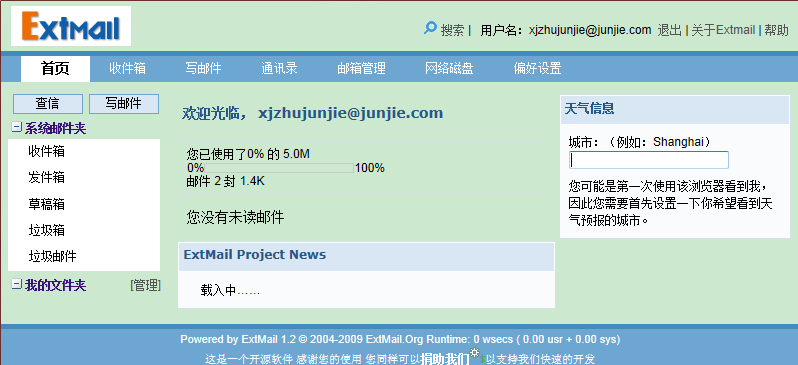
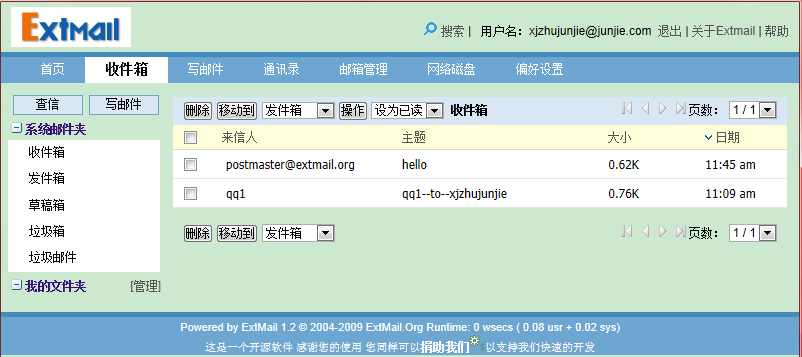
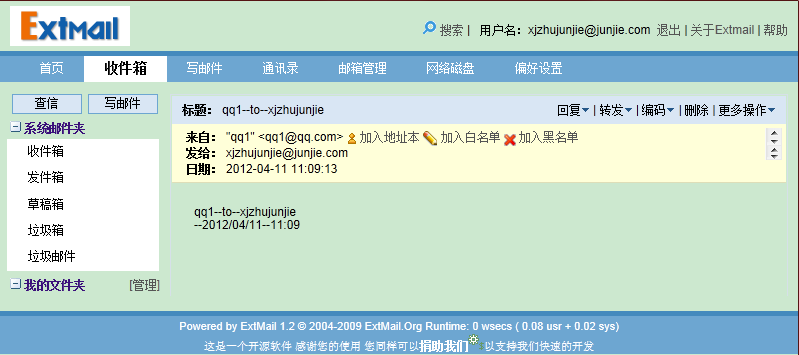
#其他选项卡同其他的邮件服务器一样。
#注意:一直登陆不上extman,提示校验码不对,是因为系统时间和客户端时间不对
18.1 根据客户端的主机名/地址过滤邮件,添加
[root@mail ~]# vim /etc/postfix/main.cf
659 smtpd_client_restrictions = check_client_access hash:/etc/postfix/access
[root@mail ~]# vim /etc/postfix/access
447 192.168.100 REJECT
448 192.168.100.210 OK
449 bbc.com REJECT
[root@mail ~]# postmap /etc/postfix/access
18.2 根据客户机HELO 信息中的主机名地址过滤邮件
[root@mail ~]# vim /etc/postfix/main.cf
660 smtpd_helo_required = yes
661 smtpd_helo_restrictions = reject_invalid_hostname
[root@mail ~]# postfix reload
postfix/postfix-script: refreshing the Postfix mail system
[root@mail ~]# service postfix restart
Shutting down postfix: [ OK ]
Starting postfix: [ OK ]
18.3 根据发件人的地址过滤邮件
[root@mail ~]# vim /etc/postfix/main.cf
662 smtpd_sender_login_maps = mysql:/etc/postfix/mysql_virtual_sender_maps.cf,mysql:/etc/postfix/mysql_virtual_alias_maps.cf
663 smtpd_sender_restrictions = permit_mynetworks,reject_sender_login-mismatch,reject_non_fqdn_sender,reject_unknown_sender_domain,che ck_sender_access hash:/etc/postfix/sender_access
[root@mail ~]# vim /etc/postfix/sender_access
fake.aptech.com REJECT
[root@mail ~]# postmap /etc/postfix/sender_access
18.4 根据收件人的地址过滤邮件
[root@mail ~]# vim /etc/postfix/main.cf
664 smtpd_recipient_restrictions = permit_mynetworks,permit_sasl_authenticated,reject_unauth_destination,reject_non_fqdn_ recipient,re ject_unknown_recipient_domain
[root@mail ~]# service postfix restart
Shutting down postfix: [ OK ]
Starting postfix: [ OK ]
18.5 基于邮件内容的过滤
18.5.1安装并配置MailScanner 扫描调度工具
1) 安装MailScanner 扫描调度工具,(安装时间非常长)
[root@mail ~]# cd mail/
[root@mail mail]# ll
[root@mail mail]# tar -zxf MailScanner-4.84.3-1.rpm.tar.gz -C /usr/local/src/
[root@mail mail]# cd /usr/local/src/MailScanner-4.84.3-1/
[root@mail MailScanner-4.84.3-1]# ls
[root@mail MailScanner-4.84.3-1]# ./install.sh
2) 修改配置文件MailScanner
[root@mail MailScanner-4.84.3-1]# cd
[root@mail ~]# vim /etc/MailScanner/MailScanner.conf
131 Run As User = postfix
136 Run As Group = postfix
165 Incoming Queue Dir = /var/spool/postfix/hold
169 Outgoing Queue Dir = /var/spool/postfix/incoming
2231 Required SpamAssassin Score = 7
2237 High SpamAssassin Score = 10
2437 Spam Actions = deliver header "X-Spam-Status: Yes"
2499 High Scoring Spam Actions = delete forward [email protected]
3) 配置Postfix 支持调用MailScanner
[root@mail ~]# vim /etc/postfix/main.cf
520 header_checks = regexp:/etc/postfix/header_checks
#最后添加
[root@mail ~]# vim /etc/postfix/header_checks
4) 调整邮件过滤队列的目录属主、属组,并启动MailScanner 服务程序
[root@mail ~]# chown -R postfix:postfix /var/spool/MailScanner/incoming/
[root@mail ~]# chown -R postfix:postfix /var/spool/MailScanner/quarantine/
[root@mail ~]# service MailScanner start
Starting MailScanner daemons:
[root@mail ~]# chkconfig --level 35 MailScanner on
[root@mail ~]# chkconfig --list MailScanner
18.5.2 安装并配置SpamAssassin 垃圾邮件过滤器
1) 安装并配置SpamAssassin 垃圾邮件过滤器
[root@mail ~]# yum install spamassassin -y
2) 修改配置文件local.cf
(位于“/etc/mail/spamassassin/local.cf”,一般不需要进行任何修改,保
3) 启动SpamAssassin 服务
[root@mail ~]# chkconfig --level 2345 spamassassin on
[root@mail ~]# chkconfig --list spamassassin
[root@mail ~]# service spamassassin start
Starting spamd: [ OK ]
18.5.3 安装并配置F-Port 病毒查杀软件
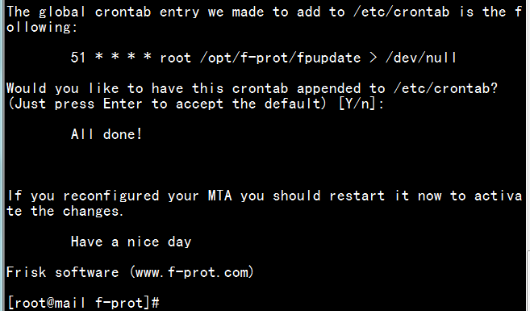
1) 安装F-Port 软件包安装过程中出现提示是按回车键接受默认设置
[root@mail ~]# cd mail/
[root@mail mail]# ll
[root@mail mail]# tar -zxvf fp-Linux-i686-ws.tar.gz -C /opt/
[root@mail mail]# cd /opt/f-prot/
[root@mail f-prot]# ls
[root@mail f-prot]# ./install-f-prot.pl
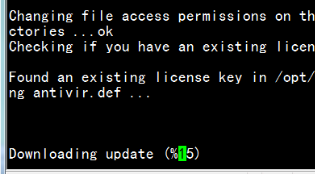
2) 升级F-Port 病毒库(服务器要能够访问Internet 互联网)
[root@mail f-prot]# /opt/f-prot/fpupdate

[root@mail f-prot]# crontab –e (计划任务)
00 8 * * * /opt/f-prot/fpupdate
[root@mail f-prot]# chkconfig --level 2345 crond on
[root@mail f-prot]# service crond restart
Stopping crond: [ OK ]
Starting crond: [ OK ]
18.6测试一下你的邮件服务器防病毒能力如何
病毒测试数据:X5O!P%@AP[4\PZX54(P^)7CC)7}$EICAR-STANDARD-ANTIVIRUS-TEST-FILE!$H+H*
垃圾邮件测试数据:
《完》