利用OpenCV生成关于某点的颜色径向均匀渐变图像
#include "cv.h"
#include "highgui.h"
#include <math.h>
#pragma comment(lib,"highgui.lib")
#pragma comment(lib,"cxcore.lib")
#pragma comment(lib,"cv.lib")
int main( int argc, char** argv )
{
	IplImage* image = cvCreateImage(cvSize(800,600),IPL_DEPTH_8U,3);
	if(!image)
	{
		return -1;
	}
	CvScalar a=CV_RGB(0,255,0);
	CvScalar b=CV_RGB(0,0,0);
	cvSet(image,a);
	CvPoint origin=cvPoint(800,600);
	CvPoint center=cvPoint(image->width/2,image->height/2);
	double  distance;
	if(origin.x<=center.x && origin.y<=center.y)
	{
		distance=sqrt((image->width-1-origin.x)*(image->width-1-origin.x)+
						(image->height-1-origin.y)*(image->height-1-origin.y));
	}
	else if(origin.x<=center.x && origin.y>center.y)
	{
		distance=sqrt((image->width-1-origin.x)*(image->width-1-origin.x)+
						origin.y*origin.y);
	}
	else if(origin.x>center.x && origin.y<=center.y)
	{
		distance=sqrt(origin.x*origin.x+
						(image->height-1-origin.y)*(image->height-1-origin.y));
	}
	else if(origin.x>center.x && origin.y>center.y)
	{
		distance=sqrt(origin.x*origin.x+origin.y*origin.y);
	}
	double weightB=(b.val[0]-a.val[0])/distance;
	double weightG=(b.val[1]-a.val[1])/distance;
	double weightR=(b.val[2]-a.val[2])/distance;
	for(int i=0;i<image->width;i++)
	{
		for(int j=0;j<image->height;j++)
		{
			double dist=sqrt((i-origin.x)*(i-origin.x)+(j-origin.y)*(j-origin.y));
			uchar* ptr = &CV_IMAGE_ELEM(image,uchar,j,i*3);
			ptr[0] = cvRound(ptr[0]+weightB*dist);
			ptr[1] = cvRound(ptr[1]+weightG*dist);
			ptr[2] = cvRound(ptr[2]+weightR*dist);
		}
	}
	cvSaveImage( "radial.jpg", image );
	cvNamedWindow( "test", 1 );
	cvShowImage( "test", image );
	cvWaitKey();
	cvDestroyWindow("test");
	cvReleaseImage(&image);
	return 0;
}
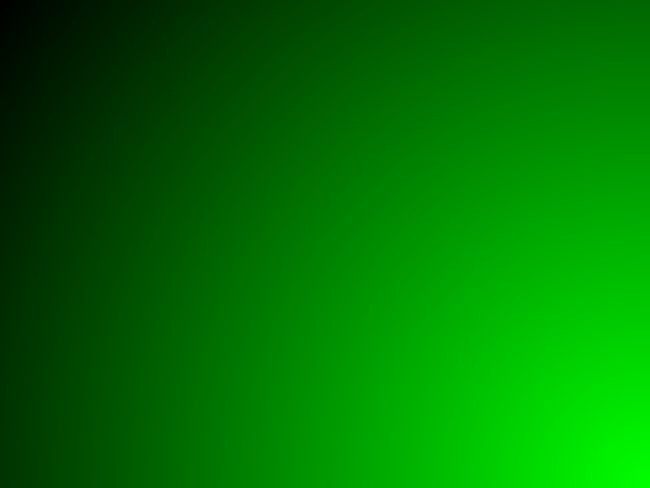
下图是上面的代码生成的效果图。通过改写上面代码中的相关参数,主要是变量a,b和origin,可以生成更炫的渐变图。
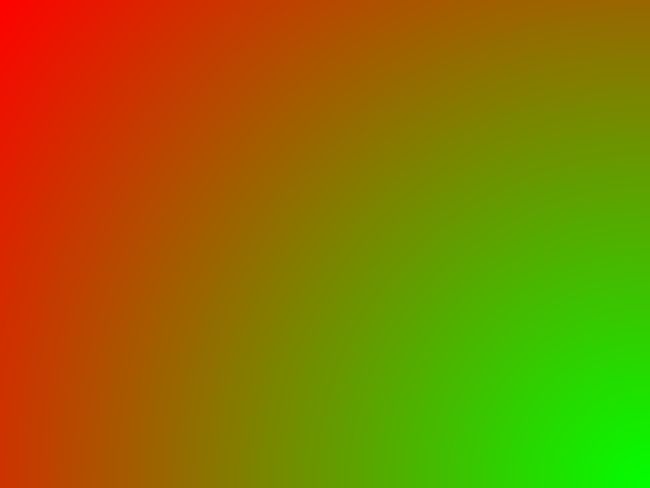
当修改为a=CV_RGB(0,255,0); b=CV_RGB(255,0,0);产生如下的图像
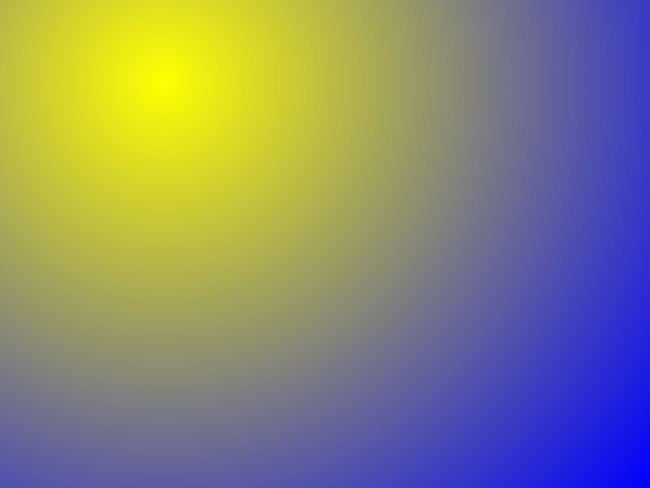
当修改为a=CV_RGB(255,255,0);b=CV_RGB(0,0,255);origin=cvPoint(200,100);生成的图像如下


