Windows + Apache 2.2+Tomcat7 集群配置
准备环境:
Apache 2.2 点击打开链接
Tomcat 7 点击打开链接
JK 点击打开链接
PS:安装Apache的时候记住自己的安装路径
安装完毕后修改Apache配置
1、修改httpd.conf
我的Apache安装在默认路径C:\Program Files (x86)\Apache Software Foundation\Apache2.2。
如果启动Apache失败(报错"The requested operation has failed!")你需要修改Apache的默认端口80 ,那么就找到httpd.conf中的Listen 将默认的端口80修改一下,我的改为了8888
找到conf目录下的httpd.conf,在文件的最后一行添加
include "C:\Program Files (x86)\Apache Software Foundation\Apache2.2\conf\mod_jk.conf"2、在Apache2.2的conf目录下新建mod_jk.conf文件,内容如下:
LoadModule jk_module modules/mod_jk-1.2.31-httpd-2.2.3.so
JkWorkersFile conf/workers.properties
#指定那些请求交给tomcat处理,"controller"为在workers.propertise里指定的负载分配控制器名
JkMount /*.jsp controller
3、将下载的JK插件mod_jk-1.2.31-httpd-2.2.3.so复制到Apache安装目录的modules目录下。
4、在Apache2.2的conf目录下新建并编辑workers.properties文件,内容如下:
#server
worker.list = controller
#========tomcat1========
worker.tomcat1.port=8009
worker.tomcat1.host=localhost
worker.tomcat1.type=ajp13
worker.tomcat1.lbfactor = 1
#========tomcat2========
worker.tomcat2.port=8010
worker.tomcat2.host=localhost
worker.tomcat2.type=ajp13
worker.tomcat2.lbfactor = 1

#========controller,负载均衡控制器========
worker.controller.type=lb
worker.controller.balanced_workers=tomcat1,tomcat2
worker.controller.sticky_session=false
worker.controller.sticky_session_force=1
#worker.controller.sticky_session=1
这里可以配置任意多个Tomcat,此处配置了2个Tomat服务器,2个都在本地所以为了它们都能够顺利启动起来,本地的服务器端口都是不同的,如果Tomcat不再同一机器上,没必要改端口的。
配置Tomcat
配置2个Tomcat服务器,将Tomcat解压后复制2份,我将每个文件夹分别命名为tomcat1,tomcat2,修改每一份的server.xml配置。
注意此处的端口不是HTTP端口而是AJP的,修改时注意看protocol属性,要修改的是属性为protocol="AJP/1.3"的而不是属性为protocol="HTTP/1.1"。还有就是这里的port要跟workers.properties文件中配置的对应起来。
将tomcat1中修改部分如下:
<!-- Define an AJP 1.3 Connector on port 8009 -->
    <Connector port="8009" protocol="AJP/1.3" redirectPort="8443" />


    <!-- An Engine represents the entry point (within Catalina) that processes
         every request.  The Engine implementation for Tomcat stand alone
         analyzes the HTTP headers included with the request, and passes them
         on to the appropriate Host (virtual host).
         Documentation at /docs/config/engine.html -->


    <!-- You should set jvmRoute to support load-balancing via AJP ie :
    <Engine name="Catalina" defaultHost="localhost" jvmRoute="jvm1">
    -->
    <Engine name="Catalina" defaultHost="localhost" jvmRoute="tomcat1">
tomcat2中的修改部分如下:
<!-- Define an AJP 1.3 Connector on port 8009 -->
    <Connector port="8010" protocol="AJP/1.3" redirectPort="8444" />


    <!-- An Engine represents the entry point (within Catalina) that processes
         every request.  The Engine implementation for Tomcat stand alone
         analyzes the HTTP headers included with the request, and passes them
         on to the appropriate Host (virtual host).
         Documentation at /docs/config/engine.html -->


    <!-- You should set jvmRoute to support load-balancing via AJP ie :
    <Engine name="Catalina" defaultHost="localhost" jvmRoute="jvm1">
    -->
    <Engine name="Catalina" defaultHost="localhost" jvmRoute="tomcat2">
建立测试项目test 并将项目部署到两个Tomcat中去。
index.jsp测试页面代码:
<%@ page contentType="text/html; charset=GBK" %>
<%@ page import="java.util.*" %>
<html><head><title>Cluster App Test</title></head>
<body>
Server Info:
<%
out.println(request.getLocalAddr() + " : " + request.getLocalPort()+"<br>");%>
<%
  out.println("<br> ID " + session.getId()+"<br>");
  // 如果有新的 Session 属性设置
  String dataName = request.getParameter("dataName");
  if (dataName != null && dataName.length() > 0) {
     String dataValue = request.getParameter("dataValue");
     session.setAttribute(dataName, dataValue);
  }
  out.println("<b>Session 列表</b><br>");
  System.out.println("============================");
  Enumeration e = session.getAttributeNames();
  while (e.hasMoreElements()) {
     String name = (String)e.nextElement();
     String value = session.getAttribute(name).toString();
     out.println( name + " = " + value+"<br>");
         System.out.println( name + " = " + value);
   }
%>
  <form action="test2.jsp" method="POST">
    名称:<input type=text size=20 name="dataName">
     <br>
    值:<input type=text size=20 name="dataValue">
     <br>
    <input type=submit>
   </form>
</body>
</html>
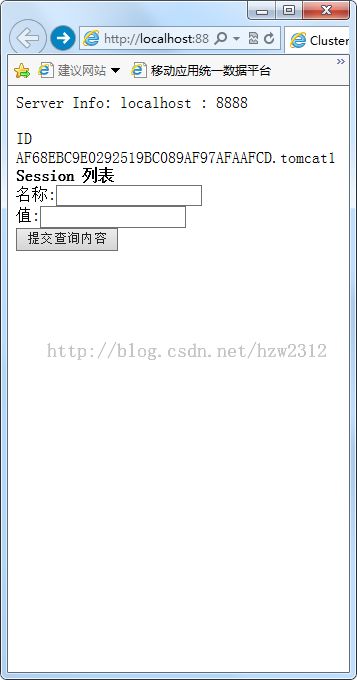
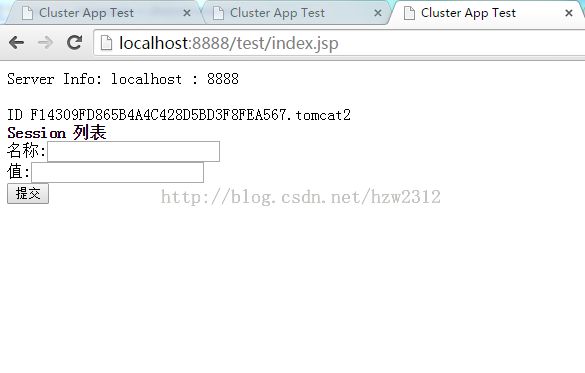
先启动Apache在启动两个Tomcat(不分顺序)。OK后访问 http://localhost:8888/test/index.jsp

