简易博客开发(8)----django1.9 博客部署到pythonanywhere上
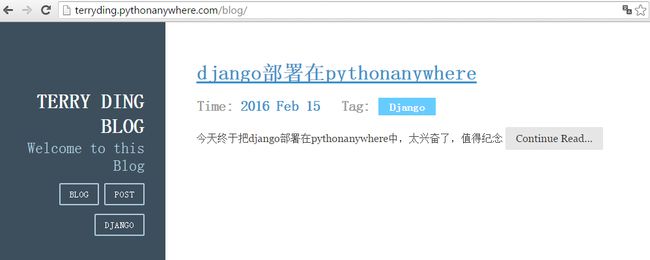
pythonanywhere只允许用户的一个应用是免费的,但这已经足够做一个博客了,开心之余不免又研究起来,用了一个下午的时间,这个丑陋的博客终于上线了
首先你得注册一个用户 http://pythonanywhere.com
注册完后你可以在account中了解到免费的用户享受到的权利,500M的自主空间,红框就是你的权利
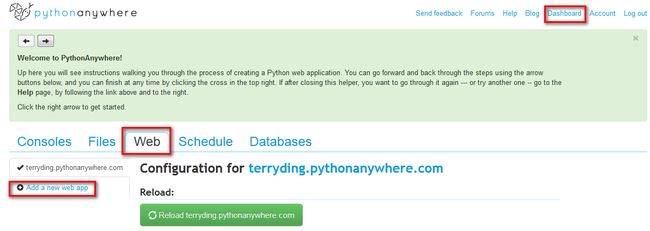
随后你就可以增加一个新的应用,你可以选择语言开发环境
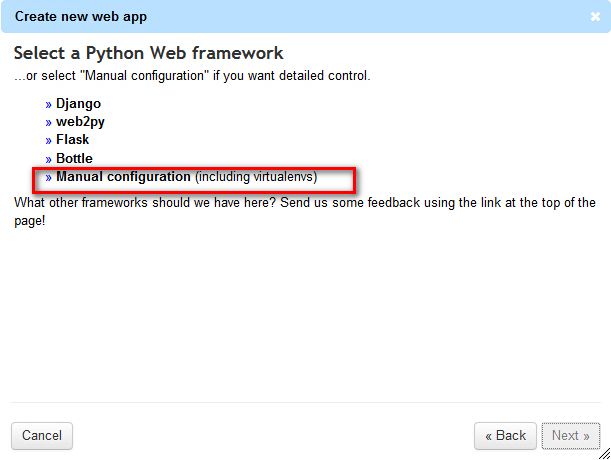
选择python3你才可以用最新的django,而我用的是python2.7,所以一开始纠结,后来看到可以自己搭虚拟环境进行任意搭配,豪不犹豫
选择自己搭建,pythonanywhere有很好的提示,只要按照步骤来就没问题
进到bash下,太熟悉不过了,就是一个linux台主机,之前我们就在centos下面搭的,再搭一次也没问题,但现在是别人的主机,一些规则还是要听的
进行的操作如下
06:50 ~ $ mkvirtualenv django18                                                                                     #给虚拟主机命名
New python executable in /home/terryding/.virtualenvs/django18/bin/python2.7
Also creating executable in /home/terryding/.virtualenvs/django18/bin/python
Installing setuptools, pip, wheel...done.
virtualenvwrapper.user_scripts creating /home/terryding/.virtualenvs/django18/bin/predeactivate
virtualenvwrapper.user_scripts creating /home/terryding/.virtualenvs/django18/bin/postdeactivate
virtualenvwrapper.user_scripts creating /home/terryding/.virtualenvs/django18/bin/preactivate
virtualenvwrapper.user_scripts creating /home/terryding/.virtualenvs/django18/bin/postactivate
virtualenvwrapper.user_scripts creating /home/terryding/.virtualenvs/django18/bin/get_env_details

(django18) 06:57 ~ $ which pip
/home/terryding/.virtualenvs/django18/bin/pip
(django18) 06:59 ~ $ pip install django                                                                            #pip install自己的django,注意如果不加版本是装最新的,我按照guide来,当时最新是1.8,于是我就装成了1.9,不过也没关系
Collecting django                                                                                                  #如果装1.8应该是pip install django=1.8.8
/home/terryding/.virtualenvs/django18/local/lib/python2.7/site-packages/pip/_vendor/requests/packages/urllib3/u
til/ssl_.py:315: SNIMissingWarning: An HTTPS request has been made, but the SNI (Subject Name Indication) exten
sion to TLS is not available on this platform. This may cause the server to present an incorrect TLS certificat
e, which can cause validation failures. For more information, see https://urllib3.readthedocs.org/en/latest/sec
urity.html#snimissingwarning.
  SNIMissingWarning
/home/terryding/.virtualenvs/django18/local/lib/python2.7/site-packages/pip/_vendor/requests/packages/urllib3/u
til/ssl_.py:120: InsecurePlatformWarning: A true SSLContext object is not available. This prevents urllib3 from
 configuring SSL appropriately and may cause certain SSL connections to fail. For more information, see https:/
/urllib3.readthedocs.org/en/latest/security.html#insecureplatformwarning.
  InsecurePlatformWarning
  Downloading Django-1.9.2-py2.py3-none-any.whl (6.6MB)
    100% |████████████████████████████████| 6.6MB 37kB/s
  successful install django-1.9.2
(django18) 06:59 ~ $ django-admin/py --version
1.9.2 (django18) 06:59 ~ $ pip install mysql-python
(django18) 07:13 ~ $ pip install django-contrib-comments   #评论系统
至此虚拟环境搭好了,开始配置
step 1 导入代码,我用的是git
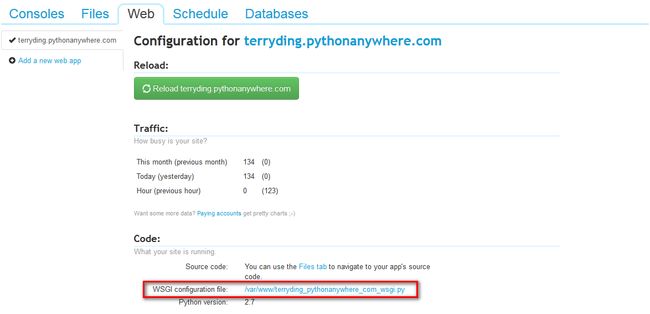
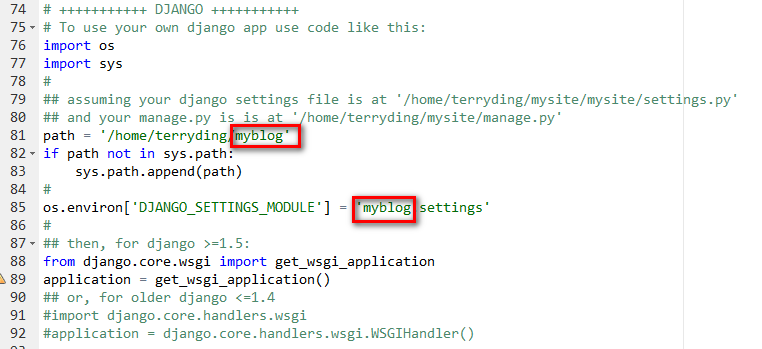
git clone [email protected]:[email protected]step 2 编写适当的wsgi.py,它是django和服务器的网络接口,注意是写网站上的,而不是我们自己的
内容如下:红框为你的projectname
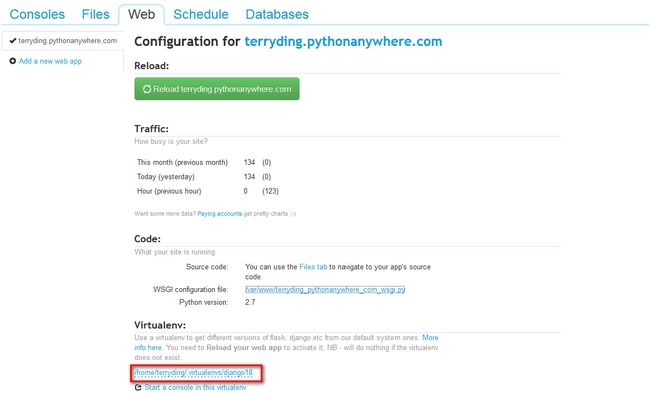
由于你用的是自己新建的django,所以你还要填写virtualenv
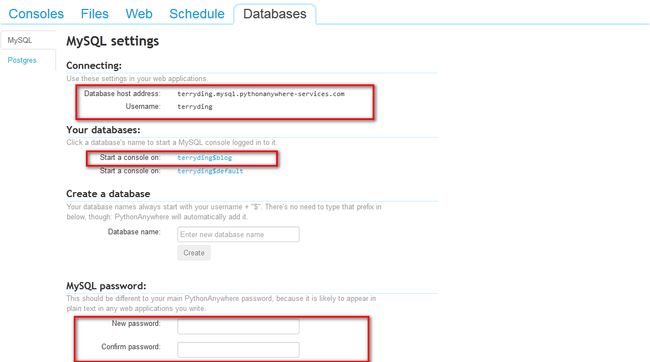
配置数据库mysql,先自己起个密码,信息全在database页面中
修改settings.py
#/home/terryding/myblog/myblog/settings.py
 81 DATABASES = {
 82     'default': {
 83         'ENGINE': 'django.db.backends.mysql',
 84         'NAME':  'terryding$blog',
 85         'USER': 'terryding',
 86         'PASSWORD': '********',
 87         'HOST': 'terryding.mysql.pythonanywhere-services.com',
 88     }
 89 }
这样数据库就设置好了
设置static file
step 1 修改settings.py的static_root
#/home/terryding/myblog/myblog/settings.py
109 STATIC_URL = '/static/'
110 STATIC_ROOT = '/home/terryding/myblog/blog/static'                                          #写静态文件目录的绝对路径
111
112 STATICFILES_DIRS = (
113         os.path.join(BASE_DIR, "static"),
114 )
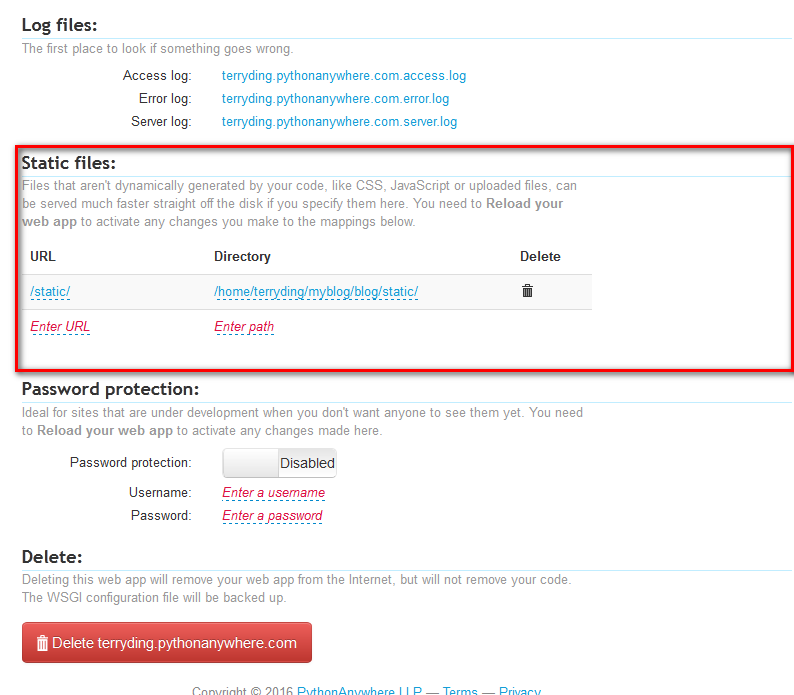
step 2 在网页中也需要填写
最后进行调试,不再像自己的主机那样看错误信息,而是通过这三个文件进行查看,进行调试,我从error_log中分别找到以下错误信息,分别进行调试的
2016-02-15 06:41:31,091 :ImportError: No module named 'MySQLdb'                                  #数据库设置
2016-02-15 08:01:45,974 :NameError: name 'sys' is not defined                                    #wsgi.py 只import os没有import sys
2016-02-15 08:28:06,510 :Not Found: /static/pure-layout-blog/css/layouts/blog.css                #static file
pythonanywhere中有很多不知道的都可以在help中search
最后预祝大家新年快乐,这个独立博客就是给我自己也是给你们的新年礼物,以后会慢慢优化
参考http://v2ex.com/t/195207

