Android 动画详解之属性动画(Property Animation)(下)
Hello,大家好,最近好长时间没有写博客了,因为我决定辞职了。
废话不多说,我们还是来看属性动画在上一篇 Android 动画详解之属性动画(Property Animation)中我们简单的介绍了一下属性动画的用法,其实属性动画还有更多有趣的用法。
1,在xml中使用
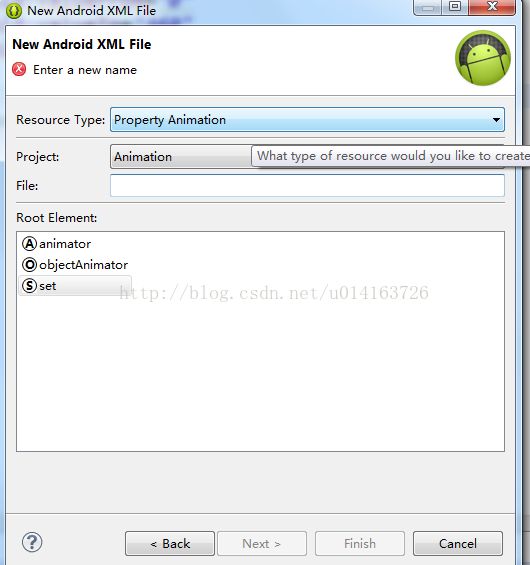
在eclipse中我们右键新建xml可以选择新建属性动画,如图
我们选择objectAnimator,然后我们就会看到熟悉的一幕
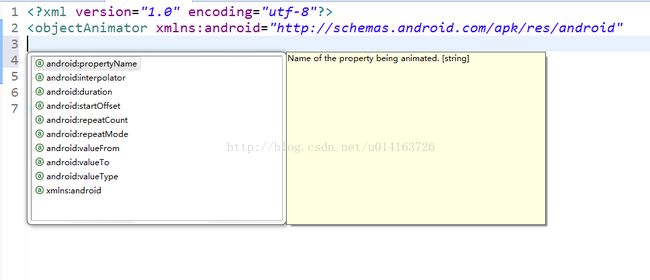
然后我们用智能提示就可以看到更熟悉的
没错,这下我们应该知道怎么用xml布局来写属性动画了吧
<span style="font-size:14px;"><?xml version="1.0" encoding="utf-8"?>
<objectAnimator xmlns:android="http://schemas.android.com/apk/res/android"
    android:duration="3000"
    android:propertyName="Rotation"
    android:valueFrom="0"
    android:valueTo="360"
    android:valueType="floatType"
     >

</objectAnimator></span>
	protected void onCreate(Bundle savedInstanceState) {
		super.onCreate(savedInstanceState);
		setContentView(R.layout.activity_animation);
		button = (Button) findViewById(R.id.btn_anim);
		button.setOnClickListener(new OnClickListener() {

			@SuppressLint("NewApi")
			@Override
			public void onClick(View v) {
				Animator animator = AnimatorInflater.loadAnimator(
						AnimationActivity.this, R.animator.animation);
				animator.setTarget(button);
				animator.start();
			}
		});
	}
效果

同时我们可以看到在新建xml的时候是有set的,set的用法同样很简单
<?xml version="1.0" encoding="utf-8"?>
<set xmlns:android="http://schemas.android.com/apk/res/android"
    android:ordering="sequentially" >
<!-- ordering="together"同时播放
     ordering="sequentially"次序播放
 -->
    <objectAnimator />
    <objectAnimator />
</set>
2,布局动画
当容器中的视图层次发生变化时存在过渡的动画效果,这个我们先来看看ApiDemo的效果。
可以看到我们勾选了in于out之后我们新增的button或者remove掉的button会有一个动画效果,接下来我们来看代码
 // Check for disabled animations
        CheckBox appearingCB = (CheckBox) findViewById(R.id.appearingCB);
        appearingCB.setOnCheckedChangeListener(new CompoundButton.OnCheckedChangeListener() {
            public void onCheckedChanged(CompoundButton buttonView, boolean isChecked) {
                setupTransition(transitioner);
            }
        });
        CheckBox disappearingCB = (CheckBox) findViewById(R.id.disappearingCB);
        disappearingCB.setOnCheckedChangeListener(new CompoundButton.OnCheckedChangeListener() {
            public void onCheckedChanged(CompoundButton buttonView, boolean isChecked) {
                setupTransition(transitioner);
            }
        });
这是俩个checkbox,我们再看setupTransition方法
	private void setupTransition(LayoutTransition transition) {
        CheckBox customAnimCB = (CheckBox) findViewById(R.id.customAnimCB);
        CheckBox appearingCB = (CheckBox) findViewById(R.id.appearingCB);
        CheckBox disappearingCB = (CheckBox) findViewById(R.id.disappearingCB);
        CheckBox changingAppearingCB = (CheckBox) findViewById(R.id.changingAppearingCB);
        CheckBox changingDisappearingCB = (CheckBox) findViewById(R.id.changingDisappearingCB);
        transition.setAnimator(LayoutTransition.APPEARING, appearingCB.isChecked() ?
                (customAnimCB.isChecked() ? customAppearingAnim : defaultAppearingAnim) : null);
        transition.setAnimator(LayoutTransition.DISAPPEARING, disappearingCB.isChecked() ?
                (customAnimCB.isChecked() ? customDisappearingAnim : defaultDisappearingAnim) : null);
        transition.setAnimator(LayoutTransition.CHANGE_APPEARING, changingAppearingCB.isChecked() ?
                (customAnimCB.isChecked() ? customChangingAppearingAnim :
                        defaultChangingAppearingAnim) : null);
        transition.setAnimator(LayoutTransition.CHANGE_DISAPPEARING,
                changingDisappearingCB.isChecked() ?
                (customAnimCB.isChecked() ? customChangingDisappearingAnim :
                        defaultChangingDisappearingAnim) : null);
    }
我们可以发现关键就是LayoutTransition,而且动画产生也是依据
LayoutTransition.APPEARING;
LayoutTransition.DISAPPEARING;
LayoutTransition.CHANGE_APPEARING;
LayoutTransition.CHANGE_DISAPPEARING;
APPEARING新增view的动画CHANGE_APPEARING对布局产生改变的动画,那么我们就可以依葫芦画瓢。
 private RelativeLayout relativeLayout;
   private Button mAdbtn;
   private int count = 0;
	@SuppressLint("NewApi")
	protected void onCreate(Bundle savedInstanceState) {
		super.onCreate(savedInstanceState);
		setContentView(R.layout.activity_animation);
		relativeLayout = (RelativeLayout)findViewById(R.id.relative);
		mAdbtn = (Button)findViewById(R.id.btn);
		final GridLayout gridLayout = new GridLayout(this);
		gridLayout.setColumnCount(5);
		relativeLayout.addView(gridLayout);
		gridLayout.setLayoutTransition(new LayoutTransition());
		mAdbtn.setOnClickListener(new OnClickListener() {

			@Override
			public void onClick(View v) {
				count++;
               Button button = new Button(AnimationActivity.this);
               button.setOnClickListener(new OnClickListener() {

				@Override
				public void onClick(View v) {
                gridLayout.removeView(v);
				}
			});
               button.setText("btn"+count);
               gridLayout.addView(button);
			}
		});
	}
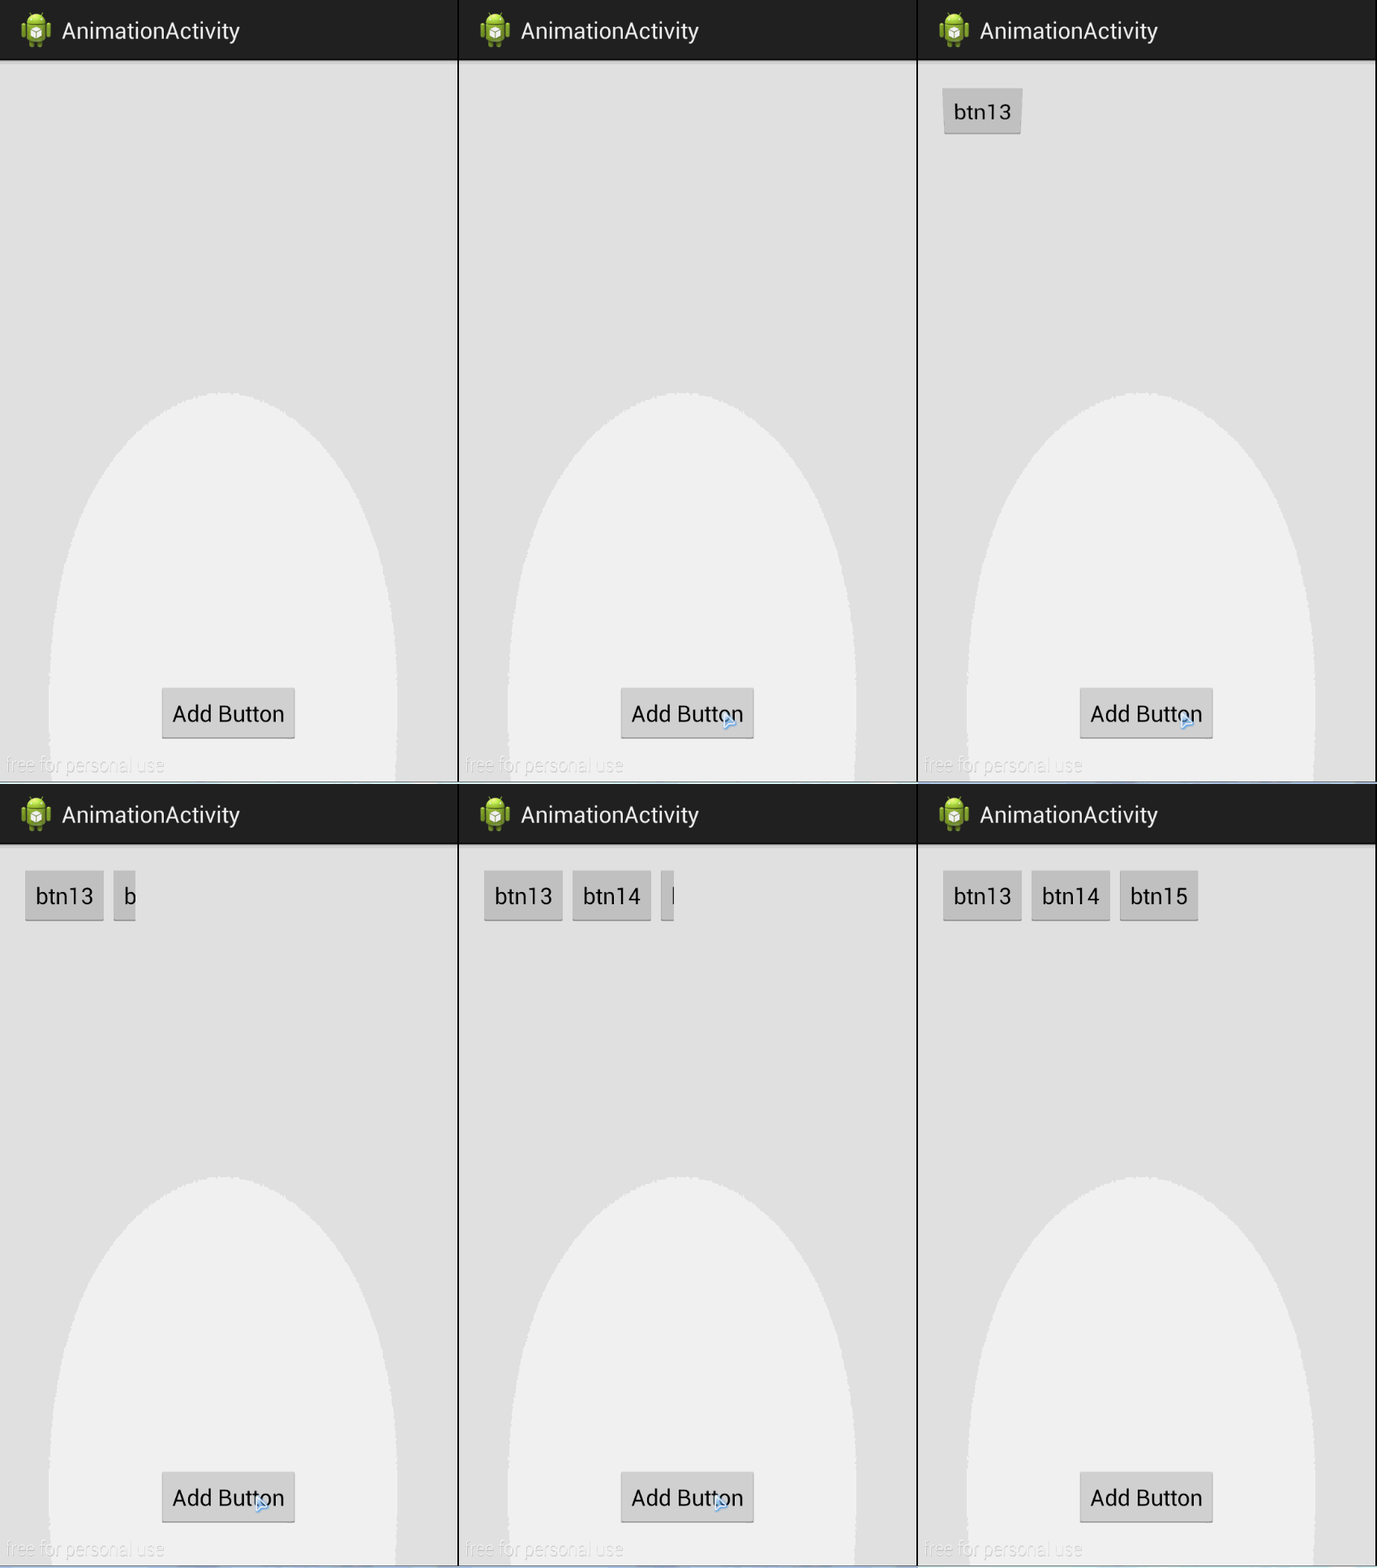
效果
同时如果我们不喜欢默认的动画效果也可以替换为自己喜欢的效果。
	mAdbtn.setOnClickListener(new OnClickListener() {

			@Override
			public void onClick(View v) {
				count++;
				Button button = new Button(AnimationActivity.this);
				button.setOnClickListener(new OnClickListener() {

					@Override
					public void onClick(View v) {
						gridLayout.removeView(v);
					}
				});
				button.setText("btn" + count);
				layoutTransition.setAnimator(LayoutTransition.APPEARING,
						ObjectAnimator.ofFloat(button, "RotationX", 0, 360).setDuration(2000));
				gridLayout.setLayoutTransition(layoutTransition);
				gridLayout.addView(button);
			}
		});
ok,属性动画就介绍到这里吧,也预祝大家都工作顺利天天开心


