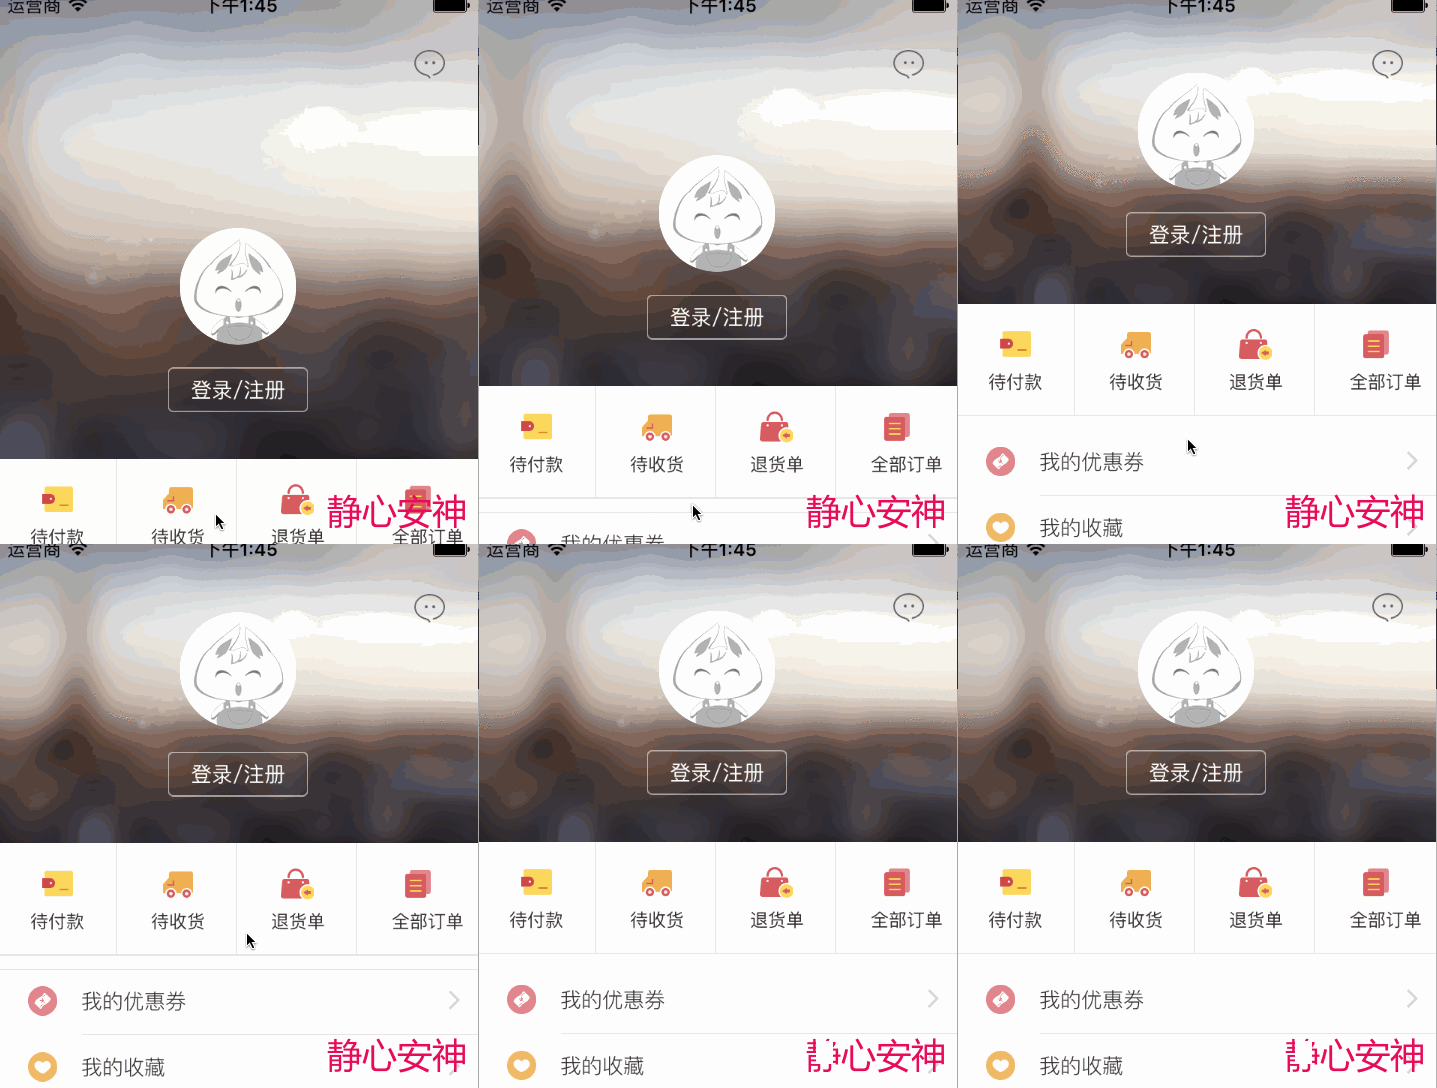
iOS Scrollview 的头部view的拉伸伸缩效
往左边滑动拉伸原理相同!
1、 先说拉伸放大的实现原理
scrollview的属性介绍:
contentSize是scrollview可以滚动的区域,比如frame = (0 ,0 ,320 ,480) contentSize = (320 ,960),代表你的scrollview可以上下滚动,滚动区域为frame大小的两倍。contentOffset是scrollview当前显示区域顶点相对于frame顶点的偏移量,比如上个例子你拉到最下面,contentoffset就是(0 ,480),也就是y偏移了480contentInset是scrollview的contentview的顶点相对于scrollview的位置,例如你的contentInset = (0 ,100),那么你的contentview就是从scrollview的(0 ,100)开始显示.
- 首先自定义一个adjustView, 把adjustView添加到scrollview, 要减弱adjustView 和scrollview 的正常内容的影响, 那么adjustView的Y值就不可能从0开始, 只能从-h(h建设为view1的高度)。
- (void)reSizeView{
 //重置adjustView位置
 [adjustView setFrame:CGRectMake(0, -1*h,   CGRectGetWidth(adjustView.frame), h)];
 }
但这样运行会造成如下情况:
开始运行的时候看不到adjustView,向下拉的时候才会出现,这时候就需要设置一下, scrollview的contentInset属性就好了(属性介绍看上面)。
_scrollView.contentInset = UIEdgeInsetsMake(h, 0, 0, 0);
这样运行起来,就可以看到scrollview上面的自定义adjustView;但是向下拉时,怎么让图片变大呢?
其实实现拉伸放大效果的最关键点是:UIImageView的contentMode属性(UIViewContentModeScaleAspectFill),正式因为这个属性,调整adjustView的大小的话,就可以改变图片的大小
 img.contentMode= UIViewContentModeScaleAspectFill;
 img.clipsToBounds = YES;
所以可以通过监听scrollview 的滚动事件, 来改变adjustView的frame
scrollview的代理方法:
- (void)scrollViewDidScroll:(UIScrollView*)scrollView
{
  CGFloat offsetY = scrollView.contentOffset.y;
    if(offsetY < h * -1) {
         CGRect currentFrame = _expandView.frame;
    currentFrame.origin.y = offsetY;
    currentFrame.size.height = -1*offsetY;
    img.frame = currentFrame;
}   }
说明:img可是是上文说的adjustView,或者是adjustView的子控件。
当然,如果你的自定义控件里面还要放label、button之类的话如下:
autoresizingMask属性,自动调整子控件和父控件的位置、大小。 通过控制这个属性可以达到你要的效果。这个属性的语义:
关于UIView的autoresizingMask属性的研究
在 UIView 中有一个autoresizingMask的属性,它对应的是一个枚举的值(如下),属性的意思就是自动调整子控件与父控件中间的位置,宽高。
enum {
   UIViewAutoresizingNone                 = 0,
   UIViewAutoresizingFlexibleLeftMargin   = 1 << 0,
   UIViewAutoresizingFlexibleWidth        = 1 << 1,
   UIViewAutoresizingFlexibleRightMargin  = 1 << 2,
   UIViewAutoresizingFlexibleTopMargin    = 1 << 3,
   UIViewAutoresizingFlexibleHeight       = 1 << 4,
   UIViewAutoresizingFlexibleBottomMargin = 1 << 5
};
UIViewAutoresizingNone就是不自动调整。
UIViewAutoresizingFlexibleLeftMargin 自动调整与superView左边的距离,保证与superView右边的距离不变。
UIViewAutoresizingFlexibleRightMargin 自动调整与superView的右边距离,保证与superView左边的距离不变。
UIViewAutoresizingFlexibleTopMargin 自动调整与superView顶部的距离,保证与superView底部的距离不变。
UIViewAutoresizingFlexibleBottomMargin 自动调整与superView底部的距离,也就是说,与superView顶部的距离不变。
UIViewAutoresizingFlexibleWidth 自动调整自己的宽度,保证与superView左边和右边的距离不变。
UIViewAutoresizingFlexibleHeight 自动调整自己的高度,保证与superView顶部和底部的距离不变。
UIViewAutoresizingFlexibleLeftMargin |UIViewAutoresizingFlexibleRightMargin 自动调整与superView左边的距离,保证与左边的距离和右边的距离和原来距左边和右边的距离的比例不变。比如原来距离为20,30,调整后的距离应为68,102,即68/20=102/30。
其它的组合类似。
2、 改变导航栏文字的颜色
如下:改变title的文字颜色和返回按钮的颜色 , 要自己计算在代理里面的调用时机。
//  [self.navigationController.navigationBar lt_setBackgroundColor:    [color colorWithAlphaComponent:alpha]];
 [self.navigationController.navigationBar setTitleTextAttributes:[NSDictionary dictionaryWithObjectsAndKeys:[UIColor blackColor], NSForegroundColorAttributeName, [UIFont systemFontOfSize:17], NSFontAttributeName, nil]];
self.navigationController.navigationBar.tintColor = [UIColor blackColor];
摘自:https://blog.csdn.net/huangyongf/article/details/51868664

