阅读目录
- 一:线段
- 二:笔画特性
1. stroke-width2. stroke-opacity3. stroke-dasharray 属性
- 三:常见的形状
1. 矩形2. 圆角矩形3. 圆和椭圆4. 多边形5. 折线
一:线段
在上一篇文章中,我们已经了解了坐标系统,现在我们在该坐标系统中开始绘图了。
在svg中可使用
<line x1="start-x" y1="start-y" x2="end-x" y2="end-y">line>
x1:该属性在x轴定义线条的开始的位置。
y1: 该属性在y轴定义线条的开始的位置。
x2: 该属性在x轴定义线条的结束的位置。
y2: 该属性在y轴定义线条的结束的位置。
如下代码所示:
<svg
  style="border: 1px solid red;"
  width="400"
  height="200"
  viewBox="0,0,400,200"
>

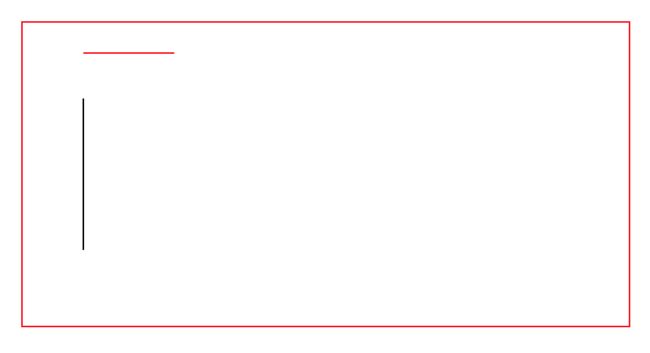
  <line x1="40" y1="20" x2="100" y2="20" style="stroke: red;">line>

  <line x1="40" y1="50" x2="40" y2="150" style="stroke: black;">line>
svg>
效果如下所示:
二:笔画特性
如上我们通过线段可以绘出一条线,但是线也有粗和细之分,想要粗和细可以使用 stroke-width 这个属性。我们现在将上面的列子的宽度设置为10,就可以看到线段会更粗更明显了,如下代码:
<svg
  style="border: 1px solid red;"
  width="400"
  height="200"
  viewBox="0,0,400,200"
>

  <line x1="40" y1="20" x2="100" y2="20" style="stroke-width: 10; stroke: red;">line>

  <line x1="40" y1="50" x2="40" y2="150" style="stroke-width: 10; stroke: black;">line>
svg>
效果如下所示:
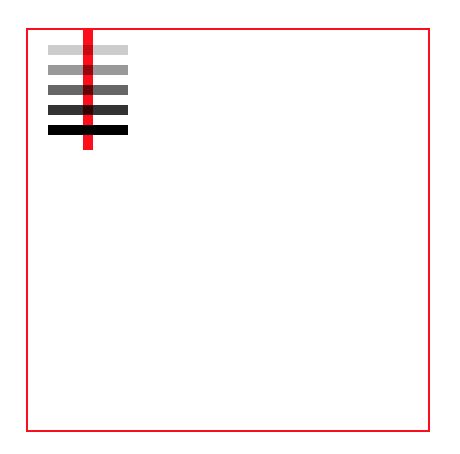
如上我们所有的线条都是实线,但是如果我们想要透明的线,不会挡住下面的东西,我们可以使用该属性,该属性的取值范围是:0.0~1.0 其中0代表完成透明,1代表完全不透明。小于0的值会被更改为0,大于1的值会被更改为1. 如下代码演示:
<svg
  style="border: 1px solid red;"
  width="200"
  height="200"
  viewBox="0,0,200,200"
>
  <line x1="30" y1="0" x2="30" y2="60" style="stroke: red; stroke-width: 5;">line>
  <line x1="10" y1="10" x2="50" y2="10" style="stroke: black; stroke-width: 5;stroke-opacity:0.2;">line>
  <line x1="10" y1="20" x2="50" y2="20" style="stroke: black; stroke-width: 5;stroke-opacity:0.4;">line>
  <line x1="10" y1="30" x2="50" y2="30" style="stroke: black; stroke-width: 5;stroke-opacity:0.6;">line>
  <line x1="10" y1="40" x2="50" y2="40" style="stroke: black; stroke-width: 5;stroke-opacity:0.8;">line>
  <line x1="10" y1="50" x2="50" y2="50" style="stroke: black; stroke-width: 5;stroke-opacity:1;">line>
svg>
如下图效果所示:
如果我们需要绘制虚线边框的话,我们可以使用 stroke-dasharray 属性。它的值由一列数字构成,代表线的长度和空隙的长度,数字之间用逗号或空格分割。数字的个数为偶数,但是如果我们指定的数字个数为奇数的话,则SVG会重复绘一次,使得总个数为偶数。
<svg
  style="border: 1px solid red;"
  width="200"
  height="200"
  viewBox="0,0,200,200"
>

  <line x1="10" y1="10" x2="100" y2="10" style="stroke-dasharray: 9, 5; stroke: black; stroke-width:2;">line>

  <line x1="10" y1="20" x2="100" y2="20" style="stroke-dasharray: 9, 5, 5; stroke: black; stroke-width:2;">line>
svg>
效果如下所示:
注意:9个像素的虚线,是指该线条的长度为9,5个像素的空隙,是指该空隙的长度为5. 而不是说在一根线条上有9个虚线和5个空隙。至于有多少个,计算机会自己根据线条的长度计算出来的。
常见的形状
矩形我们之前使用过的,它是使用
我们也可以指定 fill: none; 即不填充矩形内部,保持透明。至于矩形边框,我们可以使用 stroke来指定,如果我们不指定stroke的话,则它的值为none。将不会绘制矩形边框。
如下代码所示:
<svg
  style="border: 1px solid red;"
  width="200"
  height="200"
  viewBox="0,0,200,200"
>

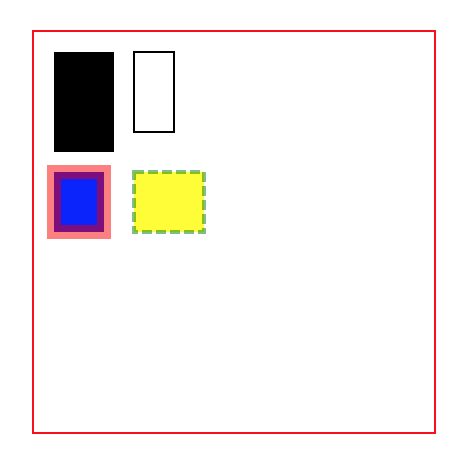
  <rect x="10" y="10" width="30" height="50">rect>

  <rect x="50" y="10" width="20" height="40" style="fill:none;stroke: black;">rect>

  <rect x="10" y="70" width="25" height="30" style="fill: blue;stroke:red;stroke-width:7;stroke-opacity:0.5;">rect>

  <rect x="50" y="70" width="35" height="30" style="fill: yellow;stroke:green;stroke-width:2;stroke-opacity:0.5;stroke-dasharray: 5, 2">rect>
svg>
效果如下所示:
如果我们想要得到一个圆角矩形的话,我们可以分别指定x方向和y方向的圆角半径,即 rx 和 ry. 如果我们只指定了rx和ry中的一个值,则默认认为他们是相等的。如果我们的矩形的宽度和高度相同的话,我们想画个圆,我们可以设置 rx 和 ry 的大小是该宽度的一半即可,就和我们之前css中的 border-radius 类似的。比如如下代码:
<svg
  style="border: 1px solid red;"
  width="200"
  height="200"
  viewBox="0,0,200,200"
>

  <rect x="10" y="10" width="20" height="40" rx="2" ry="2" style="fill:none;stroke: black;">rect>

  <rect x="50" y="10" width="20" height="40" rx="2" ry="2" style="fill:none;stroke: black;">rect>
  <rect x="90" y="10" width="40" height="40" rx="25" ry="25" style="fill:none;stroke: black;">rect>
svg>
效果如下所示:
要画一个圆,我们也可以使用
对圆或椭圆来说,如果省略了cx或cy, 则默认为0,如果半径为0,则不会显示图形。如果半径为负数,则会报错,如下代码:
<svg
  style="border: 1px solid red;"
  width="200"
  height="200"
  viewBox="0,0,200,200"
>

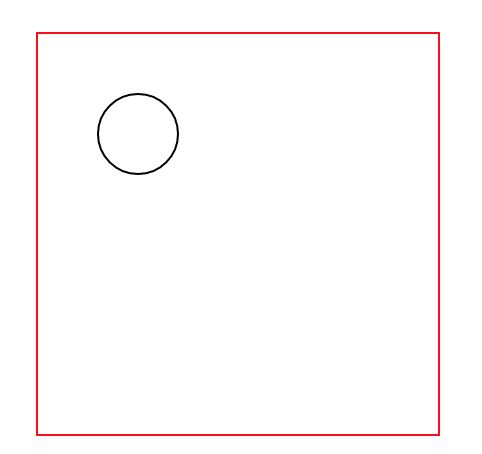
  <circle cx="50" cy="50" r="20" style="stroke:black;fill:none;">circle>
svg>
效果如下所示:
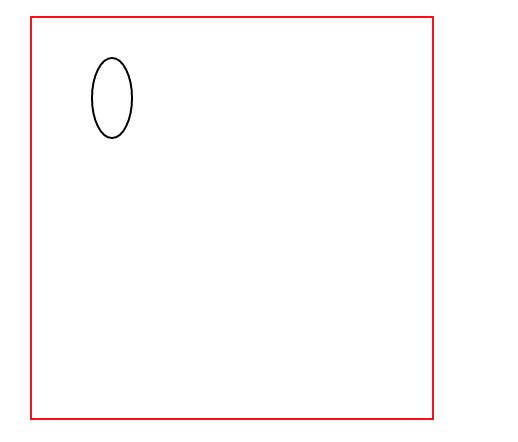
再来看看椭圆,椭圆需要使用
<svg
  style="border: 1px solid red;"
  width="200"
  height="200"
  viewBox="0,0,200,200"
>

  <ellipse cx="40" cy="40" rx="10" ry="20" style="stroke: black;fill:none;">ellipse>
svg>
效果如下所示:
如上,如果我们把该x轴的半径和y轴的半径一样的话,那么也就会变成圆了,如下代码所示:
<svg
  style="border: 1px solid red;"
  width="200"
  height="200"
  viewBox="0,0,200,200"
>

  <ellipse cx="60" cy="40" rx="20" ry="20" style="stroke: black;fill:none;">ellipse>
svg>
效果如下所示:
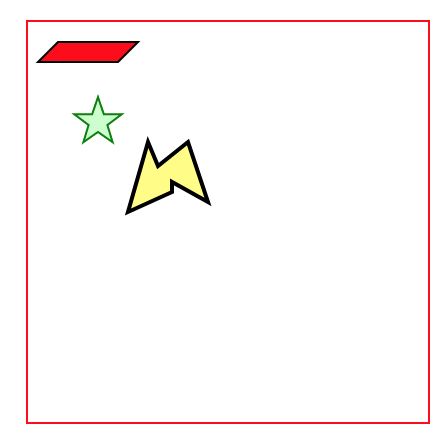
除了上面矩形,圆和椭圆外,如果我们还想画五角星,六边形,或八边形,或其他的封闭图形的话,我们可以使用
<svg
  style="border: 1px solid red;"
  width="200"
  height="200"
  viewBox="0,0,200,200"
>

  <polygon points="15,10 55,10 45,20 5,20" style="fill:red; stroke: black;">polygon>

  <polygon points="35,37.5 37.9,46.1 46.9,46.1 39.7,51.5 42.3,60.1 35,55 27.7, 60.1 30.3,51.5 23.1,46.1 32.1,46.1" style="fill: #cfc; stroke: green;">polygon>

  <polygon points="60 60, 65 72, 80 60, 90 90, 72 80, 72 85, 50 95" style="fill:yellow;fill-opacity:0.5;stroke: black; stroke-width:2;">polygon>
svg>
效果如下所示:
我们来简单的分析一下,上面的代码,比如说 平行四边形,points="15,10 55,10 45,20 5,20" 首先x轴的横坐标是15,然后纵坐标是10,因此第一个是左上角的点,然后 55, 10, x轴的横坐标是55,y轴的纵坐标是10,因此是右上角的那个点坐标。
然后就是右下角那边坐标点了,是45,20,离x轴距离45, 离y轴的距离是20, 最后就是 5, 20了,是左下角那个坐标点了。
理解填充边线交叉的多边形
我们之前使用fill对其他多边形填充颜色很简单,因为其他的多边形的各个边都没有交叉,很容易区分出多边形的内部区域和外部区域。
但是,当多边形的边彼此交叉的时候,要区分哪些区域是图形的内部是不容易区分的,比如我们的上面五角星,在SVG中有两种判断某个点是否是在多边形中的规则,有 fill-rule 这个属性,该属性有2种值分别为:nonzero(默认值)和 evenodd 。 如下演示:
<svg
  style="border: 1px solid red;"
  width="200"
  height="200"
  viewBox="0,0,200,200"
>

  <polygon points="48,16 16,96 96,48 0,48 80,96" style="fill: #cfc; stroke: green;fill-rule: nonzero">polygon>
  <polygon points="148,16 116,96 196,48 100,48 180,96" style="fill: #cfc; stroke: green;fill-rule: evenodd;">polygon>
svg>
效果如下:
有时候我们需要做折线这种效果,我们可以使用
但是不同的地方是它的图形并不封闭,如下代码演示:
<svg
  style="border: 1px solid red;"
  width="200"
  height="200"
  viewBox="0,0,200,200"
>
  <polyline points="5 20, 20 20, 25 10, 35 30, 45 10, 55 30, 65 10, 75 30, 80 20, 95 20" style="stroke: black;stroke-width:3;fill:none;">polyline>
svg>
效果如下所示:
