通过定义一个接口,在方法上加入相关注解,Retrofit框架就可以把它解析成对应的网络请求,使用非常方便,记录下从源码角度看这个过程是怎么实现的。
一 Retrofit的引入
在Android Studio中引入Retrofit非常方便,目标最新版本是2.3,在app-build文件-dependencies节点下加入以下依赖即可:
    compile 'com.squareup.retrofit2:retrofit:2.3.0'
    compile 'com.squareup.retrofit2:converter-gson:2.3.0'
    compile 'com.squareup.retrofit2:adapter-rxjava2:2.3.0'

    compile 'io.reactivex.rxjava2:rxandroid:2.0.1'
    compile 'io.reactivex.rxjava2:rxjava:2.1.0'
这里引入最后的两个依赖是为了与rx结合使用,可以先不加。
二 Retrofit是如何通过接口来生成网络请求的
首先,我们定一个接口,同时声明一个方法:
public interface ApiService {
    @GET("users/{user}/repos")
    Call> listRepos(@Path("user") String user);
}
这里我们要请求github某个用户下的所有仓库。
调用很简单:
 ApiService apiService = retrofit.create(ApiService.class);
 Call> solveBus = apiService.listRepos("SolveBugs");
 solveBus.enqueue(new Callback>() {
           @Override
           public void onResponse(Call> call,   Response> response) {
                List repoList = response.body();
                StringBuilder sb = new StringBuilder();
                for (Repo repo : repoList) {
                    sb.append(repo.getName());
                    sb.append("\n");
                }
                textView.setText(sb.toString());
            }

            @Override
            public void onFailure(Call> call, Throwable t) {

            }
  });
1.首先来看retrofit. create()方法
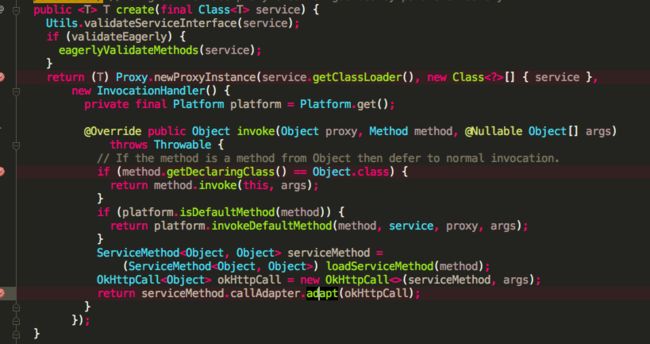
这个方法返回的是一个动态代理对象,当我们用这个对象调用listRepos方法的时候实际上会走到这里的invoke方法,在这个方法里,首先根据接口定义的方法,生成一个ServiceMethod对象,看一下ServiceMethod这个类的注释:
Adapts an invocation of an interface method into an HTTP call.
所以这个类就是一个关于http请求信息的封装。那么是怎么封装的呢?
主要逻辑在loadServiceMethod方法里。
ServiceMethod loadServiceMethod(Method method) {
    ServiceMethod result = serviceMethodCache.get(method);
    if (result != null) return result;

    synchronized (serviceMethodCache) {
      result = serviceMethodCache.get(method);
      if (result == null) {
        result = new ServiceMethod.Builder<>(this, method).build();
        serviceMethodCache.put(method, result);
      }
    }
    return result;
  }
逻辑很清晰,首先从缓存里取,如果没有的传入method(即我们声明的接口中的方法对象),通过build方法生成一个,然后放入缓存。
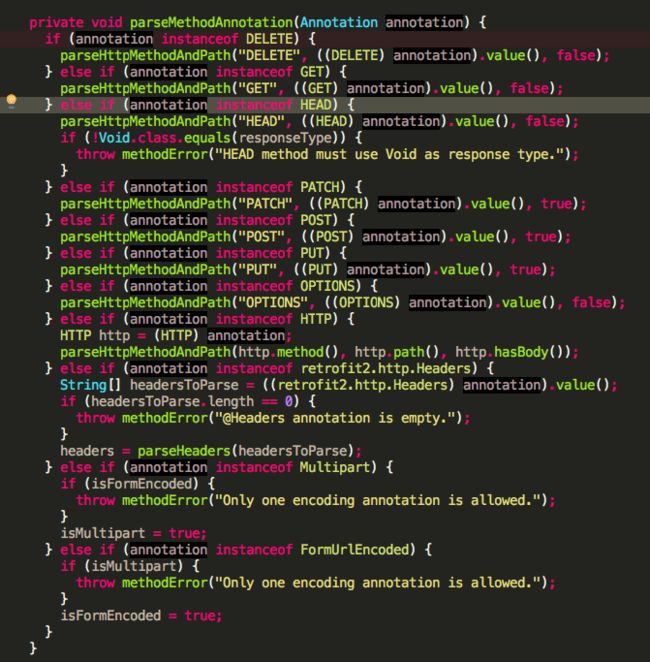
在build方法中,遍历method的所有注解,来取出其中的信息,比如请求方法以及地址等:
for (Annotation annotation : methodAnnotations) {
       parseMethodAnnotation(annotation);
}
拿到封装好的ServiceMethod对象后,构造一个OkHttpCall对象,以便与进行真正的网络请求(Retrofit基于OkHttp实现网络请求)。
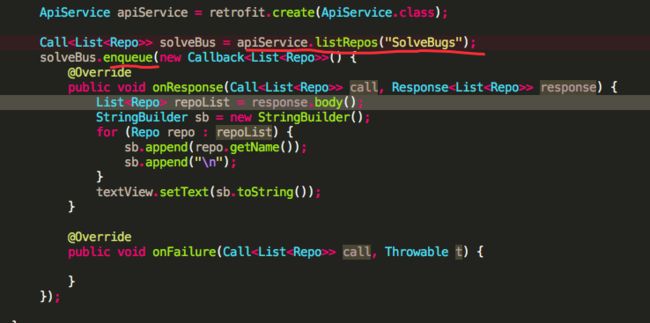
OkHttpCall回到最开始调用的地方:
这里真正调用的是okHttpCall对象的enqueue方法,这里进行的就是具体的网络请求操作了。
代码逻辑其实还是比较清晰的,主要是用到了很多设计模式,所以看起来可能有些费劲,里边儿的细节还要细细研究。(逃,继续看源码去)


