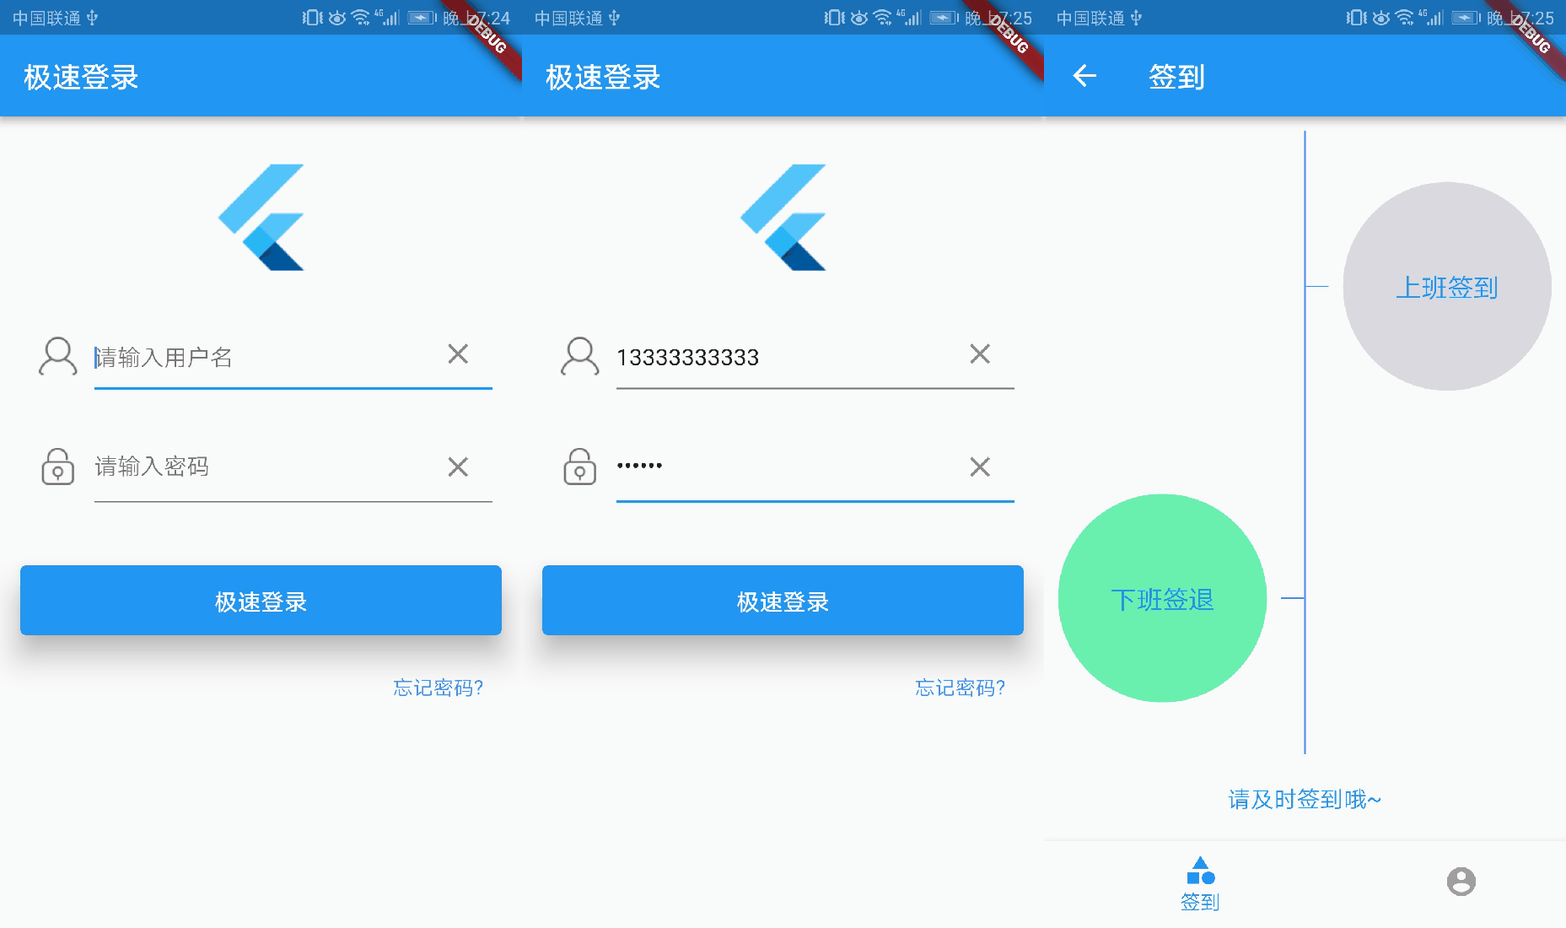
小菜搭建了几个基本的小页面,现在需要添加其中的业务逻辑,这就必不可少的用到网络请求;Flutter 中提供了 dart.io 方式进行网络请求,不管是从请求方式还是实例都讲解的很清楚,使用方式也很简单。但是小菜在看大神们写的案例中很多直接用到了 Dart 中常用的原生 http 请求,小菜也尝试了一下。
集成应用
- 添加依赖,在 pubspec.yaml 中添加 http 依赖 http: ^0.11.3+17,之后 package get 同步;
- 在具体的 dart 文件中引入 http;import 'package:http/http.dart' as http; 这种写法很有意思,在 import 时直接定义为 as http,之后在文件中可以用 http 来操作,当然定义为其他名称也是可以的;
- http 请求操作,日常应用最多的为 post/get 请求,post 请求中需要传参 url 和 body(键值对),通过 then 方式接收返回内容;get 请求中主要传入 url 参数,同时也可以传入请求头标题等 Accept,同样通过 then 方法接收返回内容;小菜测试 read 请求方式与 get 方式基本一致,只是对返回内容操作不同,get 的返回的全部内容包括状态值和数据内容,而 read 返回的内容直接为数据内容,小菜以为 read 方式更适合请求文件内容方式。
POST 请求
var url = "https://example.com/api/login?";
http.post(url, body: {'password':'e10adc3949ba59abbe56e057f20f883e', 'mobile':'13333333333'})
    .then((response) {
        print("post方式->status: ${response.statusCode}");
        print("post方式->body: ${response.body}");
    }
);
GET 请求
http.get('https://example/getUserBaseInfo?sid=cs&user=13333333333')
    .then((onValue) {
        print("get方式->status: ${onValue.statusCode}");
        print("get方式->body: ${onValue.body}");
    }
);
READ 请求
http.read('https://example/getUserBaseInfo?sid=cs&user=13333333333'),headers: {"Accept": "application/json"})
    .then((onValue) {
        print("read方式->$onValue");
});
异步处理
涉及到网络请求,就必不可少的需要异步处理,Flutter 提供了便利的异步操作方法 async + await;将耗时的不需要长时运算的方法先执行,之后在执行 await 中耗时操作;小菜建议在使用 async 和 await 方式时,要成对出现,await 执行在 async 方法内。
login() async {
    await http.post(url, body: {'password':'e10adc3949ba59abbe56e057f20f883e', 'mobile':'13333333333'})
    .then((response) {
        print("post方式->status: ${response.statusCode}");
        print("post方式->body: ${response.body}");
        }
    );
}
// 调用登录方法
login();
测试源码
login() async {
  await http.post('https://example.com/api/login?', body: {
    'password': 'e10adc3949ba59abbe56e057f20f883e',
    'mobile': _phonecontroller.text
  }).then((response) {
    if (response.statusCode == 200) {
      router.navigateTo(context, '/home/${response.body}');
    } else {
      showDialog(
        context: context,
        barrierDismissible: false,
        child: new AlertDialog(
          title: new Text(
            '温馨提示',
            style: new TextStyle(
              color: Colors.black54,
              fontSize: 18.0,
            ),
          ),
          content: new Text('您输入的用户名密码不存在!'),
          actions: [
            new FlatButton(
                onPressed: () {
                  Navigator.pop(context);
                },
                child: new Text('确定')),
          ],
        ),
      );
    }
  });
}

onTap() {
    login();
}
小菜刚接触 Flutter 时间不长,还有很多不清楚和不理解的地方,如果又不对的地方还希望多多指出。以下是小菜公众号,欢迎闲来吐槽~


