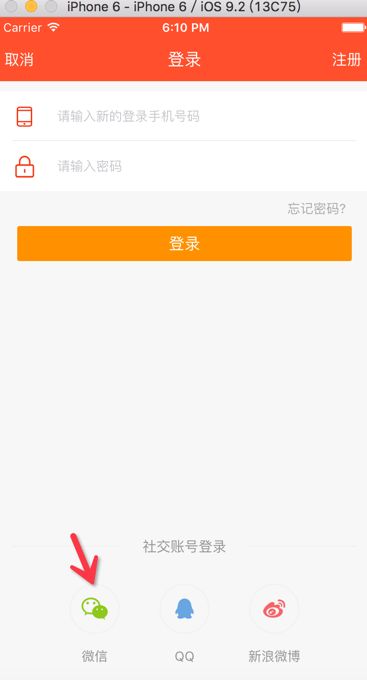
一.微信实现三方登录
前面一些基本的配置我这里就不赘述了,不太明白的可以去看我的关于微信分享的那篇文章,里面有比较详细的撸代码之前的前期准备工作。
1.向微信注册
// WXAPPID:在微信开放平台注册应用时分配的AppID
[WXApi registerApp:WXAPPID];
2.处理open url
- (BOOL)application:(UIApplication *)application openURL:(nonnull NSURL *)url options:(nonnull NSDictionary *)options {
    // 设置了代理为Appdelegate
    return [WXApi handleOpenURL:url delegate:self];
}
3.微信登录
- (void)weixinLoginButtonClick {
   // 先判断是否安装微信客户端
    if ([WXApi isWXAppInstalled]) {
        SendAuthReq *req = [[SendAuthReq alloc] init];
        req.scope = @"snsapi_userinfo";
        req.state = @"App";
        [WXApi sendReq:req];
    }
    else {
        [self showAlertWithTitle:@"提示" message:@"请先下载微信客户端"];
    }
}
4.微信相关的回调
上面的方法执行过后就会执行如下的回调方法
- (void)onReq:(BaseReq *)req
{
     JRLog(@"调用sendResp方法后,收到来自微信的请求,发送相应的结果给微信");
}

- (void)onResp:(BaseResp *)resp
{
    if([resp isKindOfClass:[SendMessageToWXResp class]]) {
        NSLog(@"微信分享相关的回调");
    }else if ([resp isKindOfClass:[SendAuthResp class]]) {
        SendAuthResp *temp = (SendAuthResp*)resp;
        if (temp.errCode == WXSuccess) {
            // 微信授权成功
            [self getAuthorityWithCode:temp.code];
        }
    }
}

#pragma mark --
/**
WXAPPID:在微信平台注册时的AppID
APPSECRET:在微信平台注册应用时获取
*/
- (void)getAuthorityWithCode:(NSString *)code {
    NSString *URL = [NSString stringWithFormat:@"https://api.weixin.qq.com/sns/oauth2/access_token?appid=%@&secret=%@&code=%@&grant_type=authorization_code",WXAPPID,APPSECRET,code];
    dispatch_async(dispatch_get_global_queue(DISPATCH_QUEUE_PRIORITY_DEFAULT, 0), ^{
        NSURL *baseURL = [NSURL URLWithString:URL];
        NSString *rightURL = [NSString stringWithContentsOfURL:baseURL encoding:NSUTF8StringEncoding error:nil];
        NSData *data = [rightURL dataUsingEncoding:NSUTF8StringEncoding];
        if (data) {
            NSDictionary *dic = [NSJSONSerialization JSONObjectWithData:data options:NSJSONReadingMutableContainers error:nil];
            NSString *access_token = [dic objectForSafeKey:@"access_token"];
            NSString *openid = [dic objectForSafeKey:@"openid"];
            [self wechatLoginByRequestForUserInfoWithAccess:access_token openID:openid];
        }
    });
}

/** 获取微信用户信息*/
- (void)wechatLoginByRequestForUserInfoWithAccess:(NSString *)access_token openID:(NSString *)openid {
    // 获取用户信息
    NSString *URL = [NSString stringWithFormat:@"https://api.weixin.qq.com/sns/userinfo?access_token=%@&openid=%@",access_token,openid];
    AFHTTPSessionManager *manager = [AFHTTPSessionManager manager];
    manager.responseSerializer = [AFHTTPResponseSerializer serializer];
    [manager GET:URL parameters:nil progress:nil success:^(NSURLSessionDataTask * _Nonnull task, id  _Nullable responseObject) {
        NSDictionary *dict = [NSJSONSerialization JSONObjectWithData:responseObject options:NSJSONReadingMutableLeaves error:nil];
        if (dict != nil) {
            NSLog(@"dict里面即是获取到得微信的相关信息(头像 昵称等)");
        }
    } failure:^(NSURLSessionDataTask * _Nullable task, NSError * _Nonnull error) {
    }];
}
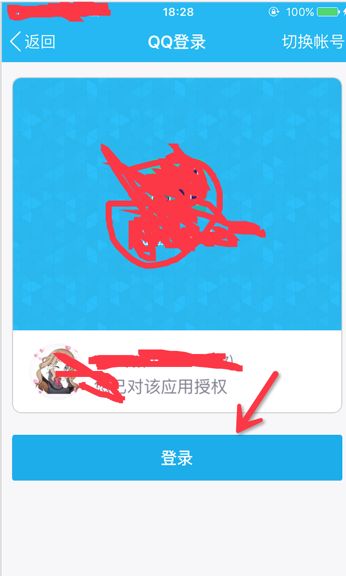
二.QQ实现三方登录
- (void)qqLoginButtonClick {
    if (![TencentOAuth iphoneQQInstalled]) {
        [self showAlertWithTitle:@"提示" message:@"请先下载QQ客户端"];
    }else {
        self.tencentOAuth = [[TencentOAuth alloc] initWithAppId:QQAPPID
                                                    andDelegate:self];
        NSArray *permissions= [NSArray arrayWithObjects:@"get_user_info",@"get_simple_userinfo",@"add_t",nil];
        [self.tencentOAuth authorize:permissions inSafari:NO];
    }
}
#pragma mark --  TencentLoginDelegate
/**
 * 登录成功后的回调
 */
- (void)tencentDidLogin {
    NSLog(@"QQ登录成功 - %@",self.tencentOAuth.openId);
}

/**
 * 登录失败后的回调
 * \param cancelled 代表用户是否主动退出登录
 */
- (void)tencentDidNotLogin:(BOOL)cancelled {
    if (!cancelled) {
        [self showAlertWithTitle:@"提示" message:@"QQ登录失败"];
    }
}

/**
 * 登录时网络有问题的回调
 */
- (void)tencentDidNotNetWork {
    [self showAlertWithTitle:@"提示" message:@"登录时网络出现错误"];
}

/**
 * 退出登录的回调
 */
- (void)tencentDidLogout {
    NSLog(@"退出登录");
}
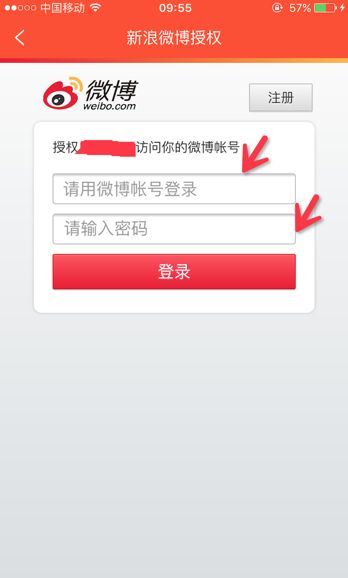
三.新浪微博实现三方登录
1.新浪微博按钮点击
- (void)weiboLoginButtonClick {
    if (![WeiboSDK isWeiboAppInstalled]) {
        [self showAlertWithTitle:@"提示" message:@"请先安装新浪微博客户端"];
    }else {
        // 授权页面(授权页面是微博提供的 我们只需要用网页来加载它即可)
        JROAuthorViewController *oauthVc = [[JROAuthorViewController alloc] init];
        [self.navigationController pushViewController:oauthVc animated:YES];
    }
}
2.授权页面的实现
- (void)viewDidLoad
{
    [super viewDidLoad];
    UIWebView *webView = [[UIWebView alloc] initWithFrame:CGRectMake(0, 64, [UIDevice screenWidth], [UIDevice screenHeight])];
    webView.delegate = self;
    [self.view addSubview:webView];
    self.navigationTitleLabel.text = @"新浪微博授权";
    // 2.用webView加载授权页面
    NSString *urlStr = [NSString stringWithFormat:@"https://api.weibo.com/oauth2/authorize?client_id=%@&redirect_uri=%@",WBAPPID,@"http://sns.whalecloud.com/sina2/callback"];
    NSURL *url = [NSURL URLWithString:urlStr];
    NSURLRequest *request = [NSURLRequest requestWithURL:url];
    [webView loadRequest:request];
}

#pragma mark - UIWebViewDelegate
- (BOOL)webView:(UIWebView *)webView shouldStartLoadWithRequest:(NSURLRequest *)request navigationType:(UIWebViewNavigationType)navigationType {
    NSString *url = request.URL.absoluteString;
    // 1.是否为回调地址
    NSRange range = [url rangeOfString:@"code="];
    if (range.length != 0) {
        // 2.截取code=后面的参数值
        NSInteger fromIndex = range.location + range.length;
        NSString *code = [url substringFromIndex:fromIndex];
        // 3.利用code换取一个accessToken
        [self accessTokenWithCode:code];
    }
    return YES;
}
/**
 *  利用授权成功后的request token换取一个accessToken
 */
- (void)accessTokenWithCode:(NSString *)code {
    // 1.请求管理者
    AFHTTPSessionManager *manager =                  [AFHTTPSessionManager manager];
    manager.responseSerializer = [AFHTTPResponseSerializer serializer];
    // 2.拼接请求参数
    NSMutableDictionary *params = [NSMutableDictionary dictionary];
    params[@"client_id"] = WBAPPID;
    params[@"client_secret"] = WBSECRT;
    params[@"grant_type"] = @"authorization_code";
    params[@"redirect_uri"] = @"http://sns.whalecloud.com/sina2/callback";
    params[@"code"] = code;
    // 3.发送请求
    [manager POST:@"https://api.weibo.com/oauth2/access_token" parameters:params progress:nil success:^(NSURLSessionDataTask * _Nonnull task, id  _Nullable responseObject) {
        NSDictionary *dict = [NSJSONSerialization JSONObjectWithData:responseObject options:NSJSONReadingMutableLeaves error:nil];
        if (dict != nil) {
           NSLog(@"获取access_token成功");
        }
    } failure:^(NSURLSessionDataTask * _Nullable task, NSError * _Nonnull error) {

    }];
}
总结
以上只是三方登录的简单应用,具体的应用还是各自平台的文档相当全面。


