大名鼎鼎的EventBus很多人一定都用过,这个框架通过利用注解+反射,很好的实现了事件订阅者与发布者的解耦。今天我们就手动实现一个简易版本的EventBus。
先写我们的EventBus类,模仿真正的EventBus类,我们这个类里面包含的也是标准的几个方法:
1.void register(Object subscriber)
2.void unregister(Object subscriber)
3.void post(Object eventType)
EventBus里的方法只有这几个(因为我们是简易版本的嘛)。当然我们的EventBus是一个单例模式类,我用的是双重检测null的那种:
private static EventBus defaultInstance;

public static EventBus getDefault(){
        if(defaultInstance==null){
            synchronized (EventBus.class){
                if(defaultInstance==null) defaultInstance=new EventBus();
            }
        }
        return defaultInstance;
    }
接下来是一个很重要的成员变量:
private HashMap,ArrayList> subscriptionsByEventType=new HashMap<>();
解释一下:HashMap的key为Class对象,其实就是订阅者中各种onEvent*函数的参数的Class对象,用过EventBus的都知道我们可以利用不同的参数对象实现不同事件的订阅。而HashMap的value是一个ArrayList,其中就是存储针对不同的参数对象的订阅。利用这个HashMap,可以轻易地找到所有订阅某一参数类型事件的所有订阅者。订阅信息就包含在类Subscription中。
我们分析一下Subscription类中应该包含哪些信息:
1.事件的订阅者,即subscriber。
2.订阅的事件,即method。
3.事件应该发生的线程,即ThreadMode。
综上,我们的类Subscription如下:
public class Subscription {
    public Method method;
    public Object subscriber;
    public ThreadMode mode;

    public Subscription(Method method, Object subscriber, ThreadMode mode) {
        this.method = method;
        this.subscriber = subscriber;
        this.mode = mode;
    }
}
其中ThreadMode就是一个简单的枚举,作为演示我只设置了两个值:
public enum ThreadMode {
    MainThread,PostThread
}
即post事件所在的线程以及主线程main。
EventBus的成员变量暂时就这些,还有一个稍后再讲,接下来就是成员方法的实现,我们一个一个来,首先是register方法。先看一下register的全部代码:
public void register(Object subscriber){
        //根据反射机制,查找subscriber中所有已onEvent开头的method
        Class clazz=subscriber.getClass();
        Method[] methods=clazz.getMethods();
        for(Method method:methods){
            String name=method.getName();
            if(name.startsWith("onEvent")){
                Class param=method.getParameterTypes()[0];
                ArrayList subscriptions=subscriptionsByEventType.get(param);
                if(subscriptions==null){
                    subscriptions=new ArrayList<>();
                    subscriptionsByEventType.put(param,subscriptions);
                }
                //根据函数名字决定线程
                if(name.substring("onEvent".length()).length()==0){
                    //onEvent 默认为postThread
                    subscriptions.add(new Subscription(method,subscriber, ThreadMode.PostThread));
                }else{
                    //onEventMainThread
                    subscriptions.add(new Subscription(method,subscriber, ThreadMode.MainThread));
                }
            }
        }
    }
首先利用反射获取订阅者所在类中所有以"onEvent"开头的方法,获取方法的参数,根据参数类型去subscriptionsByEventType查找对应的ArrayList
接下来就是构建Subscription,这里默认onEvent()为发生在PostThread,而onEventMainThread()发生在主线程main中。这样,register方法就结束,是不是很简单呢?
unregister:
public void unregister(Object subscriber){
        Class clazz=subscriber.getClass();
        Method[] methods=clazz.getMethods();
        for(Method method:methods){
            String name=method.getName();
            if(name.startsWith("onEvent")){
                Class param=method.getParameterTypes()[0];
                ArrayList subscriptions=subscriptionsByEventType.get(param);
                if(subscriptions!=null){
                    for(Subscription subscription:subscriptions){
                        if(subscription.subscriber==subscriber) subscriptions.remove(subscription);
                    }
                }
            }
        }
    }
懂了register怎么写的写unregister就简单多了,同样利用反射找到onEvent*方法,获取参数类型,然后将该订阅者的所有订阅事件Sunscription从HashMap中去除即可。
最后是post方法:
public void post(Object eventType){
        Class clazz=eventType.getClass();
        ArrayList subscriptions=subscriptionsByEventType.get(clazz);
        if(subscriptions==null) Log.d(TAG,"EventBus: no subscriber has subscribed to this event");
        else{
            for(Subscription subscription:subscriptions){
                switch (subscription.mode){
                    case MainThread:
                        mainThreadHandler.post(subscription,eventType);
                        break;
                    case PostThread:
                        try {
                            subscription.method.invoke(subscription.subscriber,eventType);
                        } catch (IllegalAccessException e) {
                            e.printStackTrace();
                        } catch (InvocationTargetException e) {
                            e.printStackTrace();
                        }
                        break;
                    default:
                        break;
                }
            }
        }
    }
post中要做的事情是根据参数类型,从HashMap中取出所有订阅该事件的Subscription,然后依次执行每一个订阅。根据订阅事件发生的线程,这里分为两种情况。PostThread很简单,直接在post函数里执行即可,具体方法为利用Method.Invoke(Object obj,Object...args);
subscription.method.invoke(subscription.subscriber,eventType);
接下来是要执行应该发生在MainThread中的订阅事件,提到主线程,我们就联想到了Handler,我们可以创建一个与主线程关联的Handler,然后将事件的处理交给Handler。
MainThreadHandler:
public class MainThreadHandler extends Handler {
    private Subscription subscription;
    private Object eventType;

    public MainThreadHandler(Looper looper) {
        super(looper);
    }

    @Override
    public void handleMessage(Message msg) {
        try {
            subscription.method.invoke(subscription.subscriber,eventType);
        } catch (IllegalAccessException e) {
            e.printStackTrace();
        } catch (InvocationTargetException e) {
            e.printStackTrace();
        }
    }

    public void post(Subscription subscription,Object eventType){
        this.subscription=subscription;
        this.eventType=eventType;
        sendMessage(Message.obtain());
    }
}
然后在建立EventBus的时候建立MainThreadHandler:
private EventBus(){
        mainThreadHandler=new MainThreadHandler(Looper.getMainLooper());
    };
至此,我们的EventBus全部完成,是不是很简单呢?接下来就是测试。
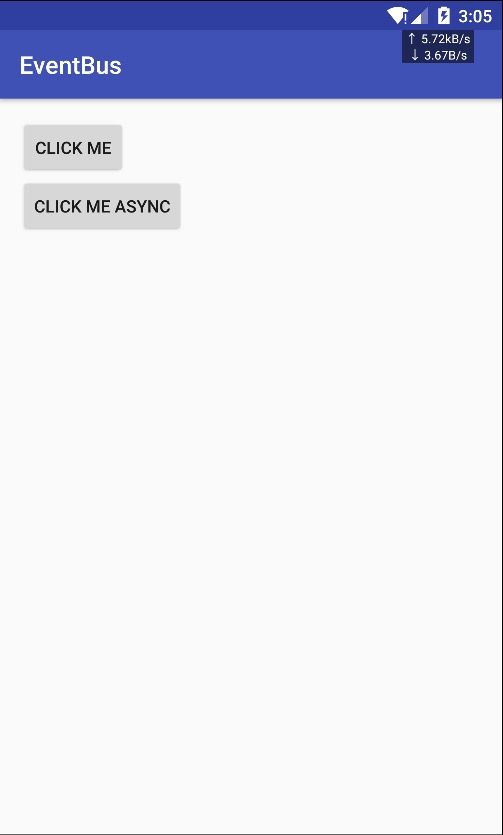
我在MainActivity的界面中放了两个 Button,分别对应发生在MainThread以及子线程中。
写了两个订阅函数,订阅事件类型都是ToastEvent:
public class ToastEvent {
}
MainActivity.java:
public class MainActivity extends AppCompatActivity {
    Button bt;
    Button btAsync;

    @Override
    protected void onCreate(Bundle savedInstanceState) {
        super.onCreate(savedInstanceState);
        setContentView(R.layout.activity_main);
        EventBus.getDefault().register(this);
        bt= (Button) findViewById(R.id.bt);
        btAsync= (Button) findViewById(R.id.btAsync);
        bt.setOnClickListener(new View.OnClickListener() {
            @Override
            public void onClick(View view) {
                EventBus.getDefault().post(new ToastEvent());
            }
        });
        btAsync.setOnClickListener(new View.OnClickListener() {
            @Override
            public void onClick(View view) {
                new Thread(new Runnable() {
                    @Override
                    public void run() {
                        EventBus.getDefault().post(new ToastEvent());
                    }
                }).start();
            }
        });
    }

    public void onEvent(ToastEvent event){
        Log.d("YJW","onEvent: "+ Thread.currentThread().getName());
    }

    public void onEventMainThread(ToastEvent event){
        Toast.makeText(this, "Haha on MainThread", Toast.LENGTH_SHORT).show();
        Log.d("YJW","onEventMainThread: "+ Thread.currentThread().getName());
    }

    @Override
    protected void onDestroy() {
        super.onDestroy();
        EventBus.getDefault().unregister(this);
    }
}

点击两个Button都出现Toast,并打印相应日志,上两条日志为上面的Button,下面两条日志对应下面的Button,测试功能正常。
至此,大功告成。特别说明:真正的EventBus原理大致如此,不过更复杂,做了很多优化与特殊处理,还利用了注解。但作为演示,此demo足够了。