版本历史
| 版本号 | 修改时间 |
|---|---|
| V1.0 | 2017.05.01 |
前言
在我们的app中加载数据,很多时候都需要进行上拉加载和下拉刷新,特别是像今日头条这样的门户网站,每个页面给用户提供20条左右的数据,根据用户的喜欢选择是否刷新,才请求服务器给出分页的数据。这里我们可以自定义上拉加载和下拉刷新,但是也可以采用第三方框架,我们这篇主要就是说的是应用较为广泛的第三方框架MJRefresh,此篇为基础入门篇,专门为那些刚入门同学的进行引导,下面主要的内容就是对MJRefresh进行概览并给出一个最简单的例子。下面就开始吧。开始之前先给出MJRefreh的github地址。
MJRefrsh-github地址
MJRefresh概览
适用范围
MJRefresh适用哪些控件的刷新呢?github官网上给出了四个,其实不难猜到就是主要的那几个可以滚动的控件(UITextView除外),主要就是四个:UIScrollView、 UITableView、UICollectionView、UIWebView。
API集成
主要的集成方式有两种:
- 自动集成:通过cocoapods集成。
- 手动集成:通过github下载,手动拖动到项目中。
API结构
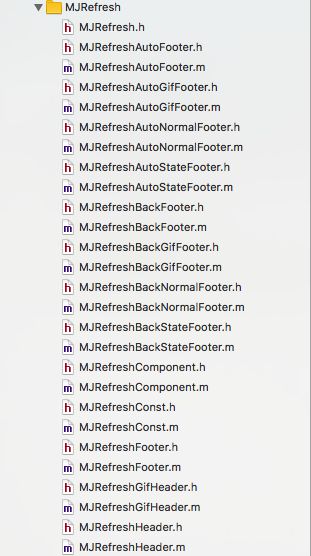
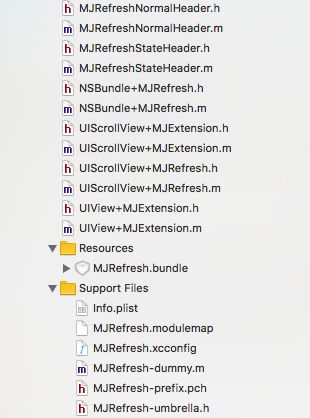
我们先看一下有哪些源文件。
这个家族的文件就目前的更新情况而言,已经全部在这里了。我们在看一下下面这个图表。
下面对这个图标进行说明:
- 红色的部分,可直接使用
- 下拉刷新 1)Normal: MJRefreshNormalHeader 2) Gif:MJRefreshGifHeader
- 上拉刷新:1)自动刷新 Normal:MJRefreshAutoNormalFooter 和 Gif:MJRefreshAutoGifFooter 2)自动回弹 Normal:MJRefreshBackNormalFooter 和 Gif:MJRefreshBackGifFooter。
- 其他颜色的部分不可以直接使用。
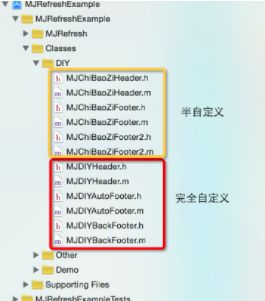
除了我们直接用,我们还可以DIY刷新,使用下面的。
API中几个重要的类
1. MJRefreshComponent.h
/** The Base Class of refresh control */
@interface MJRefreshComponent : UIView

#pragma mark -  Control the state of Refresh

/** BeginRefreshing */
- (void)beginRefreshing;

/** EndRefreshing */
- (void)endRefreshing;

/** IsRefreshing */
- (BOOL)isRefreshing;

#pragma mark - Other

* According to the drag ratio to change alpha automatically

@property (assign, nonatomic, getter=isAutomaticallyChangeAlpha) BOOL automaticallyChangeAlpha;

@end
2. MJRefreshHeader.h
@interface MJRefreshHeader : MJRefreshComponent

/** Creat header */
+ (instancetype)headerWithRefreshingBlock:(MJRefreshComponentRefreshingBlock)refreshingBlock;

/** Creat header */
+ (instancetype)headerWithRefreshingTarget:(id)target refreshingAction:(SEL)action;

/** This key is used to storage the time that the last time of drown-down successfully */
@property (copy, nonatomic) NSString *lastUpdatedTimeKey;

/** The last time of drown-down successfully */
@property (strong, nonatomic, readonly) NSDate *lastUpdatedTime;

/** Ignored scrollView contentInset top */
@property (assign, nonatomic) CGFloat ignoredScrollViewContentInsetTop;

@end
3. MJRefreshFooter.h
 @interface MJRefreshFooter : MJRefreshComponent

/** Creat footer */
+ (instancetype)footerWithRefreshingBlock:(MJRefreshComponentRefreshingBlock)refreshingBlock;

/** Creat footer */
+ (instancetype)footerWithRefreshingTarget:(id)target refreshingAction:(SEL)action;

/** NoticeNoMoreData */
- (void)noticeNoMoreData;

/** ResetNoMoreData(Clear the status of NoMoreData ) */
- (void)resetNoMoreData;

/** Ignored scrollView contentInset bottom */
@property (assign, nonatomic) CGFloat ignoredScrollViewContentInsetBottom;

/** Automaticlly show or hidden by the count of data(Show-have data,Hidden- no data) */
@property (assign, nonatomic) BOOL automaticallyHidden;@end
4. MJRefreshAutoFooter.h
@interface MJRefreshAutoFooter : MJRefreshFooter

/** Is Automatically Refresh(Default is Yes) */
@property (assign, nonatomic, getter=isAutomaticallyRefresh) BOOL automaticallyRefresh;

/** When there is much at the bottom of the control is automatically refresh(Default is 1.0,Is at the bottom of the control appears in full, will refresh automatically) */
@property (assign, nonatomic) CGFloat triggerAutomaticallyRefreshPercent;

@end
几种使用方式
下面简单的介绍几种使用方式,内容来源于github。谢谢每一个作者的分享,谢谢大家。
下拉刷新
1. Default模式刷新
self.tableView.header = [MJRefreshNormalHeader headerWithRefreshingBlock:^{
   //Call this Block When enter the refresh status automatically
}];

或

// Set the callback(Once you enter the refresh status,then call the action of target,that is call [self loadNewData])
self.tableView.header = [MJRefreshNormalHeader headerWithRefreshingTarget:self refreshingAction:@selector(loadNewData)];

// Enter the refresh status immediately
[self.tableView.header beginRefreshing];
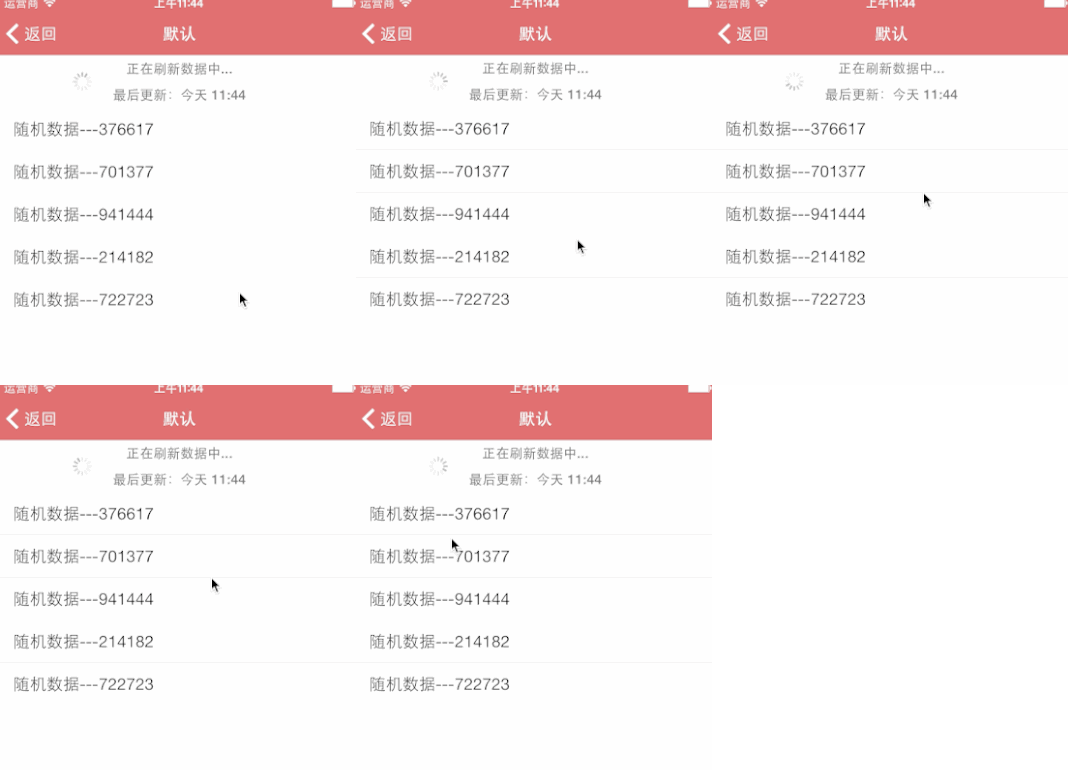
看下面的gif图。
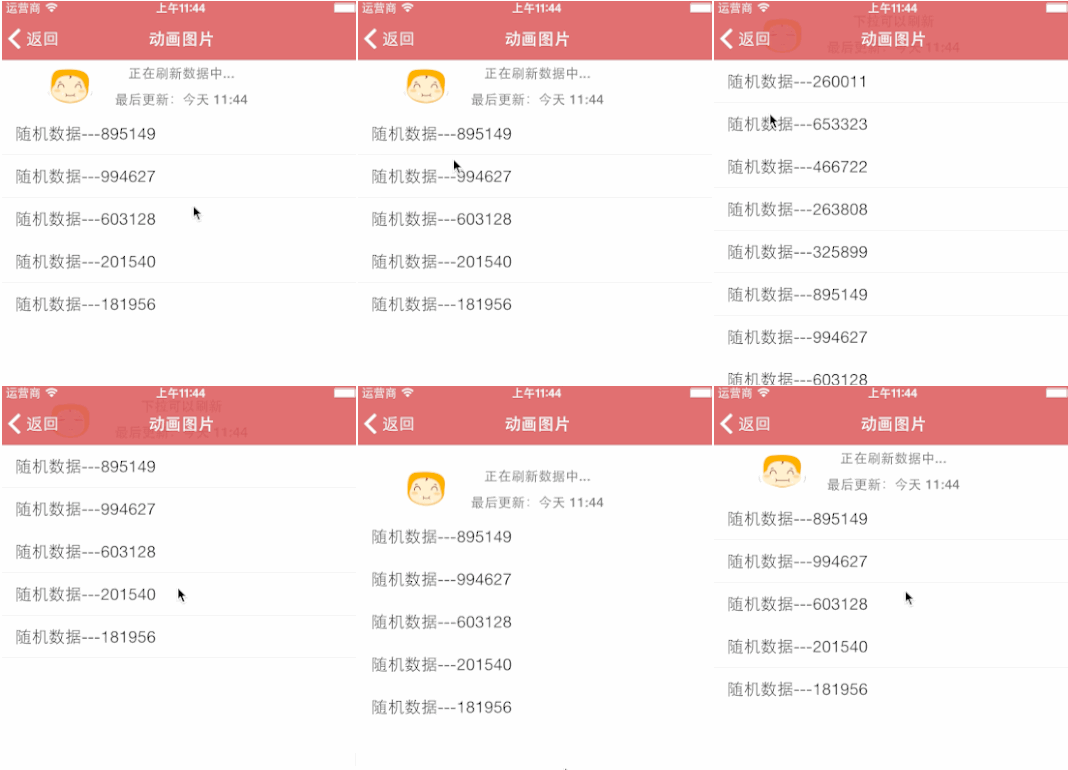
2. 带有动画图片的刷新
// Set the callback(一Once you enter the refresh status,then call the action of target,that is call [self loadNewData])
MJRefreshGifHeader *header = [MJRefreshGifHeader headerWithRefreshingTarget:self refreshingAction:@selector(loadNewData)];

// Set the ordinary state of animated images
[header setImages:idleImages forState:MJRefreshStateIdle];

// Set the pulling state of animated images(Enter the status of refreshing as soon as loosen)
[header setImages:pullingImages forState:MJRefreshStatePulling];

// Set the refreshing state of animated images
[header setImages:refreshingImages forState:MJRefreshStateRefreshing];

// Set header
self.tableView.mj_header = header;
我们看一下下面的gif图。
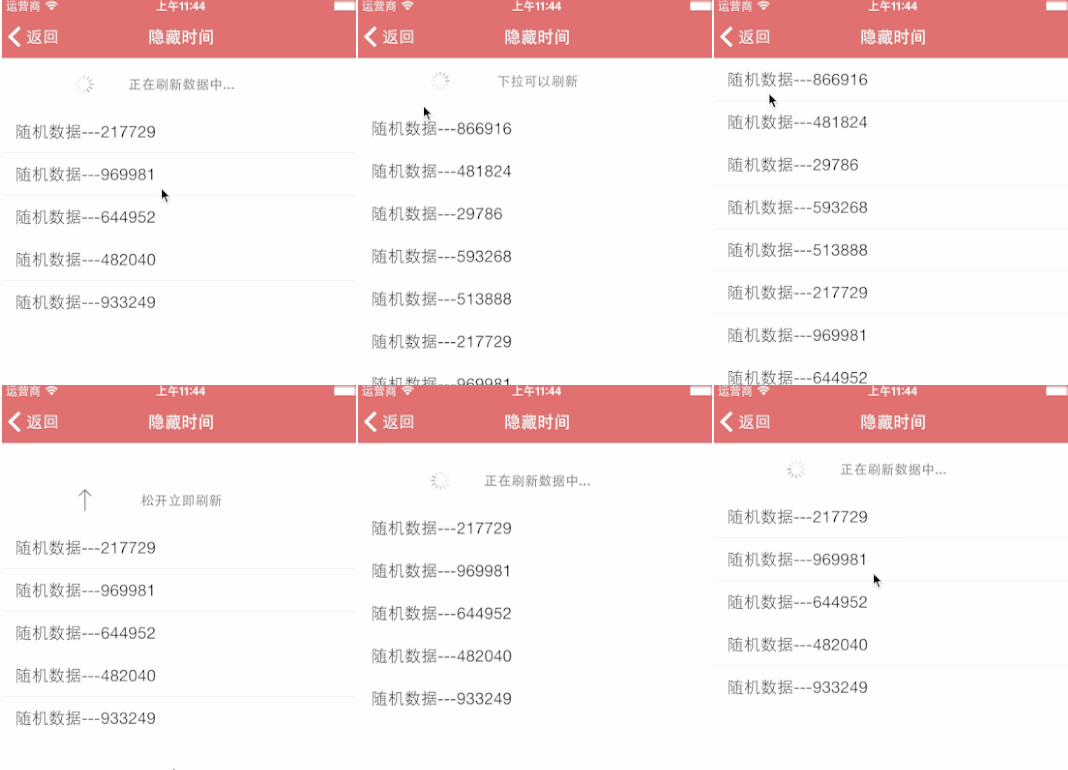
3. 隐藏时间的刷新
// Hide the time
header.lastUpdatedTimeLabel.hidden = YES;
我们看下面的gif图。
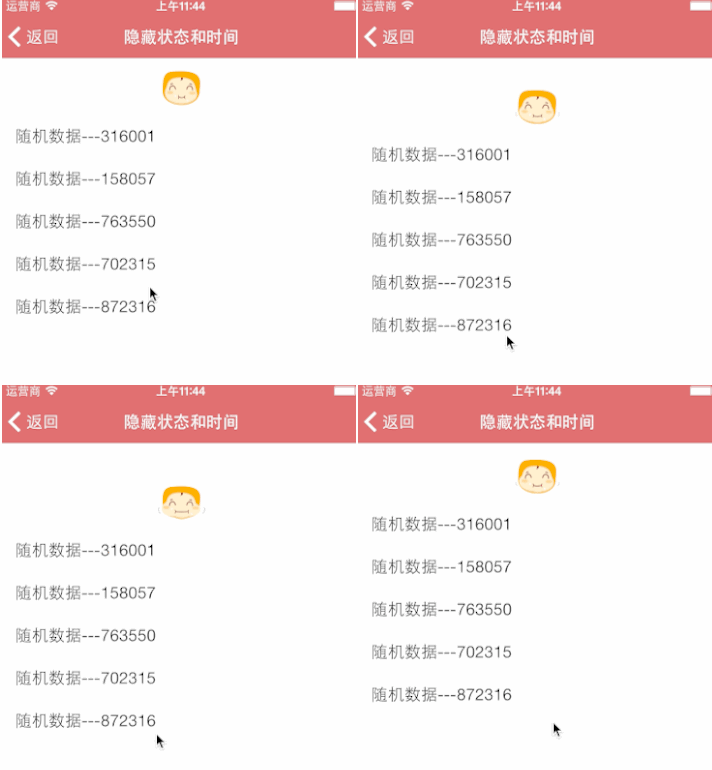
4. 隐藏状态和时间的刷新
// Hide the time
header.lastUpdatedTimeLabel.hidden = YES;

// Hide the status
header.stateLabel.hidden = YES;
看下下面的gif图。
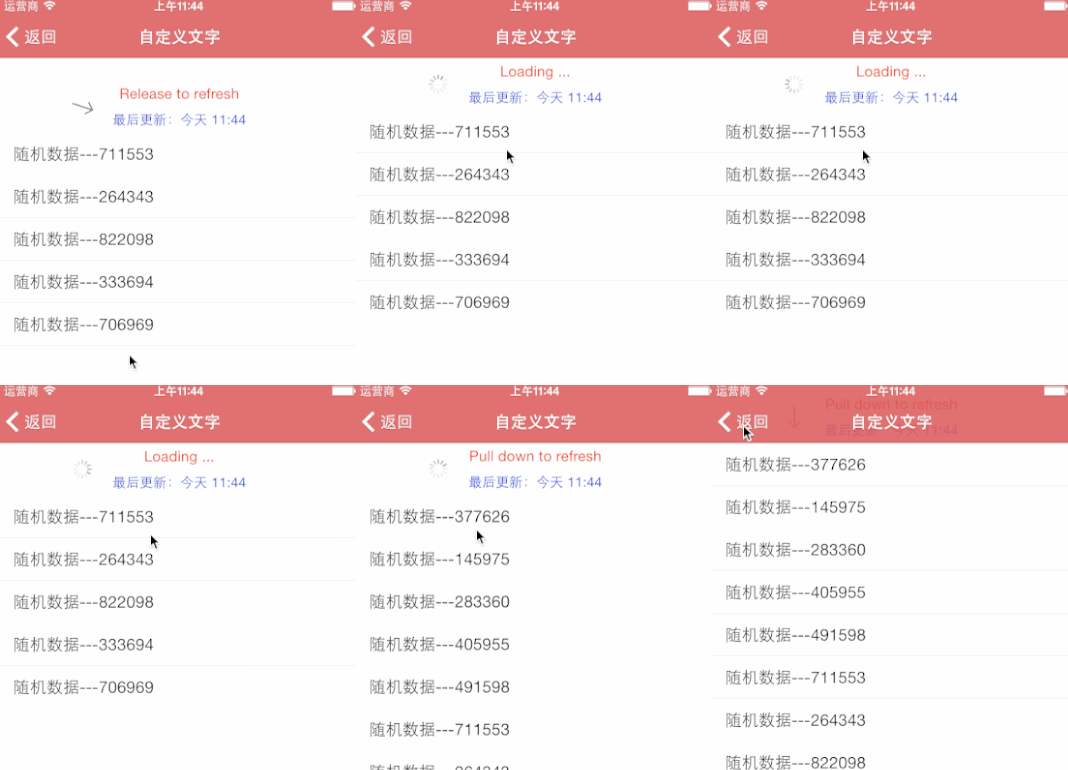
5. DIY文案刷新
// Set title
[header setTitle:@"Pull down to refresh" forState:MJRefreshStateIdle];
[header setTitle:@"Release to refresh" forState:MJRefreshStatePulling];
[header setTitle:@"Loading ..." forState:MJRefreshStateRefreshing];

// Set font
header.stateLabel.font = [UIFont systemFontOfSize:15];
header.lastUpdatedTimeLabel.font = [UIFont systemFontOfSize:14];

// Set textColor
header.stateLabel.textColor = [UIColor redColor];
header.lastUpdatedTimeLabel.textColor = [UIColor blueColor];
看一下gif图。
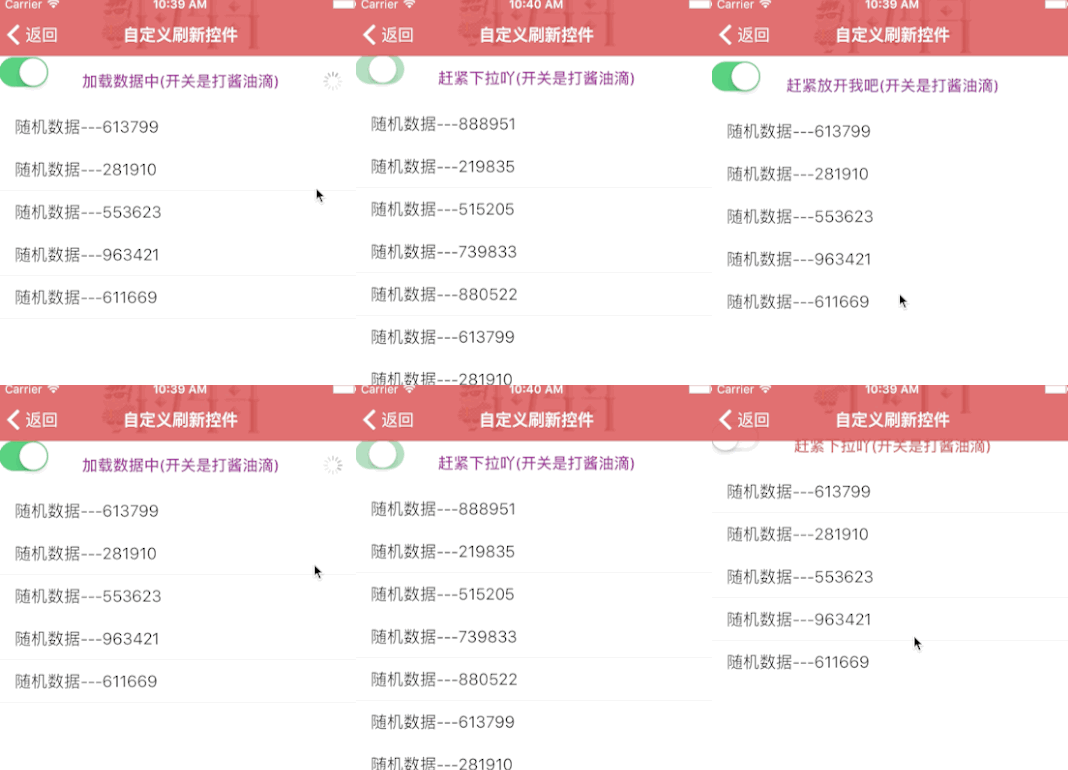
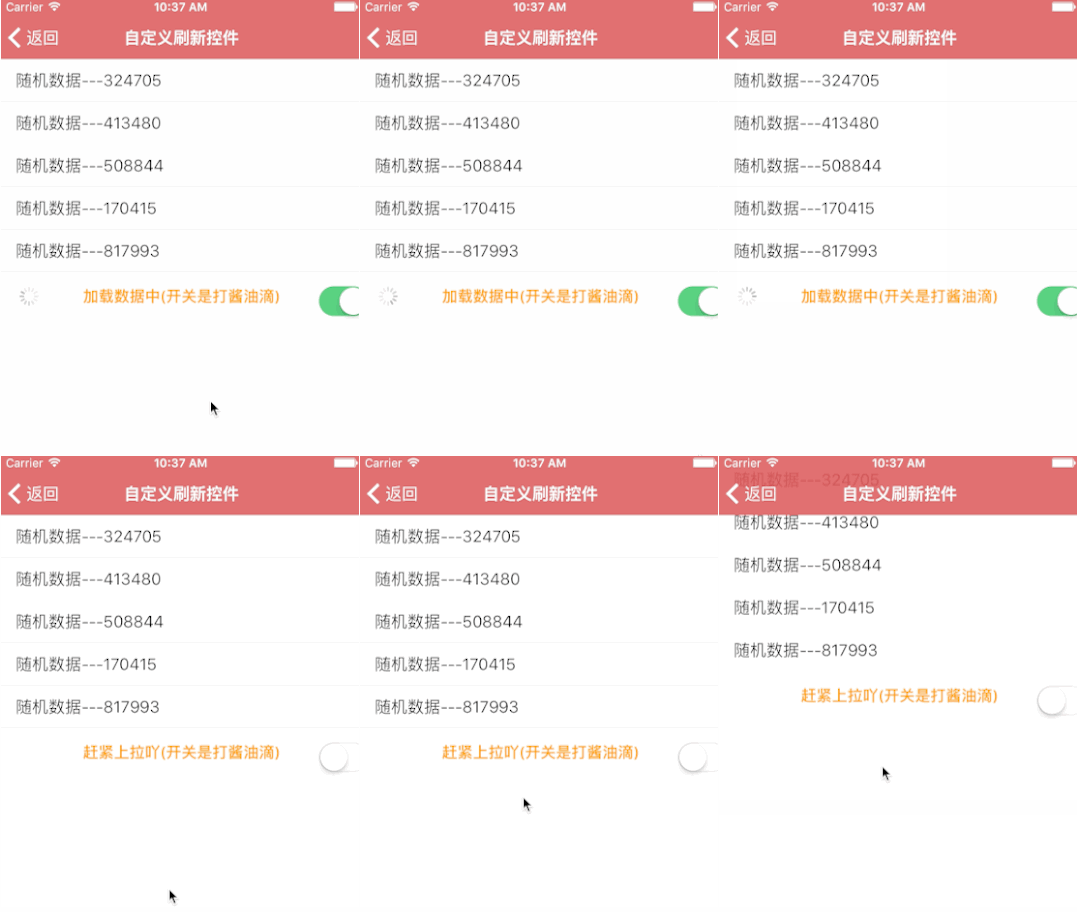
6. 自定义控件的刷新
self.tableView.mj_header = [MJDIYHeader headerWithRefreshingTarget:self refreshingAction:@selector(loadNewData)];
// Implementation reference to MJDIYHeader.h和MJDIYHeader.m
看下面的gif图。
上拉刷新
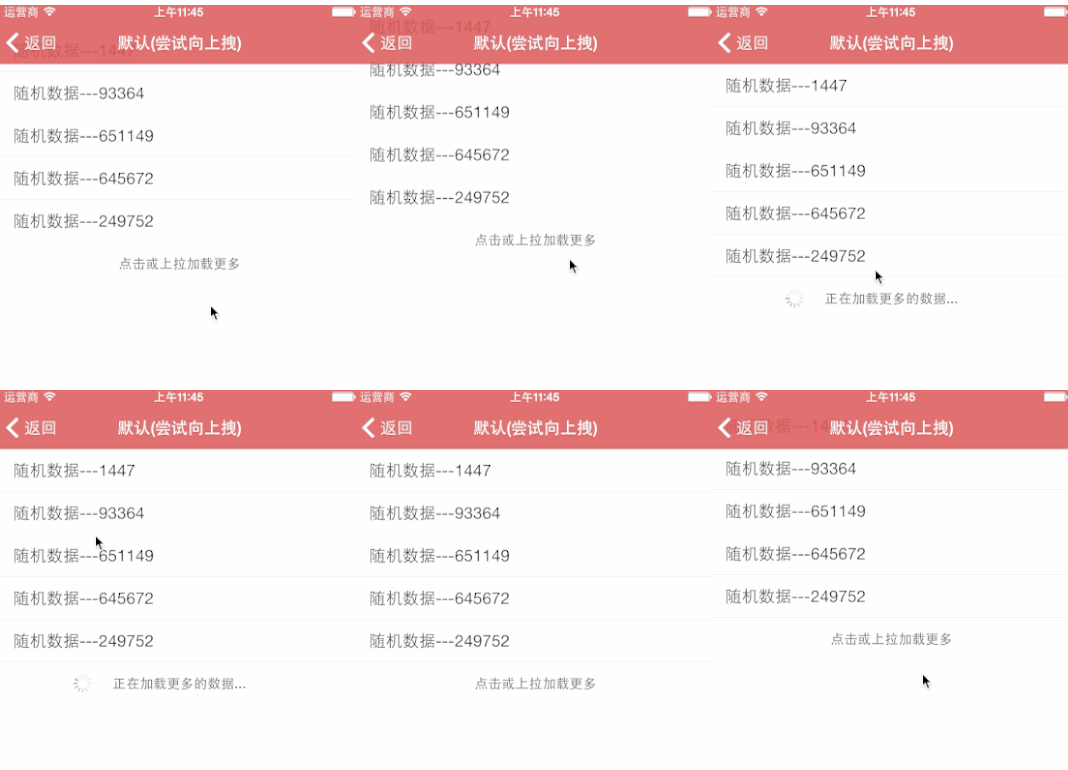
1. Default模式刷新
self.tableView.mj_footer = [MJRefreshAutoNormalFooter footerWithRefreshingBlock:^{
    //Call this Block When enter the refresh status automatically
}];
或
// Set the callback(Once you enter the refresh status,then call the action of target,that is call [self loadMoreData])
self.tableView.mj_footer = [MJRefreshAutoNormalFooter footerWithRefreshingTarget:self refreshingAction:@selector(loadMoreData)];
看下面的gif图。
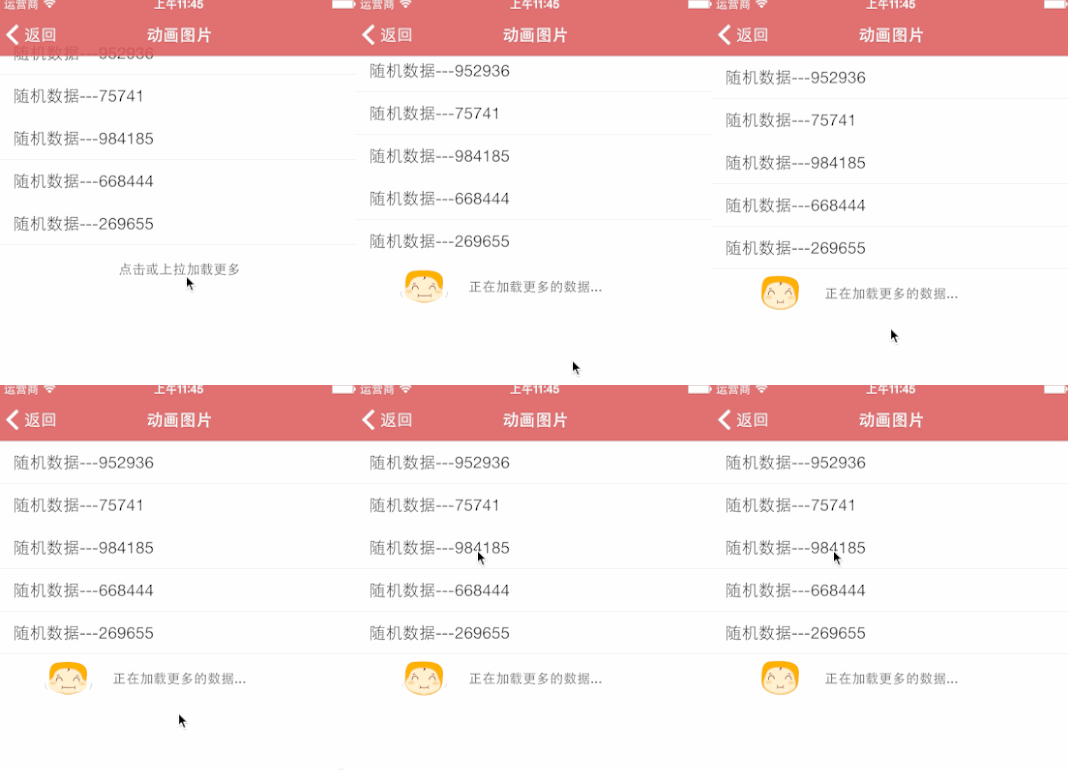
2. 动画刷新
// Set the callback(Once you enter the refresh status,then call the action of target,that is call [self loadMoreData])
MJRefreshAutoGifFooter *footer = [MJRefreshAutoGifFooter footerWithRefreshingTarget:self refreshingAction:@selector(loadMoreData)];

// Set the refresh image
[footer setImages:refreshingImages forState:MJRefreshStateRefreshing];

// Set footer
self.tableView.mj_footer = footer;
看下面的gif图。
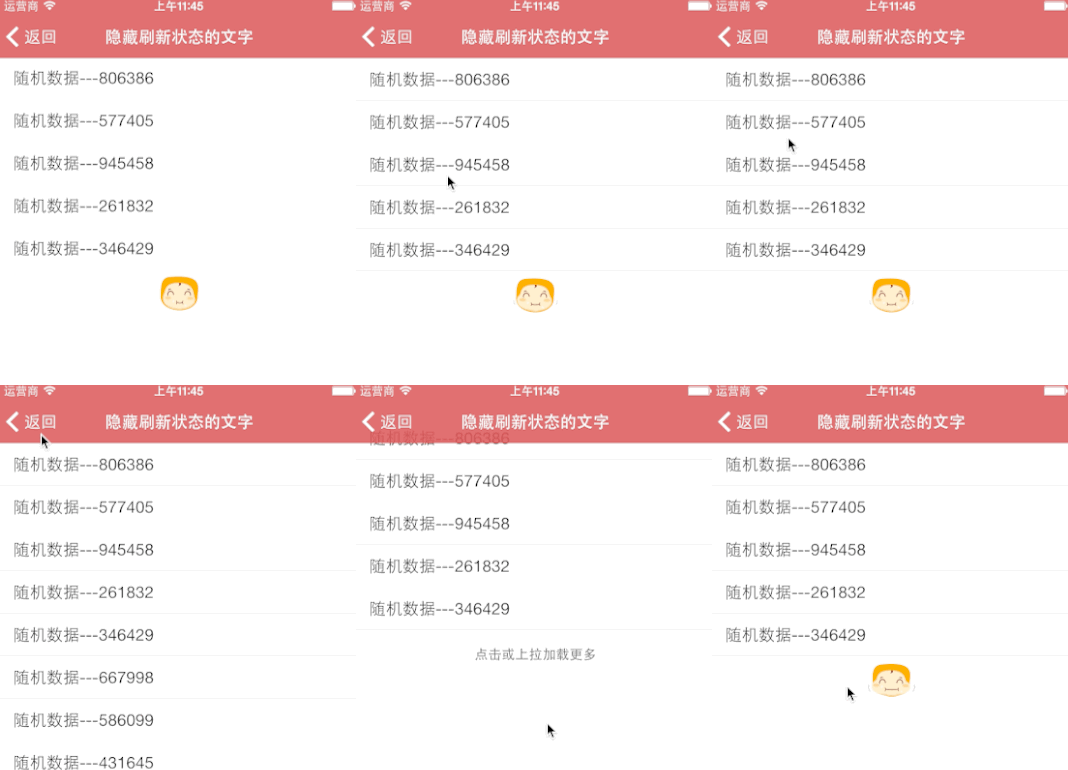
3. 隐藏状态的刷新
// Hide the title of refresh status
footer.refreshingTitleHidden = YES;

// If does have not above method,then use
footer.stateLabel.hidden = YES;
看下面的gif图。
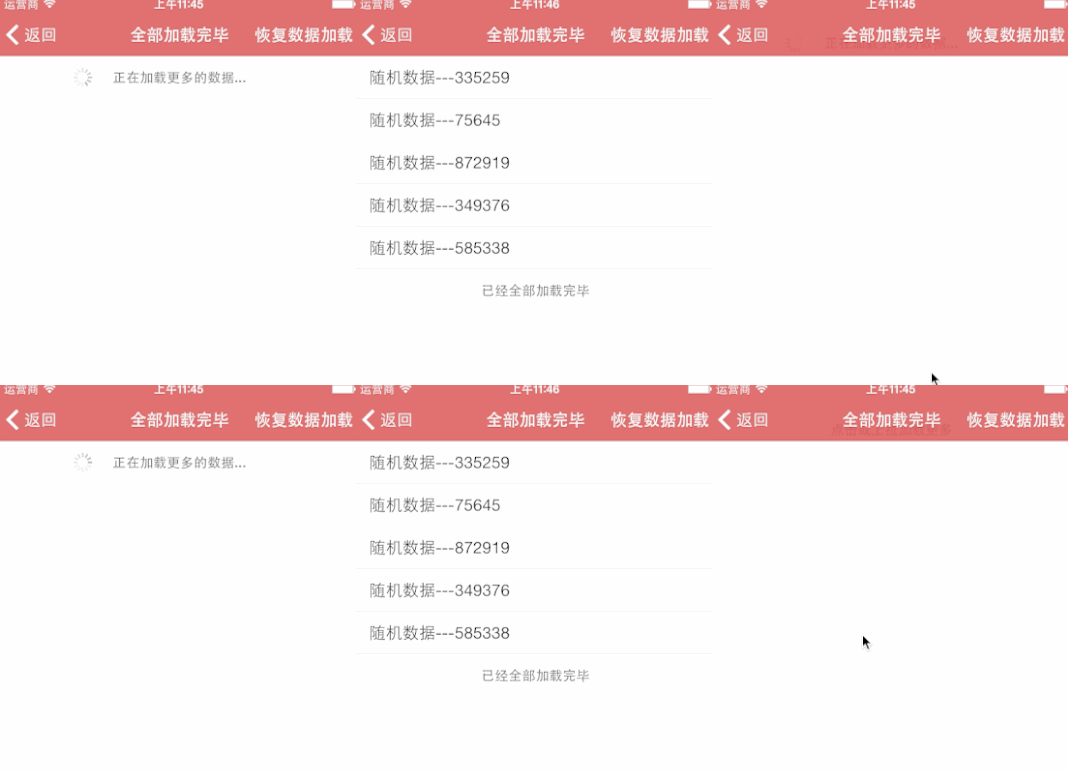
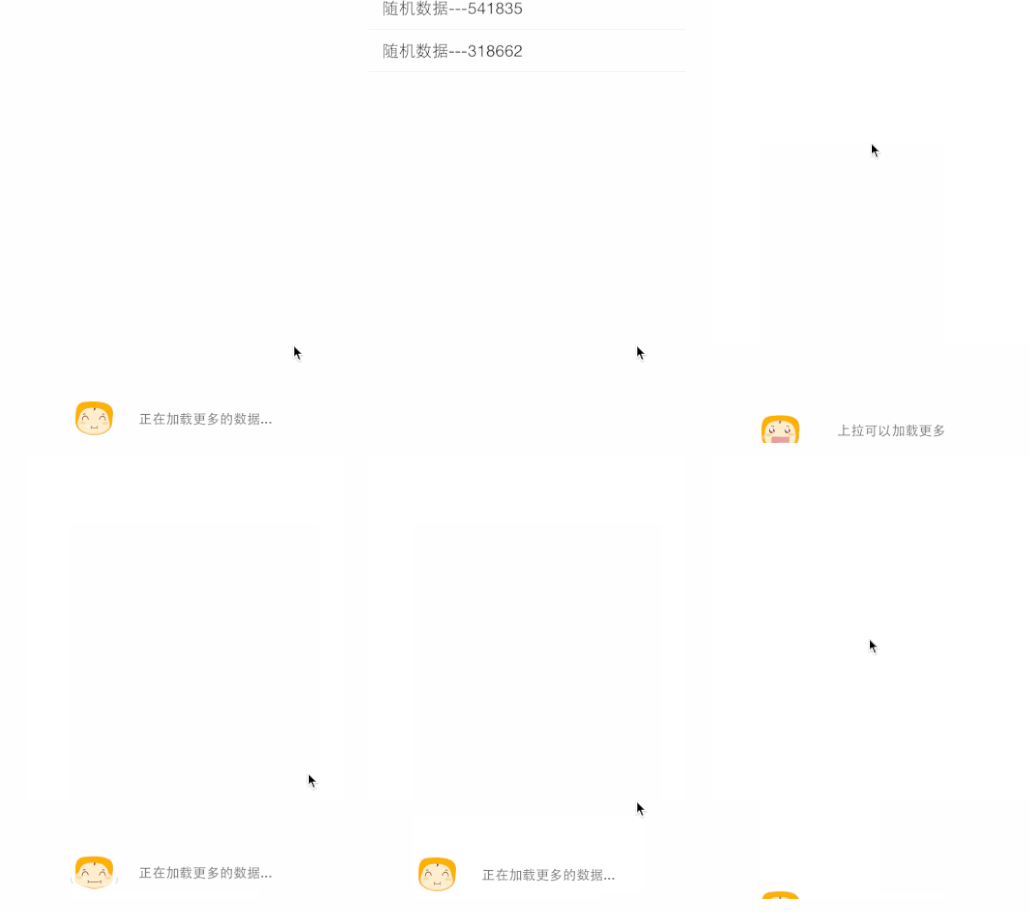
4. 全部加载完毕的刷新
//Become the status of NoMoreData
[footer noticeNoMoreData];
我们看下面的gif图。
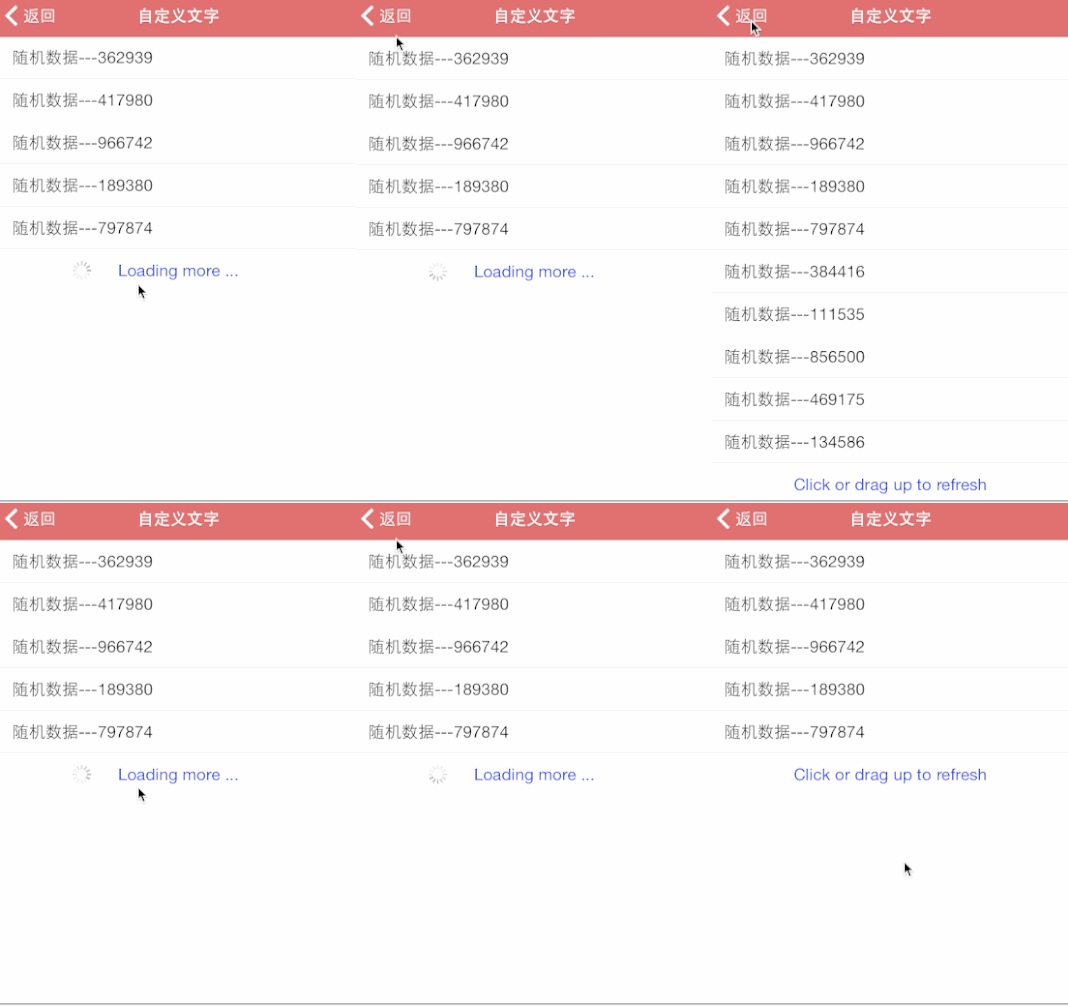
5. DIY文字的刷新
// Set title
[footer setTitle:@"Click or drag up to refresh" forState:MJRefreshStateIdle];
[footer setTitle:@"Loading more ..." forState:MJRefreshStateRefreshing];
[footer setTitle:@"No more data" forState:MJRefreshStateNoMoreData];

// Set font
footer.stateLabel.font = [UIFont systemFontOfSize:17];

// Set textColor
footer.stateLabel.textColor = [UIColor blueColor];
我们看下面的gif图。
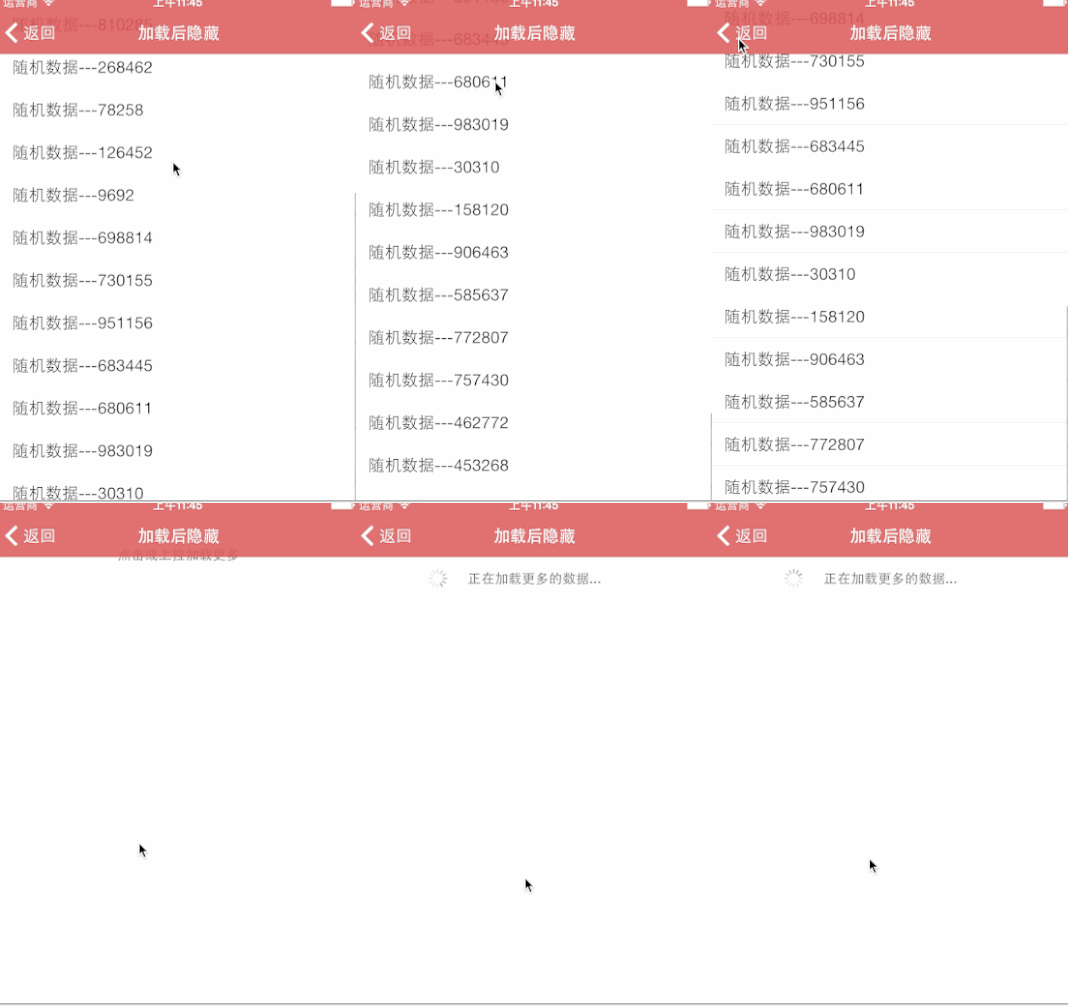
6. 隐藏footer的刷新
//Hidden current control of the pull to refresh
self.tableView.mj_footer.hidden = YES;
我们看gif图。
7. 自动回弹的刷新
self.tableView.mj_footer = [MJRefreshBackNormalFooter footerWithRefreshingTarget:self refreshingAction:@selector(loadMoreData)];
我们看一下gif图。
8. 图片自动回弹的刷新
MJRefreshBackGifFooter *footer = [MJRefreshBackGifFooter footerWithRefreshingTarget:self refreshingAction:@selector(loadMoreData)];

// Set the normal state of the animated image
[footer setImages:idleImages forState:MJRefreshStateIdle];

//  Set the pulling state of animated images(Enter the status of refreshing as soon as loosen)
[footer setImages:pullingImages forState:MJRefreshStatePulling];

// Set the refreshing state of animated images
[footer setImages:refreshingImages forState:MJRefreshStateRefreshing];

// Set footer
self.tableView.mj_footer = footer;
我们看下下面gif图。
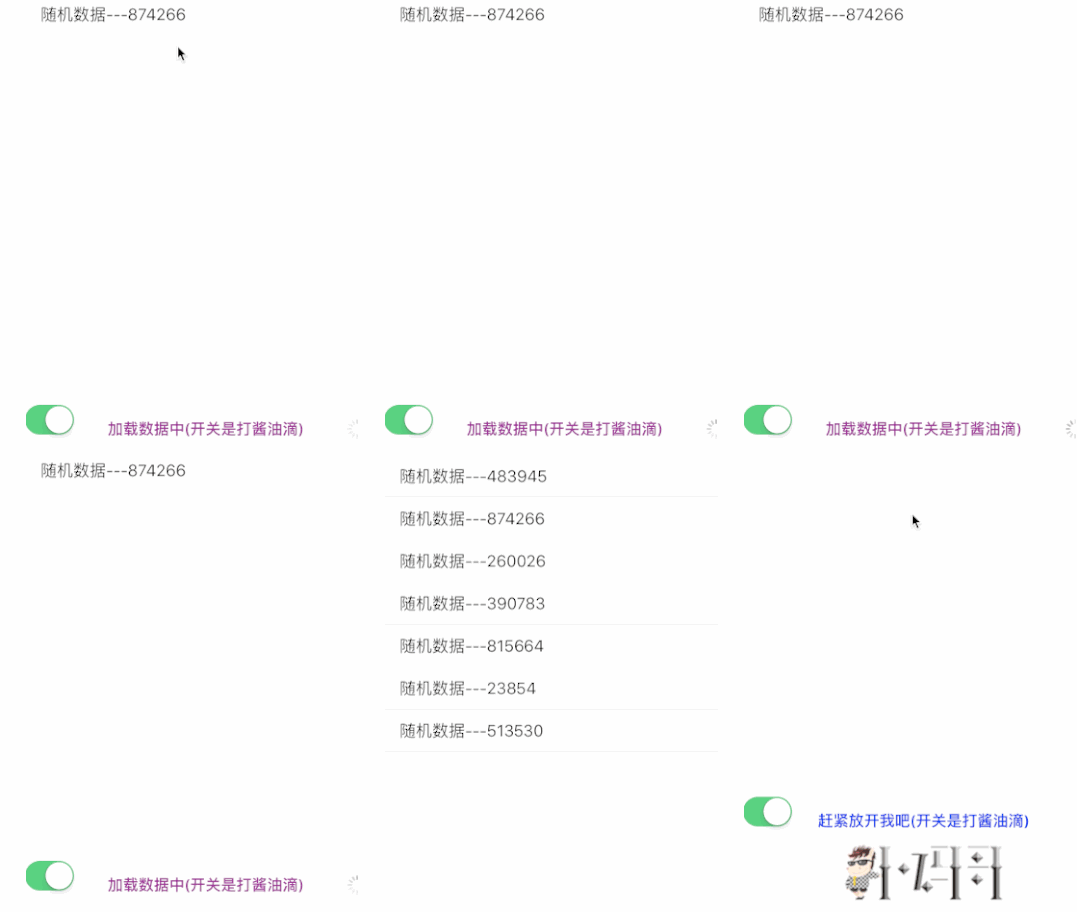
9.自定义控件的自动刷新
self.tableView.mj_footer = [MJDIYAutoFooter footerWithRefreshingTarget:self refreshingAction:@selector(loadMoreData)];
// Implementation reference to MJDIYAutoFooter.h和MJDIYAutoFooter.m
下面我们看gif图。
10.自定义控件的自动回弹刷新
 self.tableView.mj_footer = [MJDIYBackFooter footerWithRefreshingTarget:self refreshingAction:@selector(loadMoreData)];
// Implementation reference to MJDIYBackFooter.h和MJDIYBackFooter.m
我们看下gif图。
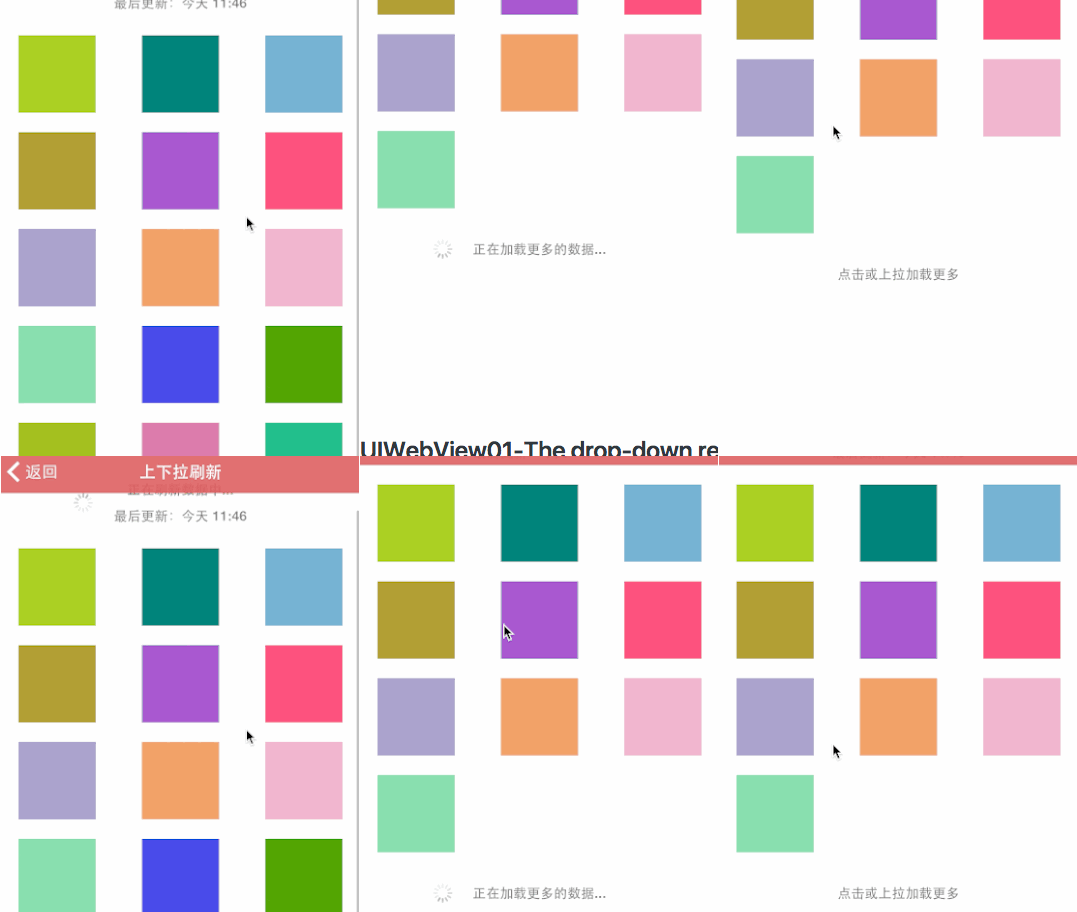
11.上下拉刷新
// The drop-down refresh
self.collectionView.mj_header = [MJRefreshNormalHeader headerWithRefreshingBlock:^{
   //Call this Block When enter the refresh status automatically
}];

// The pull to refresh
self.collectionView.mj_footer = [MJRefreshAutoNormalFooter footerWithRefreshingBlock:^{
   //Call this Block When enter the refresh status automatically
}];
我们看一下下边的gif图。
12.webview下拉刷新
//Add the control of The drop-down refresh

self.webView.scrollView.mj_header = [MJRefreshNormalHeader headerWithRefreshingBlock:^{
   //Call this Block When enter the refresh status automatically
}];
我们看一下下面的gif图。
我的一个非常简单的应用举例
我利用MJRefresh非常简单的实现了上拉和下拉刷新,这只是给大家看看的例子,在例子中我利用延时模拟网络加载。希望对入门级的同学会有帮助。
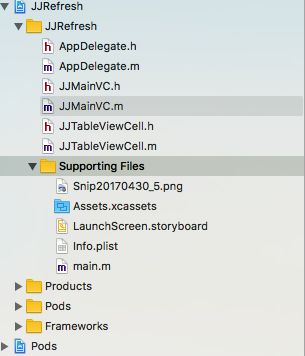
先看代码结构。
然后我们看代码。
1. AppDelegate.m
#import "AppDelegate.h"
#import "JJMainVC.h"

@interface AppDelegate ()

@end

@implementation AppDelegate


- (BOOL)application:(UIApplication *)application didFinishLaunchingWithOptions:(NSDictionary *)launchOptions {

    self.window = [[UIWindow alloc] initWithFrame:[UIScreen mainScreen].bounds];
    JJMainVC *mainVC = [[JJMainVC alloc] init];
    UINavigationController *nav = [[UINavigationController alloc] initWithRootViewController:mainVC];
    self.window.rootViewController = nav;
    [self.window makeKeyAndVisible];

    return YES;
}

@end
2. JJMainVC.h
#import

@interface JJMainVC : UIViewController

@end
3. JJMainVC.m
#import "JJMainVC.h"
#import "Masonry.h"
#import "JJTableViewCell.h"
#import "MJRefresh.h"

@interface JJMainVC ()

@property (nonatomic, strong) UITableView *tableView;
@property (nonatomic, assign) NSInteger currentPage;

@end

@implementation JJMainVC

static NSString * const kJJMainVCReuseIdentify = @"kJJMainVCReuseIdentify";

#pragma mark - Override Base Function

- (void)viewDidLoad
{
    [super viewDidLoad];

    self.title = @"MJRefresh Demo";

    [self setupUI];

}

- (void)viewWillLayoutSubviews
{
    [super viewWillLayoutSubviews];

    //tableview
    [self.tableView mas_makeConstraints:^(MASConstraintMaker *make) {
        make.left.right.top.bottom.equalTo(self.view);
    }];

}

#pragma mark - Object Private Function

- (void)setupUI
{
    //tableview加载
    UITableView *tableView = [[UITableView alloc] init];
    tableView.rowHeight = 80.0;
    tableView.delegate = self;
    tableView.dataSource = self;
    [tableView registerClass:[JJTableViewCell class] forCellReuseIdentifier:kJJMainVCReuseIdentify];
    tableView.backgroundColor = [UIColor lightGrayColor];
    [self.view addSubview:tableView];
    self.tableView = tableView;

    //头部刷新控件
    tableView.mj_header = [MJRefreshNormalHeader headerWithRefreshingTarget:self refreshingAction:@selector(downFreshloadData)];
    [tableView.mj_header beginRefreshing];
    //尾部刷新控件
    tableView.mj_footer = [MJRefreshAutoNormalFooter footerWithRefreshingTarget:self refreshingAction:@selector(upFreshLoadMoreData)];
    [tableView.mj_footer beginRefreshing];
}

//下拉刷新
- (void)downFreshloadData
{
    //这里加入的是网络请求,带上相关参数,利用网络工具进行请求。我这里没有网络就模拟一下数据吧。
    //网络不管请求成功还是失败都要结束更新。
    NSLog(@"我在下拉刷新");

    //利用延时函数模拟网络加载
    dispatch_time_t time = dispatch_time(DISPATCH_TIME_NOW, (int64_t)(3 * NSEC_PER_SEC));
    dispatch_after(time, dispatch_get_main_queue(), ^{
        [self.tableView.mj_header endRefreshing];
    });
}

//上拉加载更多
- (void)upFreshLoadMoreData
{
    //在这里上拉加载更多,将加载的数据拼接在数据源后面就可以了。
    //利用延时函数模拟网络加载
    dispatch_time_t time = dispatch_time(DISPATCH_TIME_NOW, (int64_t)(3 * NSEC_PER_SEC));
    dispatch_after(time, dispatch_get_main_queue(), ^{
        [self.tableView.mj_footer endRefreshing];
    });

}

#pragma mark - UITableViewDelegate, UITableViewDataSource

- (NSInteger)tableView:(UITableView *)tableView numberOfRowsInSection:(NSInteger)section
{
    return 10;
}

- (UITableViewCell *)tableView:(UITableView *)tableView cellForRowAtIndexPath:(NSIndexPath *)indexPath
{
    JJTableViewCell *cell = [tableView dequeueReusableCellWithIdentifier:kJJMainVCReuseIdentify forIndexPath:indexPath];

    return cell;
}

@end
4. JJTableViewCell.h
#import

@interface JJTableViewCell : UITableViewCell

@end
5. JJTableViewCell.m
#import "JJTableViewCell.h"
#import "Masonry.h"

@interface JJTableViewCell ()

@property (nonatomic, strong) UIImageView *avatarImageView;
@property (nonatomic, strong) UILabel *nameLabel;
@property (nonatomic, strong) UILabel *descLabel;

@end

@implementation JJTableViewCell

#pragma mark - Override Base Function

- (instancetype)initWithStyle:(UITableViewCellStyle)style reuseIdentifier:(NSString *)reuseIdentifier
{
    if (self = [super initWithStyle:style reuseIdentifier:reuseIdentifier]) {
        [self setupUI];
    }

    return self;
}

- (void)layoutSubviews
{
    [super layoutSubviews];

    //头像
    [self.avatarImageView mas_makeConstraints:^(MASConstraintMaker *make) {
        make.centerY.equalTo(self);
        make.left.equalTo(self).offset(20.0);
        make.width.height.equalTo(@50);
    }];

    //姓名
    [self.nameLabel sizeToFit];
    [self.nameLabel mas_makeConstraints:^(MASConstraintMaker *make) {
        make.left.equalTo(self.avatarImageView.mas_right).offset(20.0);
        make.top.equalTo(self.avatarImageView);
    }];

    //介绍
    [self.descLabel sizeToFit];
    [self.descLabel mas_makeConstraints:^(MASConstraintMaker *make) {
        make.left.equalTo(self.nameLabel);
        make.bottom.equalTo(self.avatarImageView);
    }];

}

#pragma mark - Object Private Function

- (void)setupUI
{
    //头像
    UIImageView *avatarImageView = [[UIImageView alloc] init];
    avatarImageView.image = [UIImage imageNamed:@"Snip20170430_5.png"];
    [self.contentView addSubview:avatarImageView];
    self.avatarImageView = avatarImageView;

    //姓名
    UILabel *nameLabel = [[UILabel alloc] init];
    nameLabel.text = @"香格里拉";
    nameLabel.textColor = [UIColor blueColor];
    nameLabel.font = [UIFont systemFontOfSize:14.0];
    [self.contentView addSubview:nameLabel];
    self.nameLabel = nameLabel;

    //介绍
    UILabel *descLabel = [[UILabel alloc] init];
    descLabel.text = @"这是一个迷人的地方,可以去看看~~~";
    descLabel.textColor = [UIColor redColor];
    descLabel.font = [UIFont systemFontOfSize:14.0];
    [self.contentView addSubview:descLabel];
    self.descLabel = descLabel;

}

@end
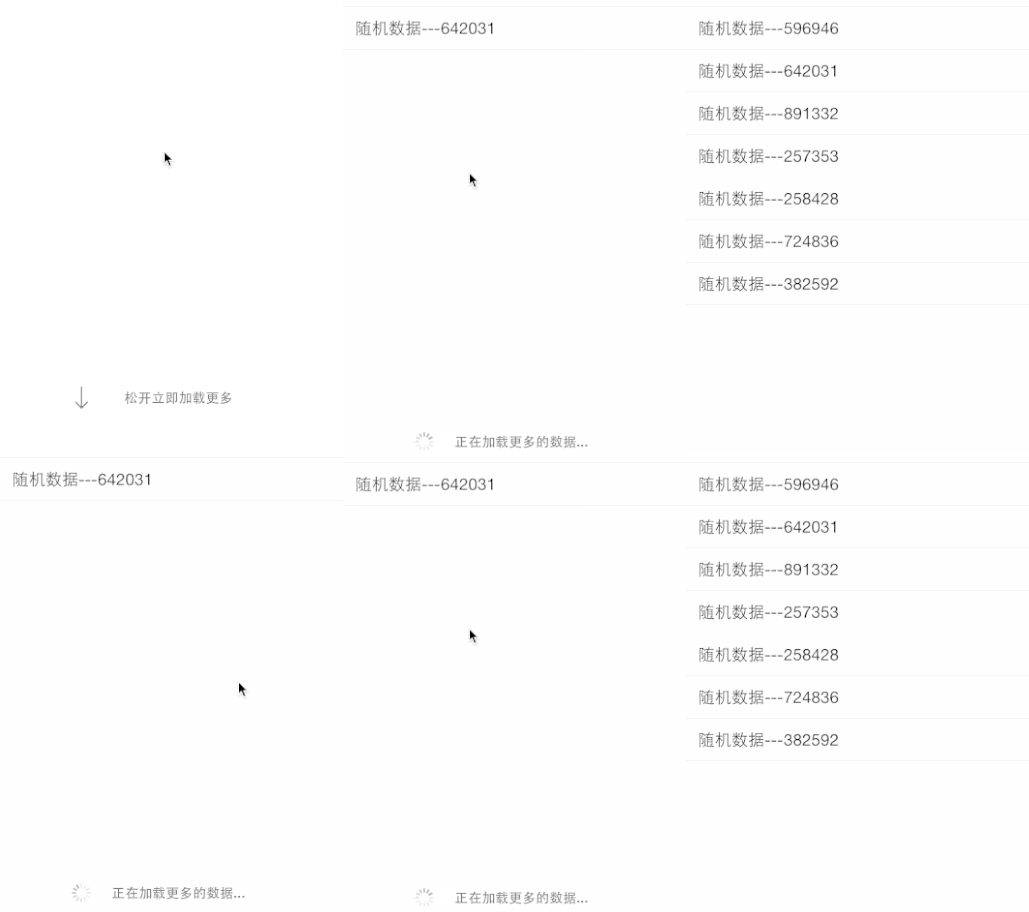
然后我们看下边的gif图。
这个实现很简单,给初学者一个入门的看看效果,后续我有时间会加大难度,希望对大家有帮助,谢谢大家,下面给出github地址。
后记
今天就写这么多了,午饭都没吃,该去吃饭了,谢谢大家,未完,待续~~~。
