安装freeswitch
freeswitch:是电话软交换开源项目, 电话软交换结合硬件解决方案.即可以跟固话网关,无线网关等进行电话交换,也可以通过对接系统做到把电话管理起来.自行开发实现电话统计,报表,绩效等.
1,支持说明(本人实践过):
windows支持版本:win7,win8,win10 其他版本也有可能有支持的,只是没有实践过.
liunx支持版本:centos6,centos7,centos8,其他版本也有可能有支持的,只是没有实践过.
2,建议使用网关(本人实践过):
无线网关:三汇SMG无线网关
固话网关:VOXSTACK网关
3,准备工作:
建议用centos6+以上系统
4,源码与安装文件:
链接: https://pan.baidu.com/s/1IW3nbJVZPscLEKE4J-mHVQ 提取码: dmya
5,centos6+版本安装部署:
- 执行命令:vi /etc/yum.repos.d/linuxtech.repo
添加如下内容:
[linuxtech]
name=LinuxTECH
baseurl=http://pkgrepo.linuxtech.net/el6/release/
enabled=1
gpgcheck=1
gpgkey=http://pkgrepo.linuxtech.net/el6/release/RPM-GPG-KEY-LinuxTECH.NET
- 执行命令:sudo yum install -y http://mirror.centos.org/centos/6/os/x86_64/Packages/libshout-2.2.2-11.el7.x86_64.rpm epel-release
- 执行命令:sudo yum install -y http://files.freeswitch.org/freeswitch-release-1-6.noarch.rpm epel-release
- 执行命令:sudo yum install -y git alsa-lib-devel autoconf automake bison broadvoice-devel bzip2 curl-devel libmpg123-devel libmp3lame-devel db-devel e2fsprogs-devel flite-devel g722_1-devel gcc-c++ gdbm-devel gnutls-devel ilbc2-devel ldns-devel libcodec2-devel libcurl-devel libedit-devel libidn-devel libjpeg-devel libmemcached-devel libogg-devel libsilk-devel libsndfile-devel libtheora-devel libtiff-devel libtool libuuid-devel libvorbis-devel libxml2-devel lua-devel lzo-devel mongo-c-driver-devel ncurses-devel net-snmp-devel openssl-devel opus-devel pcre-devel perl perl-ExtUtils-Embed pkgconfig portaudio-devel postgresql-devel python26-devel python-devel soundtouch-devel speex-devel sqlite-devel unbound-devel unixODBC-devel wget which yasm zlib-devel
- 执行命令:sudo yum install libvorbis libvorbis-devel libogg libogg-devel
- 执行命令:cd /usr/local/src
- 执行命令:取得freeswitch源码,也可以去官方下载.
- 执行命令:cd /usr/local/src/freeswitch
- 执行命令:./bootstrap.sh -j (权限不够赋权:chmod -R 777 /usr/local/src/freeswitch )
- 执行命令:./configure --enable-core-odbc-support --enable-zrtp \
--enable-core-pgsql-support \
--enable-static-v8 --disable-parallel-build-v8
- 编辑 vi modules.conf
执行命令:i
#applications/mod_callcenter 、 #say/mod_say_zh #applications/mod_curl 给开放出来
执行命令::wq!
- 执行命令:make
- 执行命令:make -j install
- 执行命令:make -j cd-sounds-install
- 执行命令:make -j cd-moh-install
- 启动命令:nohup bin/freeswitch -nc &
- 查看端口:netstat -ntulp |grep freeswitch (查看是否有:5060,8021端口)
- 关闭命令:pkill -f freeswitch
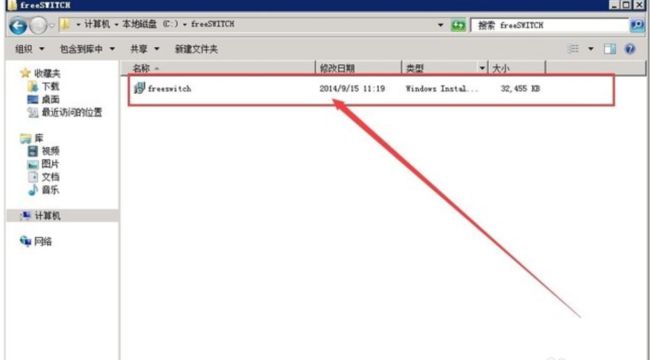
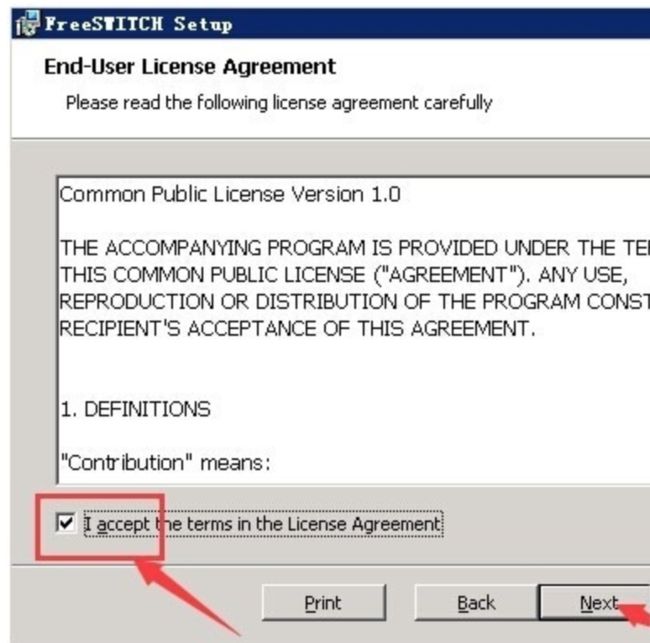
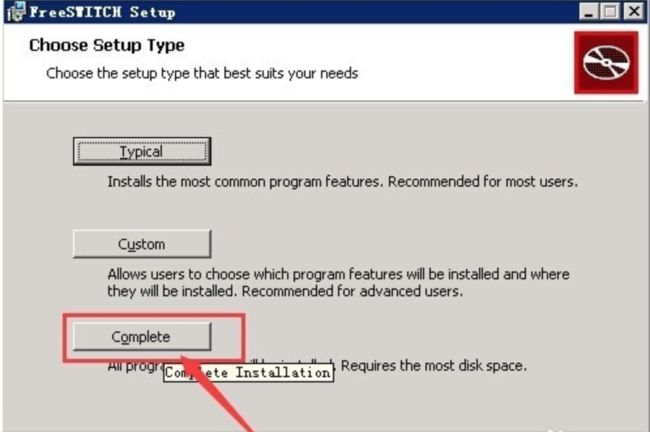
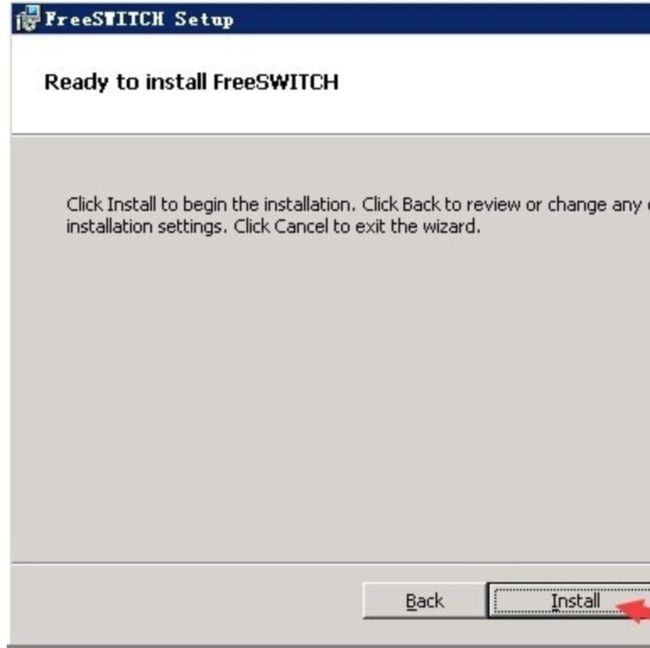
6,win7+版本安装部署:
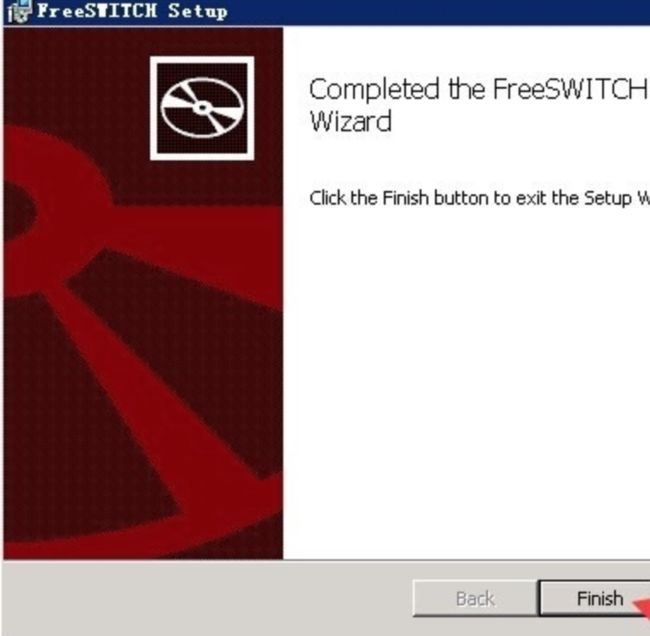
- 安装:
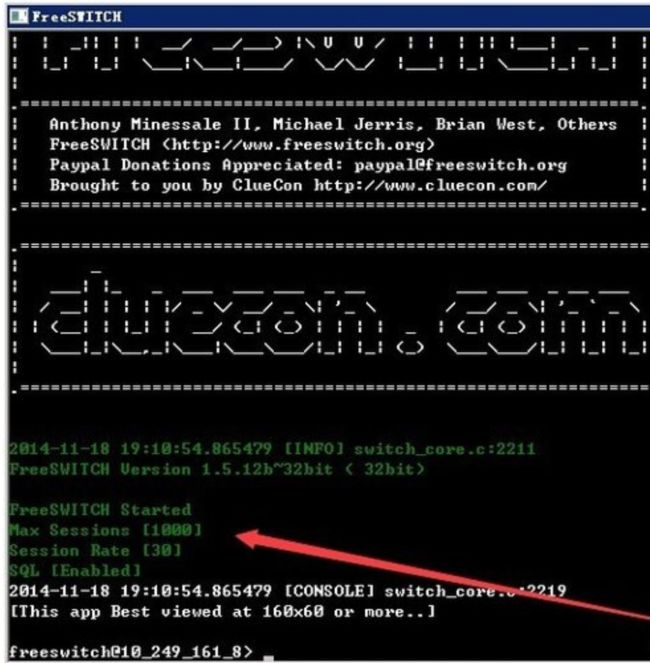
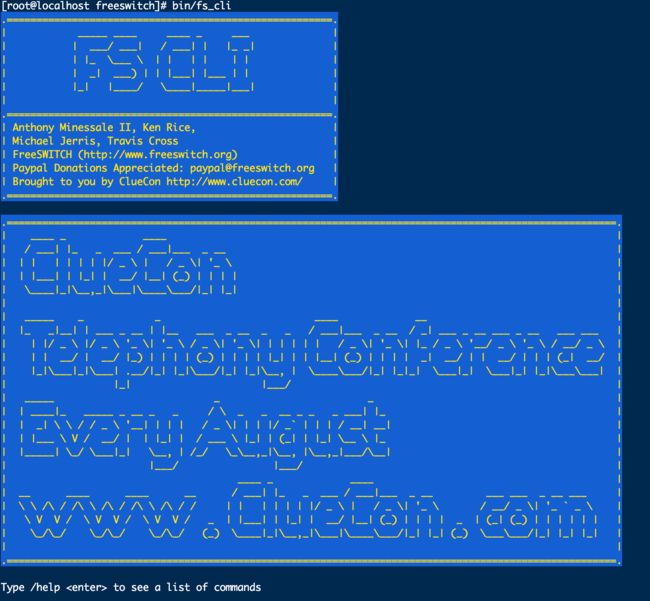
7,成功后日志:
8,配置conf:
参考(最上面的下载链接): FreeSWITCH权威指南 PDF电子书 下载 完整版.pdf
