本教程代码位于我的github,参考的英文教程讲解的比我好很多,推荐大家看一下。
这篇课程我们来实现z-buffer。z-buffer是什么?z-buffer是一个缓冲区,里面存的是图像内顶点的z值。我们为什么要把顶点的z值存起来呢?因为z值是场景内顶点的深度值,因此通过z-buffer我们可以确定一个点p是否可以画在屏幕上(当点p的深度值大于z-buffer中已有的深度值时,证明p点没有被遮挡)。
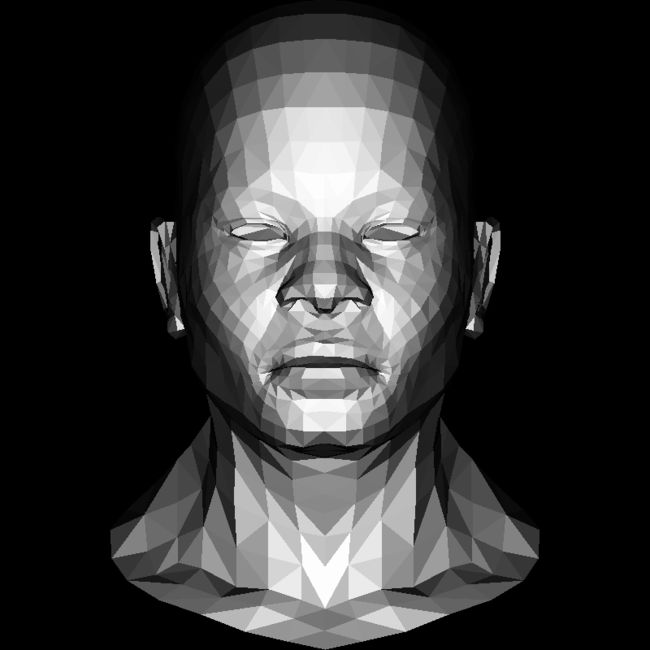
好了,我们先来直观的看一眼z-buffer吧:

你可能会大吃一惊:z-buffer是一张图?这么说即对也不对,我们确实可以把z-buffer显示成一张图,图中每个像素对应着我们实际图像中像素的深度值。所以这样图中越白的地方离我们越近(即z值越大)。
开始
我们先申请一块内存,用于存储像素的z值,大小应该等于我们图像的大小
float zBuffer[width][height];
设置zBuffer的初始值,我们希望刚开始zBuffer是空的,任何像素都能写入到图像中,所以初始化的代码应该是这样:
for(int i = 0; i < width; ++i)
    for(int j = 0; j < height; ++j)
        zBuffer[i][j] = -std::numeric_limits::max();
好了,下一步祭出我们上次课程的代码,额外加上这次zBuffer的代码:
const int width = 500;
const int height = 500;
float3 lightDir(0, 0, -1);
Model model("resource/african_head/african_head.obj");
TGAImage image(width, height, TGAImage::RGB);
float zBuffer[width][height];
for(int i = 0; i < width; ++i)
    for(int j = 0; j < height; ++j)
        zBuffer[i][j] = -std::numeric_limits::max();

for (int i = 0; i face = model.face(i);
    float3 screen_coords[3];
    float3 world_coords[3];
    for (int j = 0; j<3; j++) {
        float3 v = model.vert(face[j]);
        screen_coords[j] = float3(int((v.x + 1)*width / 2.0 + 0.5), int((v.y + 1)*height / 2.0 + 0.5), v.z);
        world_coords[j] = v;
    }
    float3 a = world_coords[2] - world_coords[0];
    float3 b = world_coords[1] - world_coords[0];
    float3 n = a.cross(b);
    float diffuse = n.normalize().dot(lightDir);
    if (diffuse > 0)
    {
        TGAColor lightColor(diffuse * 255, diffuse * 255, diffuse * 255, 255);
        Interpolation(screen_coords[0], screen_coords[1], screen_coords[2], [&](float3 p) {
            // 本次额外增加的代码,如果p.z的值大于zBuffer中已有的值,证明当前点未被遮挡,则可以画如image,并且更新zBuffer。
            if (p.z > zBuffer[int(p.x)][int(p.y)])
            {
                image.set(p.x, p.y, lightColor);
                zBuffer[int(p.x)][int(p.y)] = p.z;
            }
        });
    }
}
image.flip_vertically();
image.write_tga_file("output/lesson3/zBufferModel.tga");
关键代码在于
Interpolation(screen_coords[0], screen_coords[1], screen_coords[2], [&](float3 p) {
    if (p.z > zBuffer[int(p.x)][int(p.y)])
    {
        image.set(p.x, p.y, lightColor);
        zBuffer[int(p.x)][int(p.y)] = p.z;
    }
});
当z值大于zBuffer中已有值的时候,证明这一像素未被遮挡,则可以画在屏幕上,最后别忘了更新zBuffer。
代码另外还有一处修改,因为我们上次课程的代码只对x,y进行了插值,这次我们需要额外对z值进行插值。修改Interpolation()的实现如下:
float3 barycentric(float3 A, float3 B, float3 C, float3 P) {
    float3 s[2];
    s[1].x = C.y - A.y;
    s[1].y = B.y - A.y;
    s[1].z = A.y - P.y;
    s[0].x = C.x - A.x;
    s[0].y = B.x - A.x;
    s[0].z = A.x - P.x;

    float3 u = s[0].cross(s[1]);
    if (std::abs(u.z)>1e-2) // dont forget that u[2] is integer. If it is zero then triangle ABC is degenerate
        return float3(1.f - (u.x + u.y) / u.z, u.y / u.z, u.x / u.z);
    return float3(-1, 1, 1); // in this case generate negative coordinates, it will be thrown away by the rasterizator
}


void Interpolation(float3 p0, float3 p1, float3 p2, function handler)
{
    float2 bboxmin(1000, 1000);
    float2 bboxmax(0, 0);
    float2 clamp(1000, 1000);
    bboxmin.x = std::max(0.0f, std::min(bboxmin.x, p0.x));
    bboxmax.x = std::min(clamp.x, std::max(bboxmax.x, p0.x));
    bboxmin.y = std::max(0.0f, std::min(bboxmin.y, p0.y));
    bboxmax.y = std::min(clamp.y, std::max(bboxmax.y, p0.y));
    bboxmin.x = std::max(0.0f, std::min(bboxmin.x, p1.x));
    bboxmax.x = std::min(clamp.x, std::max(bboxmax.x, p1.x));
    bboxmin.y = std::max(0.0f, std::min(bboxmin.y, p1.y));
    bboxmax.y = std::min(clamp.y, std::max(bboxmax.y, p1.y));
    bboxmin.x = std::max(0.0f, std::min(bboxmin.x, p2.x));
    bboxmax.x = std::min(clamp.x, std::max(bboxmax.x, p2.x));
    bboxmin.y = std::max(0.0f, std::min(bboxmin.y, p2.y));
    bboxmax.y = std::min(clamp.y, std::max(bboxmax.y, p2.y));

    float3 P;
    for (P.x = bboxmin.x; P.x <= bboxmax.x; P.x++) {
        for (P.y = bboxmin.y; P.y <= bboxmax.y; P.y++) {
            float3 bc_screen = barycentric(p0, p1, p2, P);
            if (bc_screen.x<0 || bc_screen.y<0 || bc_screen.z<0) continue;
            P.z = 0;
            P.z += p0.z * bc_screen.x;
            P.z += p1.z * bc_screen.y;
            P.z += p2.z * bc_screen.z;
            handler(P);
        }
    }
}
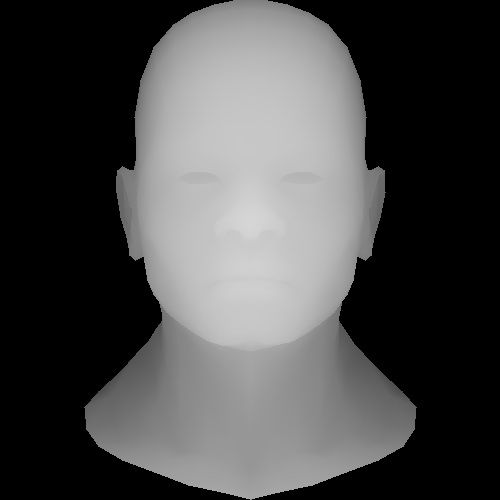
思路与上次课程是一样的,只是增加了对于z值的插值。
这样就可以得到正确的模型图片:
假如我们想看一下zBuffer中的值也很容易,增加如下代码:
image.clear();
for (int i = 0; i < width; ++i)
{
    for (int j = 0; j < height; ++j)
    {
        int gray = (zBuffer[i][j] + 1) / 2 * 255;
        image.set(i, j, TGAColor(gray, gray, gray, 255));
    }
}
image.flip_vertically();
image.write_tga_file("output/lesson3/zBuffer.tga");
z值的范围是[-1, 1],为了把z值变成颜色值,我们需要先加1把z值约束到[0,2],然后再除2乘以255,则深度值就变成了一个从0到255的数字。
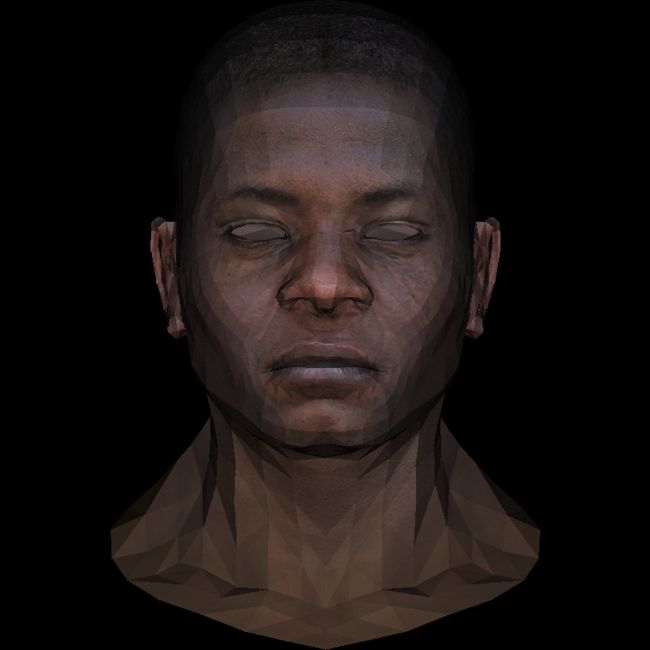
得到图像:
下次课程,我们会为我们的图像附上纹理,等到这样的结果: