kotlin学习之创建Android项目
kotlin学习之创建Android项目
- kotlin学习之创建Android项目
- 前言
- 一、安装kotlin插件
- 1.1插件安装
- 1.2创建一个普通android项目
- 1.3使用kotlin插件转换java项目为kotlin项目
- 二、Anko使用
- 2.1Anko是什么
- 2.2Anko插件依赖
- 三、输出helloworld
前言
很久没做android项目了,最近兴趣来了,决定使用kotlin进行android开发,本篇是一个入门篇,旨在记录一下。也方便想入门kotlin的朋友学习。
这里主要介绍了安装kotlin插件,对于Anko的使用,以及使用kotlin语言实现helloworld程序。
一、安装kotlin插件
1.1插件安装
打开androidstudio的 File | Setting | Plugins,搜索kotlin

点击右边的install进行安装。安装好以后可以在Tools菜单下看到一个kotlin的图标和文字。
1.2创建一个普通android项目
打开android studio的 File | New | New Project 创建一个新的Empty Activity项目
这里就不在详细介绍了,这个是每个入门的人都知道的。
1.3使用kotlin插件转换java项目为kotlin项目
打开android studio的Tools | kotlin | Config Kotlin in Project,会弹出一个小窗,选择Android with Gradle,然后等待下载,下载完以后打开MainActivity.java
然后打开android studio的Code | Convert Java File to Kotlin File ,就会自动帮我们把java文件转换为kotlin的文件了。
二、Anko使用
2.1Anko是什么
Anko 是一个 DSL (Domain-Specific Language), 它是用 Kotlin 写的安卓插件。长久以来,安卓视图都是用 XML 来表述布局的。这个 XML 常常在你的应用里面有多个复制的版本,而且不能重用(有时候能,通过 includes)。在运行的时候,XML 被转换成 Java 表述,这很浪费 CPU 和电池。Anko 允许你能用 Kotlin 来编写视图,在任何的 Activity 或者 Fragment 里(或者一个 [AnkoComponent] (https://github.com/Kotlin/anko#ankocomponent) 里,这是一个表述视图的扩展 Kotlin 文件)
这个定义很官方,有兴趣的朋友可以自行百度查看。这里只介绍它安装,以及使用它后,我们不用写繁琐的findviewbyid()了。就这一项特性,就足以秒杀ButterKnife,Dragger2了。开个玩笑,如果使用java开发,我还是很偏向于使用ButterKnife,Dragger2。
2.2Anko插件依赖
打开工程项目的build.gradle,在buildscript下添加ext.anko_version=’0.10.5’
添加完后如下
buildscript {
    ext.kotlin_version = '1.2.51'
    ext.anko_version='0.10.5'

    repositories {
        google()
        jcenter()
    }
    dependencies {
        classpath 'com.android.tools.build:gradle:3.0.0'
        classpath "org.jetbrains.kotlin:kotlin-gradle-plugin:$kotlin_version"

        // NOTE: Do not place your application dependencies here; they belong
        // in the individual module build.gradle files
    }
}
然后再打开当前要使用的modul的build.gradle,在dependencies添加相关依赖implementation “org.jetbrains.anko:anko:$anko_version”,
在build文件的头加上apply plugin: ‘kotlin-android-extensions’
apply plugin: 'com.android.application'
apply plugin: 'kotlin-android'
//这里
apply plugin: 'kotlin-android-extensions'

android {
    compileSdkVersion 26
    defaultConfig {
        applicationId "com.fm.testkotlin"
        minSdkVersion 17
        targetSdkVersion 26
        versionCode 1
        versionName "1.0"
        testInstrumentationRunner "android.support.test.runner.AndroidJUnitRunner"
    }
    buildTypes {
        release {
            minifyEnabled false
            proguardFiles getDefaultProguardFile('proguard-android.txt'), 'proguard-rules.pro'
        }
    }
}

dependencies {
    implementation fileTree(dir: 'libs', include: ['*.jar'])
    implementation 'com.android.support:appcompat-v7:26.0.0-beta1'
    implementation 'com.android.support.constraint:constraint-layout:1.0.2'
    testImplementation 'junit:junit:4.12'
    androidTestImplementation 'com.android.support.test:runner:0.5'
    androidTestImplementation 'com.android.support.test.espresso:espresso-core:2.2.2'
    compile "org.jetbrains.kotlin:kotlin-stdlib-jdk7:$kotlin_version"
    //这里
    compile "org.jetbrains.anko:anko:$anko_version"
}
repositories {
    mavenCentral()
}
添加完后,记得同步一下,下载相关依赖。
三、输出helloworld
这里我们现在我们的xml里面添加一个id为tvHello的textview
<android.support.constraint.ConstraintLayout xmlns:android="http://schemas.android.com/apk/res/android"
    xmlns:app="http://schemas.android.com/apk/res-auto"
    xmlns:tools="http://schemas.android.com/tools"
    android:layout_width="match_parent"
    android:layout_height="match_parent"
    tools:context="com.fm.testkotlin.MainActivity">

    <TextView
        android:id="@+id/tvHello"
        android:layout_width="wrap_content"
        android:layout_height="wrap_content"
        app:layout_constraintBottom_toBottomOf="parent"
        app:layout_constraintLeft_toLeftOf="parent"
        app:layout_constraintRight_toRightOf="parent"
        app:layout_constraintTop_toTopOf="parent" />

android.support.constraint.ConstraintLayout>
然后在MainActivity中导入xml文件的关联
import kotlinx.android.synthetic.main.activity_main.*
然后oncrete方法中设置textview的值。
package com.fm.testkotlin

import android.support.v7.app.AppCompatActivity
import android.os.Bundle
import kotlinx.android.synthetic.main.activity_main.*

class MainActivity : AppCompatActivity() {

    override fun onCreate(savedInstanceState: Bundle?) {
        super.onCreate(savedInstanceState)
        setContentView(R.layout.activity_main)
        tvHello.text="Hello World!"
    }
}
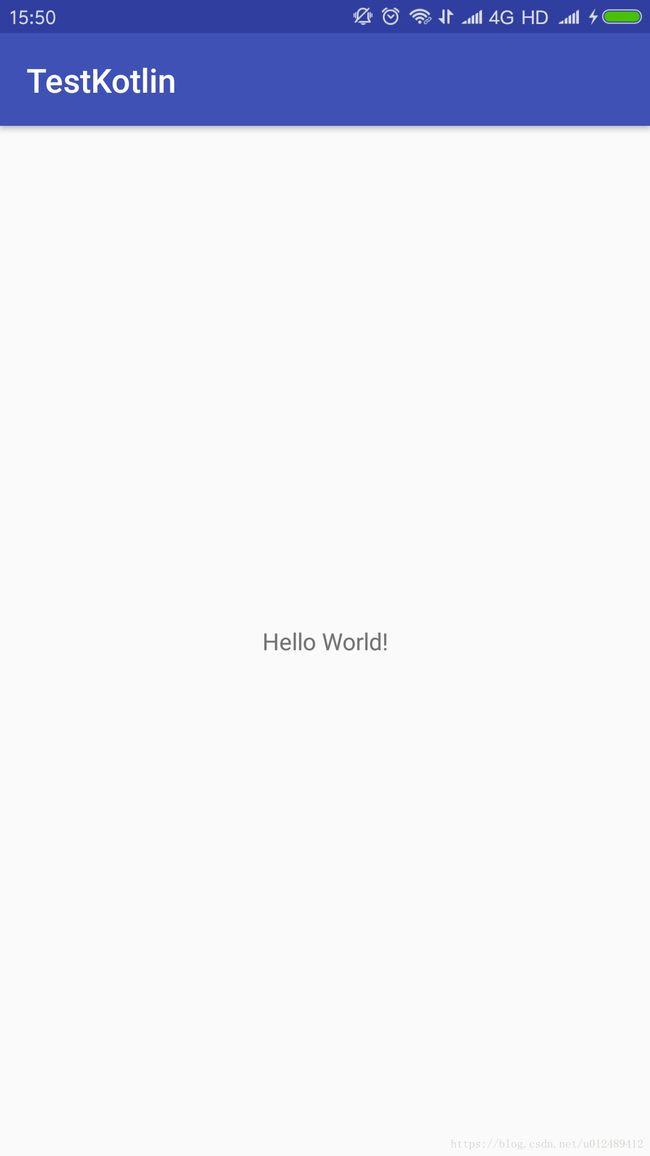
搞定后,运行一下,我们久违的Hello World!就出来了。