日期:2018-05-28 21:41:59
作者:Bay0net
介绍:学习一下 slowHTTPtest 的攻击及防御。
0x01、 安装
下载链接
https://github.com/shekyan/slowhttptest
安装介绍
https://github.com/shekyan/slowhttptest/wiki/InstallationAndUsage
KALI
git clone https://github.com/shekyan/slowhttptest
cd slowhttptest
./configure
make
MAC:brew update && brew install slowhttptest
0x02、攻击模式
服务器在接收到请求时,完全接收以后才会处理请求,如果攻击者发送的比较缓慢或者发送的不完整,服务器会保留其连接,占用资源池,如果请求数量较多,就会形成 DOS 攻击。
2.1 三种攻击模式
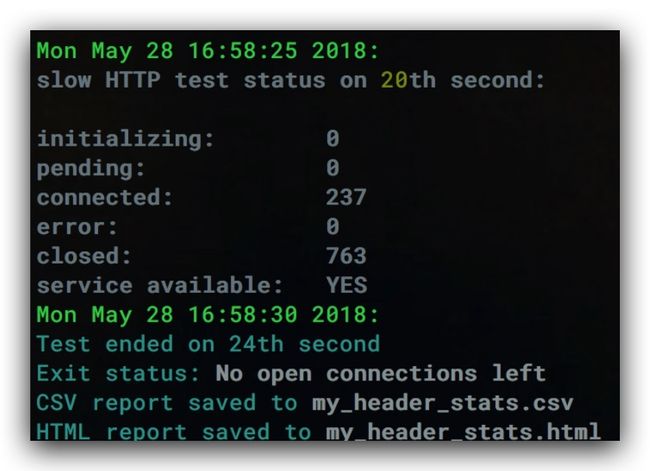
1、slowloris:完整的http请求是以 \r\n\r\n 结尾,攻击时仅发送 \r\n,少发送一个 \r\n,服务器认为请求还未发完,就会一直等待直至超时。
slowhttptest -c 1000 -H -g -o my_header_stats -i 10 -r 200 -t GET -u "url" -x 24 -p 3
2、slow post:通过声明一个较大的content-length后,body缓慢发送,导致服务器一直等待。
slowhttptest -c 3000 -B -g -o my_body_stats -i 110 -r 200 -s 8192 -t FAKEVERB -u "url" -x 10 -p 3
3、slow read:向服务器发送一个正常合法的read请求,请求一个很大的文件,但把TCP滑动窗口设置得很小,服务器就会以滑动窗口的大小切割文件,然后发送,这是文件会长期存放在内存中,消耗资源。
slowhttptest -c 8000 -X -r 200 -w 512 -y 1024 -n 5 -z 32 -k 3 -u "url" -p 3
4、Range Header test:在 HTTP 请求的 RANGE HEADER 中包含大量字段,使得服务器在服务端将一个很小的文件分割成大量的更小的片段再压缩。分段压缩过程消耗大量的服务器资源,导致 DOS。
slowhttptest -R -u "url" -t HEAD -c 1000 -a 10 -b 3000 -r 500
5、测试的时候,添加代理
slowhttptest -c 1000 -X -r 1000 -w 10 -y 20 -n 5 -z 32 -u url -p 5 -l 350 -e lhost:lport
2.2 参数说明
 -g      在测试完成后,以时间戳为名生成一个CVS和HTML文件的统计数据
 -H      SlowLoris模式
 -B      Slow POST模式
 -R      Range Header模式
 -X      Slow Read模式
 -c      number of connections 测试时建立的连接数
 -d      HTTP proxy host:port  为所有连接指定代理
 -e      HTTP proxy host:port  为探测连接指定代理
 -i      seconds 在slowrois和Slow POST模式中,指定发送数据间的间隔。
 -l      seconds 测试维持时间
 -n      seconds 在Slow Read模式下,指定每次操作的时间间隔。
 -o      file name 使用-g参数时,可以使用此参数指定输出文件名
 -p      seconds 指定等待时间来确认DoS攻击已经成功
 -r      connections per second 每秒连接个数
 -s      bytes 声明Content-Length header的值
 -t      HTTP verb 在请求时使用什么操作,默认GET
 -u      URL  指定目标url
 -v      level 日志等级(详细度)
 -w      bytes slow read模式中指定tcp窗口范围下限
 -x      bytes 在slowloris and Slow POST tests模式中,指定发送的最大数据长度
 -y      bytes slow read模式中指定tcp窗口范围上限
 -z      bytes 在每次的read()中,从buffer中读取数据量
0x03、netstat 的相关操作
查看连接数netstat -ant | grep $ip:80 | wc -l
查看当前连接数netstat -ant | grep $ip:80 | grep EST | wc -l
0x04、修复方法
XAMPP 的配置路径
/opt/lampp/etc/httpd.conf
/opt/lampp/etc/original/httpd.conf
/opt/lampp/apache2/conf/httpd.conf
方法1:启用 Apache 的 reqtimeout_module 模块
配置文件里,默认启用了这个模块,LoadModule reqtimeout_module modules/
在 httpd.conf 里面,添加上
mod_reqtimeout.so

    RequestReadTimeout header=5-40,MinRate=500 body=20,MinRate=500
也可以安装两个新的模块 mod_qos 和 mod_security
 # handle connections from up to 100000 different IPs
 QS_ClientEntries 100000
 # allow only 50 connections per IP
 QS_SrvMaxConnPerIP 50
 # limit maximum number of active TCP connections limited to 256
 MaxClients 256
 # disables keep-alive when 180 (70%) TCP connections are occupied
 QS_SrvMaxConnClose 180
 # minimum request/response speed (deny slow clients blocking the server, keeping connections open without requesting anything
 QS_SrvMinDataRate 150 1200
方法2:设置每个 IP 只能建立20个连接
iptables -A INPUT -p tcp --syn --dport 80 -m connlimit --connlimit-above 20 -j REJECT --reject-with tcp-reset
查看建立的连接数netstat -ant | grep $ip:80 | grep EST | wc -l
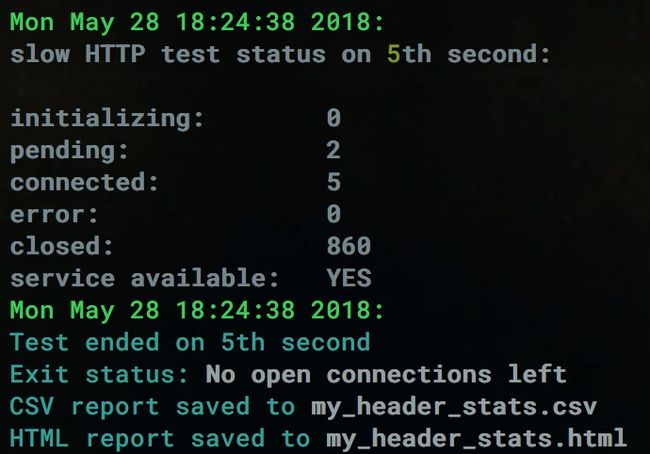
设置完 iptables 后,立即生效,但是使用工具进行攻击的时候,还是会提示攻击成功,因为攻击者自己只能与服务器建立20个连接,超过20个连接后,会提示服务不可用。
修复方法3:Tomcat 的修复
Tomcat 在 server.xml 中修改超时时间即可 

修复的效果立竿见影,攻击对服务器基本没影响了。。。
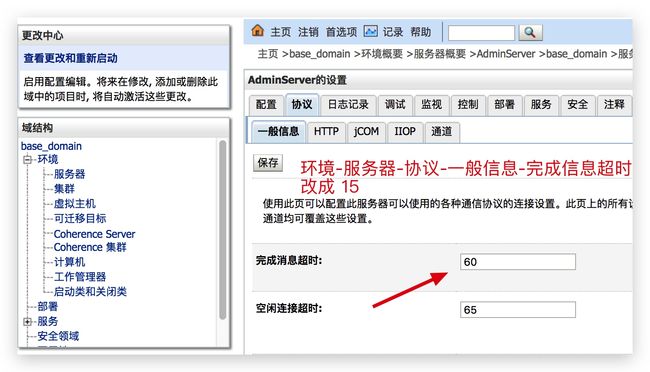
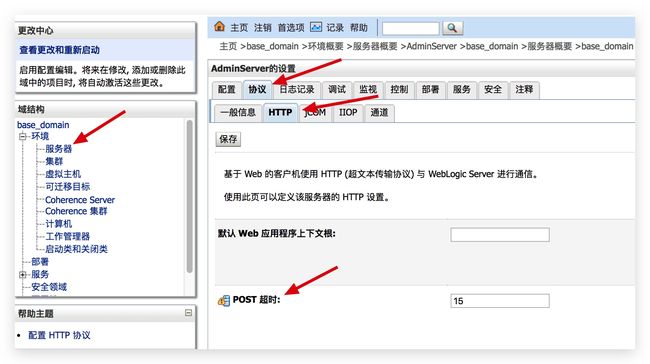
修复方式4:weblogic 的修复
Reference
How To Mitigate Slow HTTP DoS Attacks in Apache HTTP Server - Acunetix
科普HTTP Slow Attack 和 Apache DOS 漏洞的修复 - 安大叔 - 博客园


