Android数据存储——SQLite数据库存储
AndroidSQLite
完整代码请见:longlong’s github
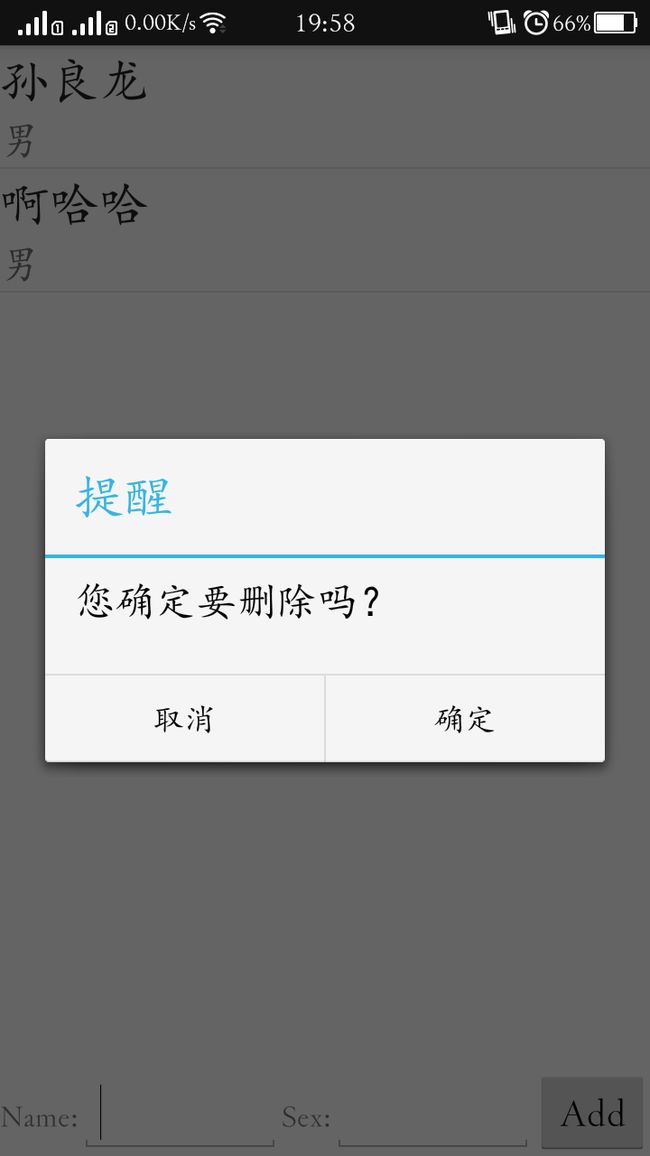
效果图:


创建数据库表
create table Book (
id integer primary key autoincrement,
author text,
price real,
pages integer,
name text)
integer整型 real浮点型 text文本类型 blob二进制类型 primary key设id为主键 autoincrement表示id列是增长的。
创建数据库和数据库表
1.新建MyDatabaseHelper类继承自SQLiteOpenHelper
public class MyDatabaseHelper extends SQLiteOpenHelper {
            //定义建表语句:字符串常量
            public static final String CREATE_BOOK = "create table book ("
                    + "id integer primary key autoincrement, "
                    + "author text, "
                    + "price real, "
                    + "pages integer, "
                    + "name text)";
            private Context mContext;

            //SQLiteOpenHelper中用参数少一点的那个构造方法,接收四个参数:
            //Context,必须要有它才能对数据库进行操作。
            //数据库名,创建数据库时使用的就是这里指定的名称。
            //允许我们在查询数据的时候返回一个自定义的Cursor,一般都是传入null。
            //当前数据库的版本号,可用于对数据库进行升级操作。
            //构建出SQLiteOpenHelper的实例之后,再调用它的getReadableDatabase()或getWritableDatabase()方法就能够创建数据库。
            //数据库文件会存放在/data/data//databases/目录下。此时,重写的onCreate()方法也会得到执行,所以通常会在这里去处理一些创建表的逻辑。
            public MyDatabaseHelper(Context context, String name, CursorFactory factory, int version) {
                super(context, name, factory, version);
                mContext = context;
            }
            @Override
            public void onCreate(SQLiteDatabase db) {
                db.execSQL(CREATE_BOOK);
                Toast.makeText(mContext, "Create succeeded", Toast.LENGTH_SHORT).show();
            }
            @Override
            public void onUpgrade(SQLiteDatabase db, int oldVersion, int newVersion) {
            }
        }
2.修改MainActivity中的代码
public class MainActivity extends Activity {
            private MyDatabaseHelper dbHelper;
            @Override
            protected void onCreate(Bundle savedInstanceState) {
                super.onCreate(savedInstanceState);
                setContentView(R.layout.activity_main);
                //构建出SQLiteOpenHelper的实例,版本号为1
                dbHelper = new MyDatabaseHelper(this, "BookStore.db", null, 1);
                Button createDatabase = (Button) findViewById(R.id.create_database);
                createDatabase.setOnClickListener(new OnClickListener() {
                    @Override
                    public void onClick(View v) {
                        dbHelper.getWritableDatabase();
                    }
                });
            }
        }
当第一次点击按钮时,就会检测到当前程序中并没有BookStore.db这个数据库,于是会创建该数据库并调用MyDatabaseHelper中的onCreate()方法,这样Book表也就得到了创建,然后会弹出一个Toast提示创建成功。再次点击按钮时,会发现此时已经存在BookStore.db数据库了,因此不会再创建一次。
升级数据库
1.在MyDatabaseHelper中添加建表语句
public static final String CREATE_CATEGORY = "create table Category ("
+ "id integer primary key autoincrement, "
+ "category_name text, "
+ "category_code integer)";
2.onCreate()方法中添加:
db.execSQL(CREATE_CATEGORY);
3.onUpgrade方法中:
public void onUpgrade(SQLiteDatabase db, int oldVersion, int newVersion) {
//先执行两条DROP语句
db.execSQL("drop table if exists Book");
db.execSQL("drop table if exists Category");
onCreate(db);
}
4.MainActivity中:
//传入一个比1大的数,就可以让onUpgrade()方法得到执行
dbHelper = new MyDatabaseHelper(this, "BookStore.db", null, 2);
添加数据 更新数据和删除数据
SQLiteDatabase中提供了一个insert()方法用于添加数据(点击事件中:)
SQLiteDatabase db = dbHelper.getWritableDatabase();
//ContentValues对象,它提供了一系列的put()方法重载,用于向ContentValues中添加数据。
ContentValues values = new ContentValues();
// 开始组装第一条数据
values.put("name", "The Da Vinci Code");
values.put("author", "Dan Brown");
......
SQLiteDatabase中提供了update()方法用于对数据进行更新
SQLiteDatabase db = dbHelper.getWritableDatabase();
ContentValues values = new ContentValues();
values.put("price", 10.99);
db.update("Book", values, "name = ?", new String[] { "The Da Vinci Code" });
update方法:?是一个占位符,可以通过第四个参数提供的一个字符串数组为第三个参数中的每个占位符指定相应的内容。因此上述代码想表达的意图就是,将名字是The Da Vinci Code的这本书的价格改成10.99。
SQLiteDatabase中提供了一个delete()方法专门用于删除数据:
db.delete("Book", "pages > ?", new String[] { "500" });
查询数据
SQLiteDatabase db = dbHelper.getWritableDatabase();
// 查询Book表中所有的数据
        Cursor cursor = db.query("Book", null, null, null, null, null, null);
        if (cursor.moveToFirst()) {
            do {
// 遍历Cursor对象,取出数据并打印
                String name = cursor.getString(cursor. getColumnIndex("name"));
                String author = cursor.getString(cursor. getColumnIndex("author"));
                int pages = cursor.getInt(cursor.getColumnIndex ("pages"));
                double price = cursor.getDouble(cursor. getColumnIndex("price"));
            } while (cursor.moveToNext());
        }
        cursor.close();
other ways:
//添加数据的方法如下:
db.execSQL("insert into Book (name, author, pages, price) values(?, ?, ?, ?)",
new String[] { "The Da Vinci Code", "Dan Brown", "454", "16.96" });
db.execSQL("insert into Book (name, author, pages, price) values(?, ?, ?, ?)",
new String[] { "The Lost Symbol", "Dan Brown", "510", "19.95" });
//更新数据的方法如下:
db.execSQL("update Book set price = ? where name = ?", new String[] { "10.99", "The Da Vinci Code" });
//删除数据的方法如下:
db.execSQL("delete from Book where pages > ?", new String[] { "500" });
//查询数据的方法如下:
db.rawQuery("select * from Book", null);
使用事务:要保证删除旧数据和添加新数据的操作必须一起完成:
SQLiteDatabase db = dbHelper.getWritableDatabase();
        db.beginTransaction(); // 开启事务
        try {
            db.delete("Book", null, null);
            ContentValues values = new ContentValues();
            values.put("name", "Game of Thrones");
            values.put("author", "George Martin");
            values.put("pages", 720);
            values.put("price", 20.85);
            db.insert("Book", null, values);
            db.setTransactionSuccessful(); // 事务已经执行成功
        } catch (Exception e) {
            e.printStackTrace();
        } finally {
            db.endTransaction(); // 结束事务
        }