Python使用Kt封装FFmpeg
Python使用Tkinter封装FFmpeg
前言:这次实验为2016级北邮信通多媒体通信的一次小作业(版本一&版本二),在此记录一下以供后来的学弟学妹参考,当然也可以使用其他的方式比如Qt去做界面啦。如果嫌下载要积分的话直接私信我就好。
tips: 楼主的Mac用的是pyenv,跑tk的时候显示不出来,后来切换版本回到2.7可以,但是代码也可以直接在Python3里面运行(只要修改import Tkinter 为 import tkinter就好).
文章目录
- 两种代码思路
- 1. 使用Python中的Subprocess对FFmpeg命令行进行适配
- 2. 调用Python中的FFmpy库
- 3. GUI界面预览
两种代码思路
1. 使用Python中的Subprocess对FFmpeg命令行进行适配
Subprocess比较实用,直接将字符用逗号分隔就好
一个简单的例子如下:
import subprocess
subprocess.call(['ls','-l'])
然后就可以在输出里面看到ls -l的执行结果了,这就相当于直接调用命令行。
那么接下来要做的事情就简单了,对于如下的指令:
ffmpeg -s qcif -r 30 -i "输入yuv文件" -aspect 4:3 -c:v mpeg4 -b:v 32K -bt 32K -g 30 "输出w4v或者mp4文件"
只要将其中的各个变量设置成Python中的字符串变量就好了。
而各个字符串变量绑定在Tk的控件当中,各个变量的类型是tk.StringVar():
window_decode = tk.Toplevel(window)
    window_decode.geometry('400x550')
    window_decode.title('Decoding window')
    pixel_rate= tk.StringVar()

    tk.Label(window_decode, text="分辨率",font=('Arial',20)).place(x=10, y= 10)
    combobox_bt = ttk.Combobox(window_decode, textvariable=pixel_rate, values=("qcif", "40k", "48k", "自定义(单位:k)"))
    combobox_bt.place(x=150, y=10)
    #combobox_bt.pack()

    fps = tk.StringVar()
    tk.Label(window_decode, text='帧速率',font=('Arial',20)).place(x=10, y=50)
    combobox_bt0 = ttk.Combobox(window_decode, textvariable=fps, values=("15", "29.97", "45", "60","自定义帧速率"))
    combobox_bt0.place(x=150, y=50)


    bit = tk.StringVar()
    tk.Label(window_decode, text='码率',font=('Arial',20)).place(x=10, y=90)
    combobox_bt0 = ttk.Combobox(window_decode, textvariable=bit, values=("30k", "60k","360k", "720k", "1550k","自定义码率"))
    combobox_bt0.place(x=150, y=90)

    size = tk.StringVar()
    tk.Label(window_decode, text='帧大小',font=('Arial',20)).place(x=10, y= 130)
    combobox_bt1 = ttk.Combobox(window_decode, textvariable=size, values=("qcif", "cif", "half", "d1","自定义帧大小"))
    combobox_bt1.place(x=150, y=130)

    aspect= tk.StringVar()
    tk.Label(window_decode, text='宽高比',font=('Arial',20)).place(x=10, y=170)
    combobox_bt1 = ttk.Combobox(window_decode, textvariable=aspect, values=("4:3", "16:9","自定义宽:自定义高"))
    combobox_bt1.place(x=150, y=170)

    code_way= tk.StringVar()
    tk.Label(window_decode, text='编码方式',font=('Arial',20)).place(x=10, y=210)
    combobox_bt1 = ttk.Combobox(window_decode, textvariable=code_way, values=("mpeg4", "mpeg3", "libx264","其他编码方式"))
    combobox_bt1.place(x=150, y=210)

    gop_size = tk.StringVar()
    tk.Label(window_decode, text='图像组大小',font=('Arial',20)).place(x=10, y=250)
    combobox_bt1 = ttk.Combobox(window_decode, textvariable=gop_size, values=("30k", "360k", "720k", "1550k","自定义(单位:k)"))
    combobox_bt1.place(x=150, y=250)

    form = tk.StringVar()
    form.set('.mp4')
    tk.Label(window_decode, text='输出图像格式',font=('Arial',20)).place(x=10, y=290)
    combobox_bt1 = ttk.Combobox(window_decode, textvariable=form, values=('.mp4', '.m4v','.264',"其他"))
    combobox_bt1.place(x=150, y=290)
然后在绑定的触发事件中拼接字符串:
subprocess.call(['ffmpeg','-s',size.get(),'-r',fps.get(),'-i',Input.get(),'-aspect',aspect.get(),'-c:v',code_way.get(),'-b:v',bit.get(),Output.get(),'-y'])
要记住变量的类型是tk.StringVar(),拼接的时候要使用变量.get()获得它的字符串。
2. 调用Python中的FFmpy库
另外一种思路就是直接使用FFmpy的适配库,使用这个库的话,要创建两个字典input_dict和output_dict最后直接调用.run()就好了。
input_dict = {
        input_path: "-s " + size + ' ' + "-r " + fps}
        output_dict = {output_path: "-aspect " + aspect + ' ' + "-c:v " + codec + ' ' + "-b:v " + bitrate + ' ' + "-bt " + bt + ' ' + "-g " + gop_size}
        ff = FFmpeg(inputs=input_dict, outputs=output_dict)
        #print(ff.cmd)
        ff.run()
其他的参数设置基本与上述一致。
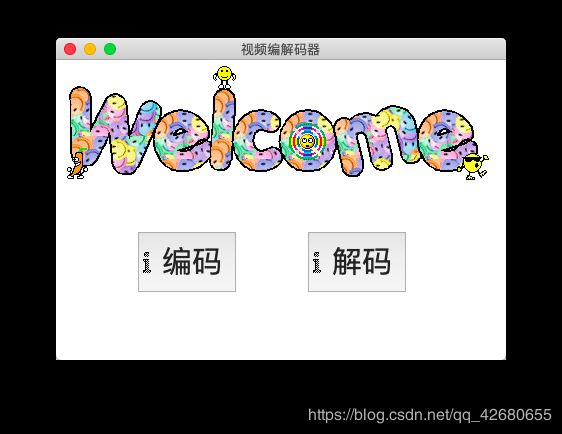
3. GUI界面预览
主要用的是Button和下拉菜单ttk.Combobox,下面直接放图啦,具体的大家可以直接去代码里面修改,或者直接跳转B站Tk教程现学。
- 主界面
注意canvas不是很好用,很容易显示不出啦哦。
- 版本一

- 版本二
- 编码界面
- 版本一

- 版本二

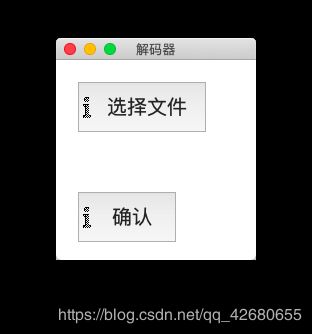
- 解码界面
- 版本一

- 版本二
本期分析记录结束啦,也是比较简单的一次
φ(≧ω≦*)♪