1,NSRunLoopCommonModes和Timer
1> scheduledTimerWithTimeInterval创建
/**
 scheduledTimerWithTimeInterval
 */
- (void)timerMethod1
{
    self.timer = [NSTimer scheduledTimerWithTimeInterval:0.5 target:self selector:@selector(changeCount) userInfo:nil repeats:YES];
}
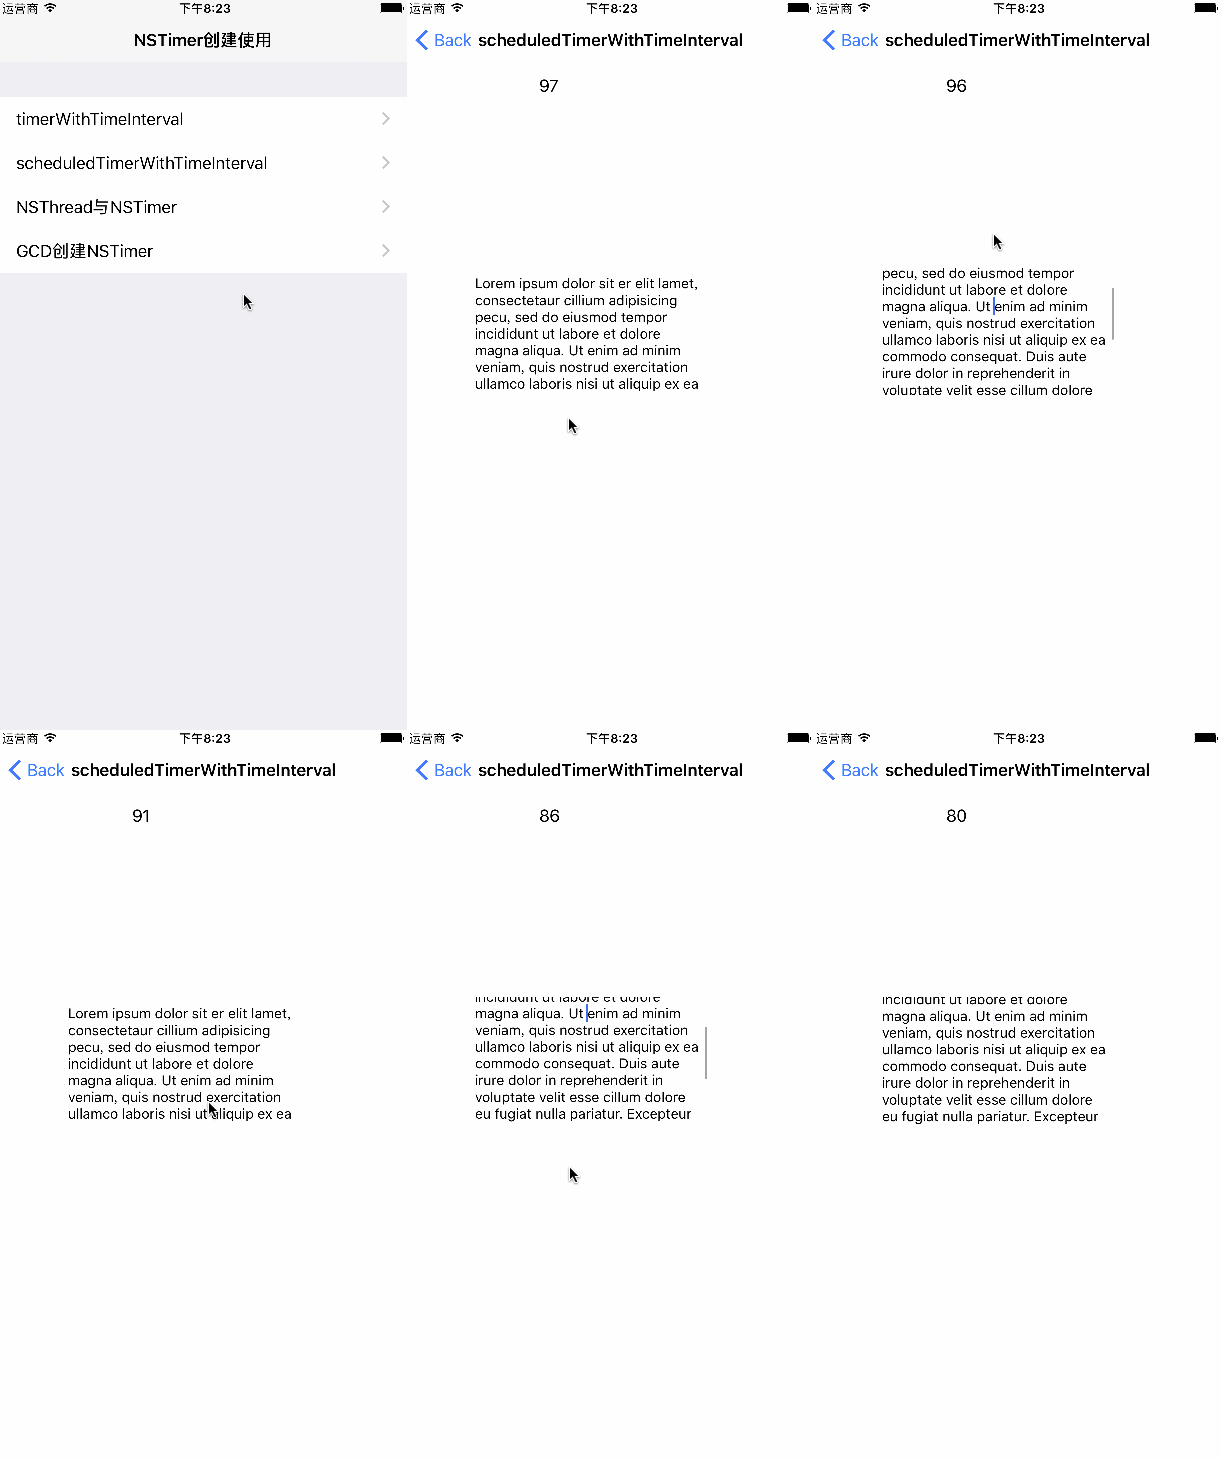
- 如下图:当拖动scrollView的时候,定时器停止了,手松开,定时器恢复运行
如果希望拖动scrollView不影响定时器运转,怎么整呢?接着往下探究
2> timerWithTimeInterval创建
有4中情况,都可以尝试一下:
请注意下面前两种情况区别,以及前两种和后两种的区别
/**
 timerWithTimeInterval addTimer:forMode:
 */
- (void)timerMethod2
{
    self.timer = [NSTimer timerWithTimeInterval:0.5 target:self selector:@selector(changeCount) userInfo:nil repeats:YES];
    /*
     1,设置Mode为NSDefaultRunLoopMode
     scrollview滚动,定时器停止;scrollview停止滚动不做操作,定时器继续开启;
     */
//    [[NSRunLoop currentRunLoop] addTimer:self.timer forMode:NSDefaultRunLoopMode];

    /*
     2,设置Mode为UITrackingRunLoopMode
     scrollview滚动,定时器开启;scrollview停止滚动不做操作,定时器停止;
     */

//    [[NSRunLoop currentRunLoop] addTimer:self.timer forMode:UITrackingRunLoopMode];

    /*
     3,设置Mode为NSDefaultRunLoopMode 和 UITrackingRunLoopMode
     scrollview滚动 或 停止,对定时器没影响,定时器一直开启;
     */

//    [[NSRunLoop currentRunLoop] addTimer:self.timer forMode:NSDefaultRunLoopMode];
//    [[NSRunLoop currentRunLoop] addTimer:self.timer forMode:UITrackingRunLoopMode];

    /*
     4,设置Mode为NSRunLoopCommonModes
     scrollview滚动 或 停止,对定时器没影响,定时器一直开启;
     */

    [[NSRunLoop currentRunLoop] addTimer:self.timer forMode:NSRunLoopCommonModes];
}

- (void)changeCount
{
    Count--;
    self.timerLbl.text = [NSString stringWithFormat:@"%zi",Count];

}
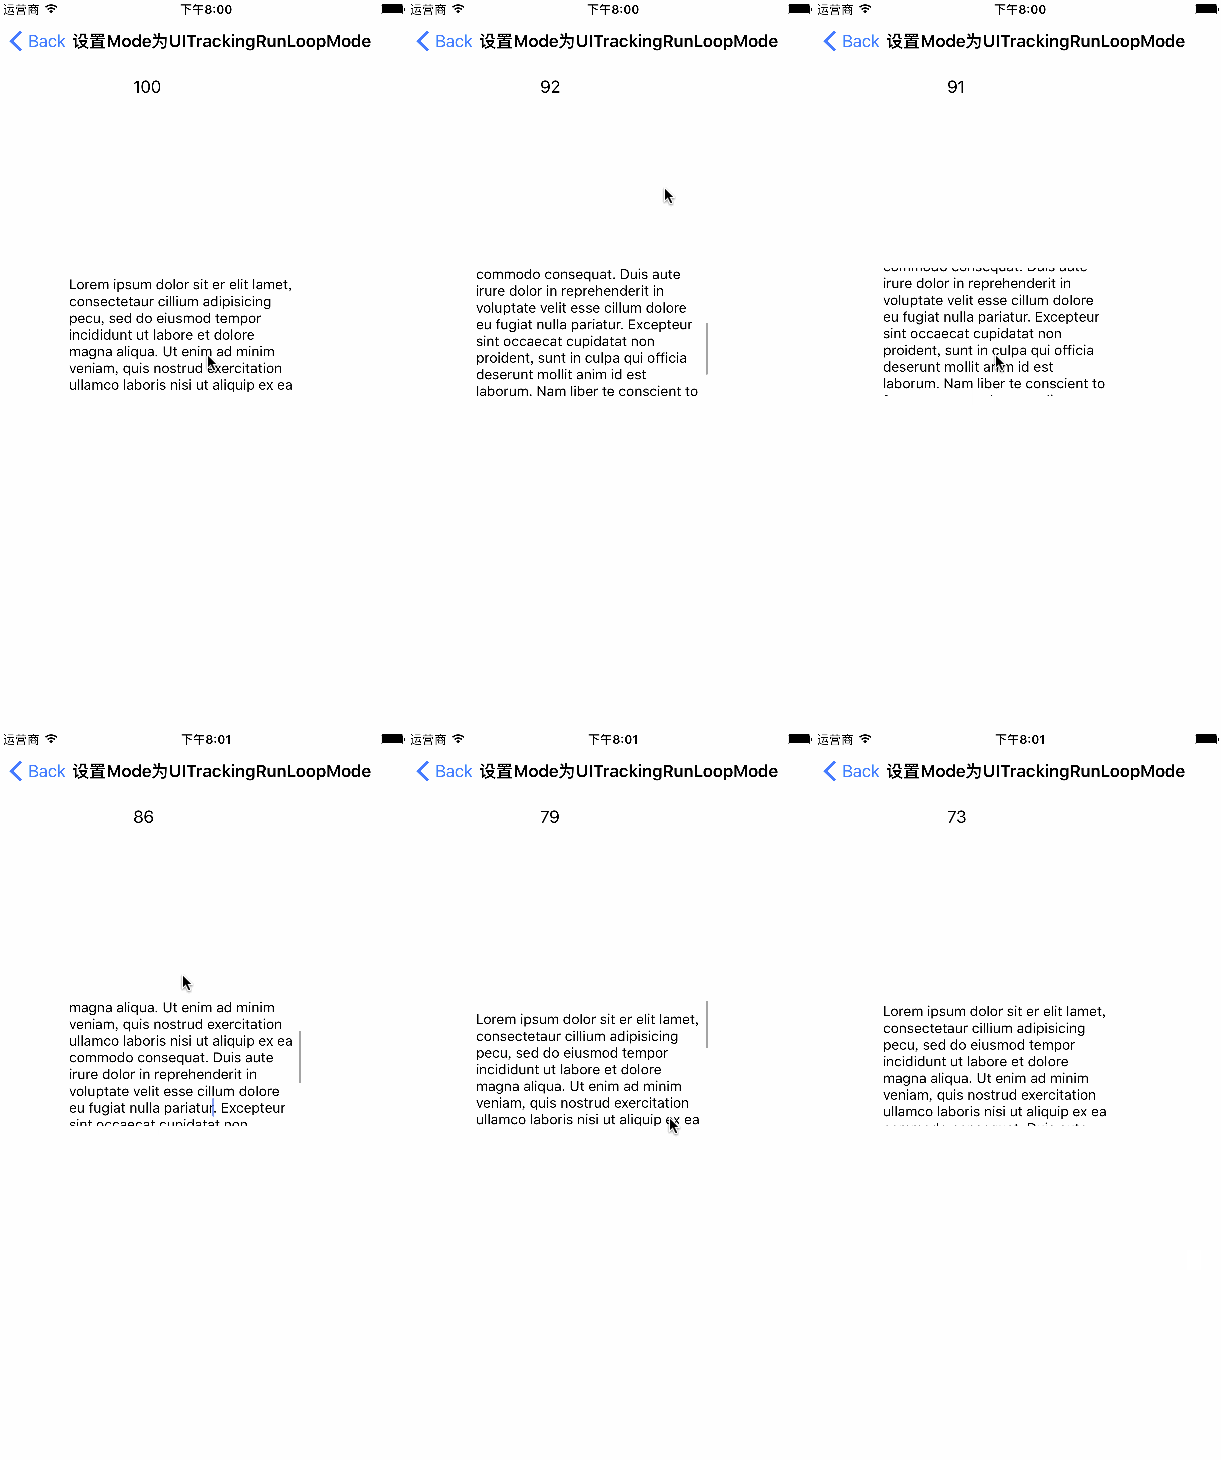
以上4种情况运行结果:
- NSDefaultRunLoopMode
- UITrackingRunLoopMode
- NSDefaultRunLoopMode AND UITrackingRunLoopMode
- NSRunLoopCommonModes
重要的分析来了:
timerWithTimeInterval 不用scheduled方式初始化的,需要手动addTimer:forMode: 将timer添加到一个runloop中。
而scheduled的初始化方法将以默认mode直接添加到当前的runloop中.如果当前线程就是主线程,也就是UI线程时,某些UI事件,比如UIScrollView的拖动操作,会将Run Loop切换成NSEventTrackingRunLoopMode模式,在这个过程中,默认的NSDefaultRunLoopMode模式中注册的事件是不会被执行的。
加到NSRunLoopCommonModes是可以执行的NSRunLoopCommonModes,这个模式等效于NSDefaultRunLoopMode和NSEventTrackingRunLoopMode的结合
2,多线程和Timer
NSRunLoopCommonModes和Timer中有一个问题,这个Timer本质上是在当前线程的Run Loop中循环执行的,因此Timer的回调方法不是在另一个线程的。那么怎样在真正的多线程环境下运行一个Timer呢?
很显然多线程能很好的帮我们解决问题。
1> NSThread和Timer
/**
 NSThread
 */
- (void)threadTimerMethod
{
    NSLog(@"主线程 %@", [NSThread currentThread]);

    //创建并执行新的线程
    NSThread *thread = [[NSThread alloc] initWithTarget:self selector:@selector(newThread) object:nil];
    [thread start];
}

- (void)newThread
{
    @autoreleasepool
    {
        //在当前Run Loop中添加timer,模式是默认的NSDefaultRunLoopMode
        [NSTimer scheduledTimerWithTimeInterval:2.0 target:self selector:@selector(timer_callback) userInfo:nil repeats:YES];
        //开始执行新线程的Run Loop
        [[NSRunLoop currentRunLoop] run];
    }
}

//timer的回调方法
- (void)timer_callback
{
    NSLog(@"Timer %@", [NSThread currentThread]);
}
2> GCD和Timer
GCD中的Timer应该是最灵活的,而且是多线程的。GCD中的Timer是靠Dispatch Source来实现的。
/**
     dispatch_source_create 创建timer

     dispatch_source_t timer = dispatch_source_create(DISPATCH_SOURCE_TYPE_TIMER, 0, 0, <#dispatchQueue#>);
     dispatch_source_set_timer(timer, DISPATCH_TIME_NOW, <#intervalInSeconds#> * NSEC_PER_SEC, <#leewayInSeconds#> * NSEC_PER_SEC);
     dispatch_source_set_event_handler(timer, ^{
         <#code to be executed when timer fires#>
     });
     dispatch_resume(timer);

 */
- (void)gcdTimerMothod
{
    NSLog(@"主线程 %@", [NSThread currentThread]);
    //间隔还是2秒
    uint64_t interval = 2 * NSEC_PER_SEC;
    //创建一个专门执行timer回调的GCD队列
    dispatch_queue_t queue = dispatch_queue_create("my queue", 0);
    //创建Timer
    _timert = dispatch_source_create(DISPATCH_SOURCE_TYPE_TIMER, 0, 0, queue);
    //使用dispatch_source_set_timer函数设置timer参数
    dispatch_source_set_timer(_timert, dispatch_time(DISPATCH_TIME_NOW, 0), interval, 0);
    //设置回调
    dispatch_source_set_event_handler(_timert, ^()
    {
        NSLog(@"Timer %@", [NSThread currentThread]);
    });
    //dispatch_source默认是Suspended状态,通过dispatch_resume函数开始它
    dispatch_resume(_timert);
}
demo源码:TimerDemo
发现这样写较为耗费时间,不容易啊,欢迎提出问题建议,更欢迎点赞。
参考延伸:
NSTimer讲解的很到位的博客:
iOS: NSTimer使用小记
RunLoop刨析的很深的博文:
深入理解RunLoop或
深入理解RunLoop


