SpringBoot项目打包发布Linux环境
环境
Linux机器环境:CentOS 7.4 64位 + JDK8 + MySql5.6.41 + Nginx-1.1.10
框架:Spring Boot v2.0.4.RELEASE, Spring v5.0.8.RELEASE
安装JDK
yum install java-1.8.0-openjdk* -y
执行这条命令后若无报错,则jdk就下载并安装完成,到这里一般没什么问题。
安装Mysql
这里选择的是mysql5.6.41,可以在这里自己选择对应版本mysql,另外我这里把软件都安装在/usr/app目录下,方便管理。
wget http://dev.mysql.com/get/mysql-community-release-el7-5.noarch.rpm
rpm -ivh mysql-community-release-el7-5.noarch.rpm
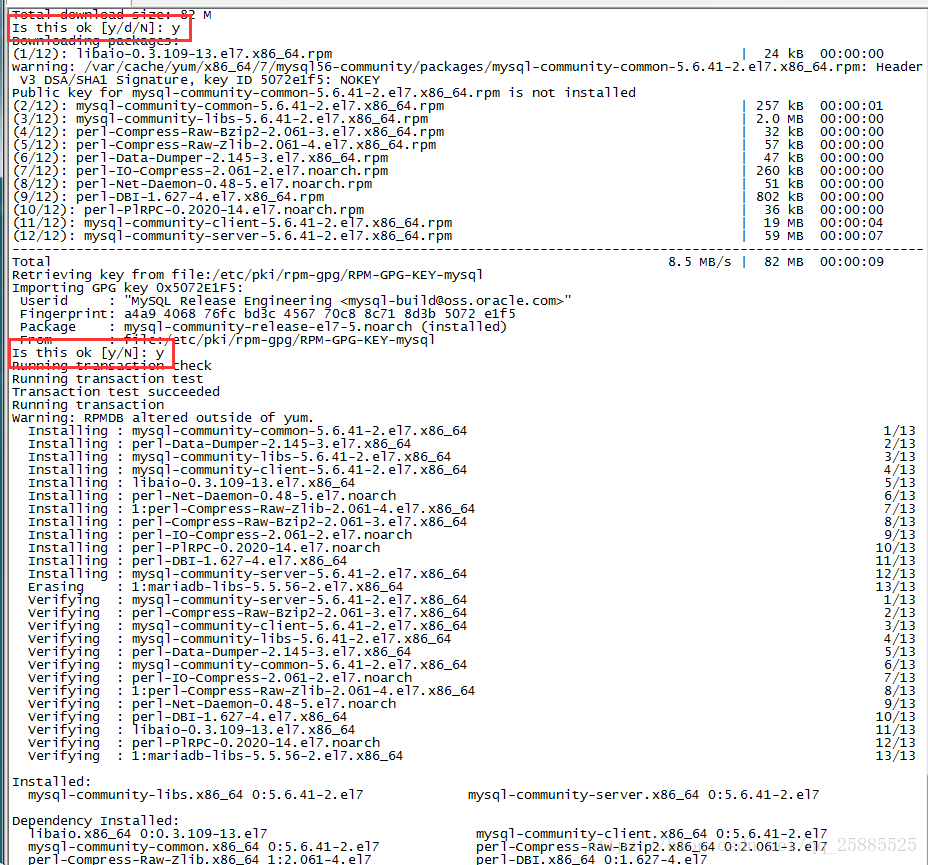
yum install mysql-community-server
重启Mysql服务
service mysqld restart
进入Mysql
mysql -u root
修改Mysql密码
这里修改为root
set password for 'root'@'localhost' =password('root');
到这里Mysql就安装完成了,但是不能远程连接数据库的,下面设置mysql数据库远程连接权限
设置mysql数据库远程连接权限
grant all privileges on *.* to root@'%'identified by 'root';
安装Nginx
安装C++环境
yum -y install gcc automake autoconf libtool make
yum install gcc gcc-c++
安装Nginx依赖pcre库
wget ftp://ftp.csx.cam.ac.uk/pub/software/programming/pcre/pcre-8.39.tar.gz
tar -zxvf pcre-8.39.tar.gz
cd pcre-8.39
./configure
make & make install
安装Nginx依赖zlib库
wget http://zlib.net/zlib-1.2.11.tar.gz
tar -zxvf zlib-1.2.11.tar.gz
cd zlib-1.2.11
./configure
make & make install
安装openssl
cd ..
wget https://www.openssl.org/source/openssl-1.0.1t.tar.gz
tar -zxvf openssl-1.0.1t.tar.gz
安装nginx
wget http://nginx.org/download/nginx-1.1.10.tar.gz
tar -zxvf nginx-1.1.10.tar.gz
cd nginx-1.1.10
./configure
make & make install
配置nginx
在/usr/local/nginx/conf/nginx.conf文件中增加应用的反向代理配置,server_name 配置你要代理的域名,proxy_pass 配置本地应用访问地址
    server {
        listen        80;
        server_name   www.yizhuxiaozhan.club;
        index index.jsp index.html index.html index.shtml;
        location / {
                proxy_pass http://localhost:8081;
                proxy_set_header Host $host;
                proxy_set_header X-Real-IP $remote_addr;
                proxy_set_header X-Forwarded-For $proxy_add_x_forwarded_for;
                }
        }
nginx 相关命令:
启动nginx
/usr/local/nginx/sbin/nginx -c /usr/local/nginx/conf/nginx.conf
查找nginx PID
ps -ef|grep nginx
nginx服务完当前任务停止服务
kill -QUIT 23205
打包发布
首先,将本地代码打包成jar,然后将jar上传至服务器,最后用脚本启动
IDEA打包配置
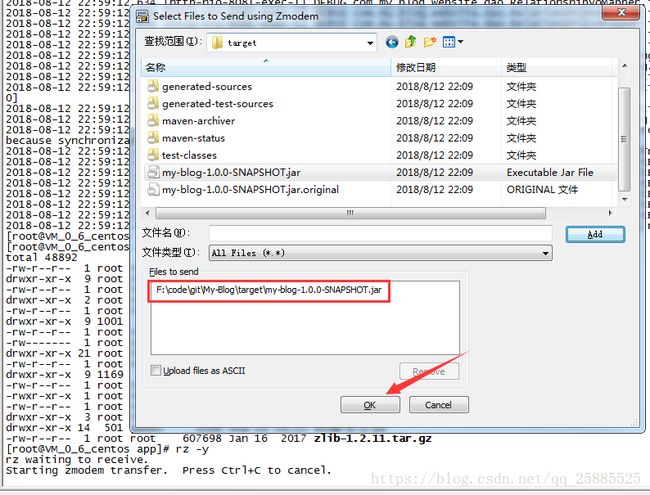
上传打包完成的jar
rz -y
若报错-bash: rz: command not found,则需要安装rz命令,安装好之后则可正常使用rz系列命令了
yum -y install lrzsz
重启应用脚本
#!/bin/sh
RESOURCE_NAME=my-blog-*.jar

tpid=`ps -ef|grep $RESOURCE_NAME|grep -v grep|grep -v kill|awk '{print $2}'`
if [ ${tpid} ]; then
echo 'Stop Process...'
kill -15 $tpid
fi
sleep 5
tpid=`ps -ef|grep $RESOURCE_NAME|grep -v grep|grep -v kill|awk '{print $2}'`
if [ ${tpid} ]; then
echo 'Kill Process!'
kill -9 $tpid
else
echo 'Stop Success!'
fi

tpid=`ps -ef|grep $RESOURCE_NAME|grep -v grep|grep -v kill|awk '{print $2}'`
if [ ${tpid} ]; then
    echo 'App is running.'
else
    echo 'App is NOT running.'
fi

rm -f tpid
nohup java -jar ./$RESOURCE_NAME >/dev/null 2>&1 &
echo $! > tpid
echo Start Success!
运行脚本的时候运行的时候如果报错,应该是文件格式转换的问题
bash: ./a.sh: /bin/bash^M: bad interpreter: No such file or directory
yum -y install dos2unix
dos2unix start.sh
重启服务
注意:第一次运行的时候获取一下超级管理员权限
chmod +x start.sh
./start.sh
更多信息可以关注我的个人博客:逸竹小站
也欢迎关注我的公众号:yizhuxiaozhan,二维码:


