Unity体积光实现
目录
- 人物移动+相机跟随脚本修改
- Gpuinstance实现大面积草地
- 风吹麦浪+人物影响
- 后处理动态天空实现
- 动态天空实现
- 体积光实现的三种方法
- RayMarching体积光实现
体积光的项目分享:
https://github.com/Claymoreno1/volumelight
https://github.com/Claymoreno1/GodRay
体积光的实现方法有很多种,这里列出三种常用的,此篇博客详细讲解了通过后处理径向模糊方式的体积光实现,另一篇RayMarching体积光讲解了另一种更真实效果更好的方法,其它方式提供了方法和详细链接。
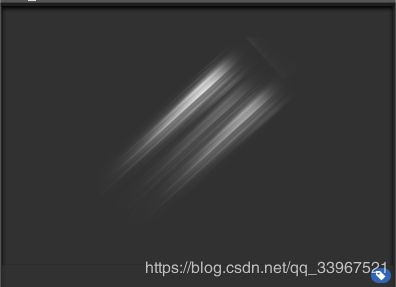
- 最简单,手游比较常见的是特效贴片
我们看见的光束其实就是下面这张图片,通过粒子效果很简单就能够实现

- ShadowGun中经典的GodRays,Blinking GodRays和Blinking GodRays Billboarded,根据远近控制淡入淡出,稍微复杂一点的增加了闪烁和广告牌,如果想学习可以看女神的ShadowGun系列之二——雾和体积光

- 屏幕后处理方式(消耗高,也更真实,也是本篇博客的重点内容)
第一步:提取光源部分
这一部分比较简单,我们主要从深度和颜色两个方面做阈值,来得到体积光光源
因为体积光的光源一般在距离比较远或者高的地方,必须防止把人物或者其他拥有强颜色的物体错当成光源。(当然,有时候我们也不想让远处的物体发光,把step翻过来用就行了)
片段着色器代码如下,本文会在最后提供后处理体积光的全部C#与ShaderLab代码
float4 frag(v2f i):SV_Target{
		float4 col=tex2D(_MainTex,i.uv);
		float linearDepth=LinearEyeDepth(SAMPLE_DEPTH_TEXTURE(_CameraDepthTexture,i.uv));
		col*=step(_StepColor.r+_StepColor.g,col.r+col.g)*step(_Depthfloor,linearDepth);
		return col;
}
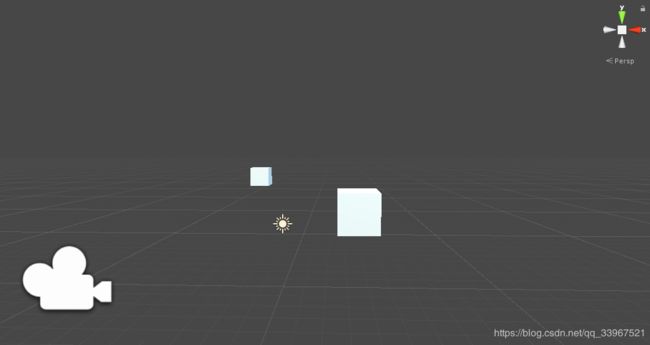
第一个pass结果:


第二步:径向模糊
径向模糊和高斯模糊的区别就在于一个是照着一条线采样求均值,另一个是在像素周围采样利用权值计算均值。
- 方法1
首先得到一条从当前像素到模糊中心的向量
float2 center=_LightPos.xy;
float2 uv=i.uv-center;
当前点的像素颜色值,来自于从沿着这条向量采样的颜色均值
for(float j=0;j<_Level;j++){
	col+=tex2D(_MainTex,uv*(1-0.01*j)+center);
}
col/=_Level;
- 方法2
其实大体原理和方法1一样,因为径向模糊定义就是如此,不同之处在于添加了采样步长控制向量,添加了一些setp来控制模糊方向
float2 blur=_LightDir.xy*(_LightPos.xy-i.uv);//*step(0,_LightPos.y-i.uv.y);
for(float j=0;j<_Level;j++){
	col+=tex2D(_MainTex,i.uv);
	i.uv+=blur;
}
col/=_Level;

这个效果需要在OnRenderImage函数中对采样步长修改,反复Blit几次
blurtype为ture,方法2
if (blurtype)
{
   for (int i = 0; i < LightIntencity; i++)
   {
     LightDirx_2 = LightDirx * (i * 2 + 2);
     LightDiry_2 = LightDiry * (i * 2 + 2);
     Graphics.Blit(midpic, midpic2, Volumelight, 1);
     LightDirx_2 = LightDirx * (i * 2 + 6);
     LightDiry_2 = LightDiry * (i * 2 + 6);
     Graphics.Blit(midpic2, midpic, Volumelight, 1);
   }
}
else
{
   Graphics.Blit(midpic, midpic2, Volumelight, 2);
   Graphics.Blit(midpic2, midpic, Volumelight, 2);
}
第三步:与源source图像相叠加,得到最后的效果
这一步和简单,LightIntencity是用来控制光的强度,当然,我们也可以在第一步采样的时候只保留灰度,然后在这一步中,我们用灰度乘我们想要的光的颜色,可以更方便的控制体积光的效果。
float4 col=tex2D(_MainTex,i.uv);
float4 col2=tex2D(_BlurTex,i.uv);
return col+col2*_LightIntencity;
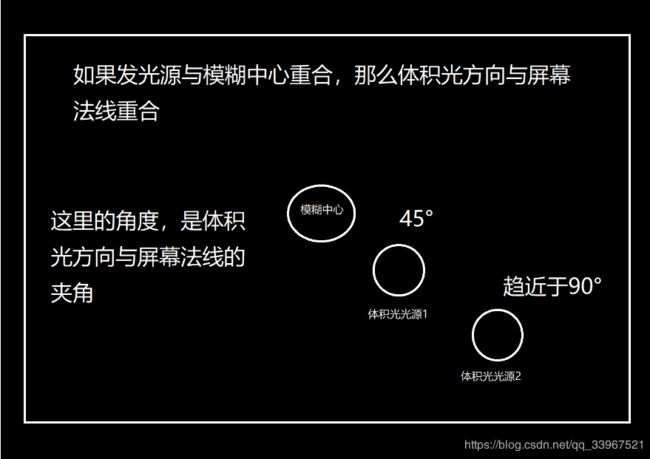
后处理体积光已经基本实现了,那么,我们如何控制光照方向呢?
很简单,(数位板借出去了。。。我用鼠标做一个示意图好了)


这里我的模糊中心是左上角Cube所在的屏幕坐标
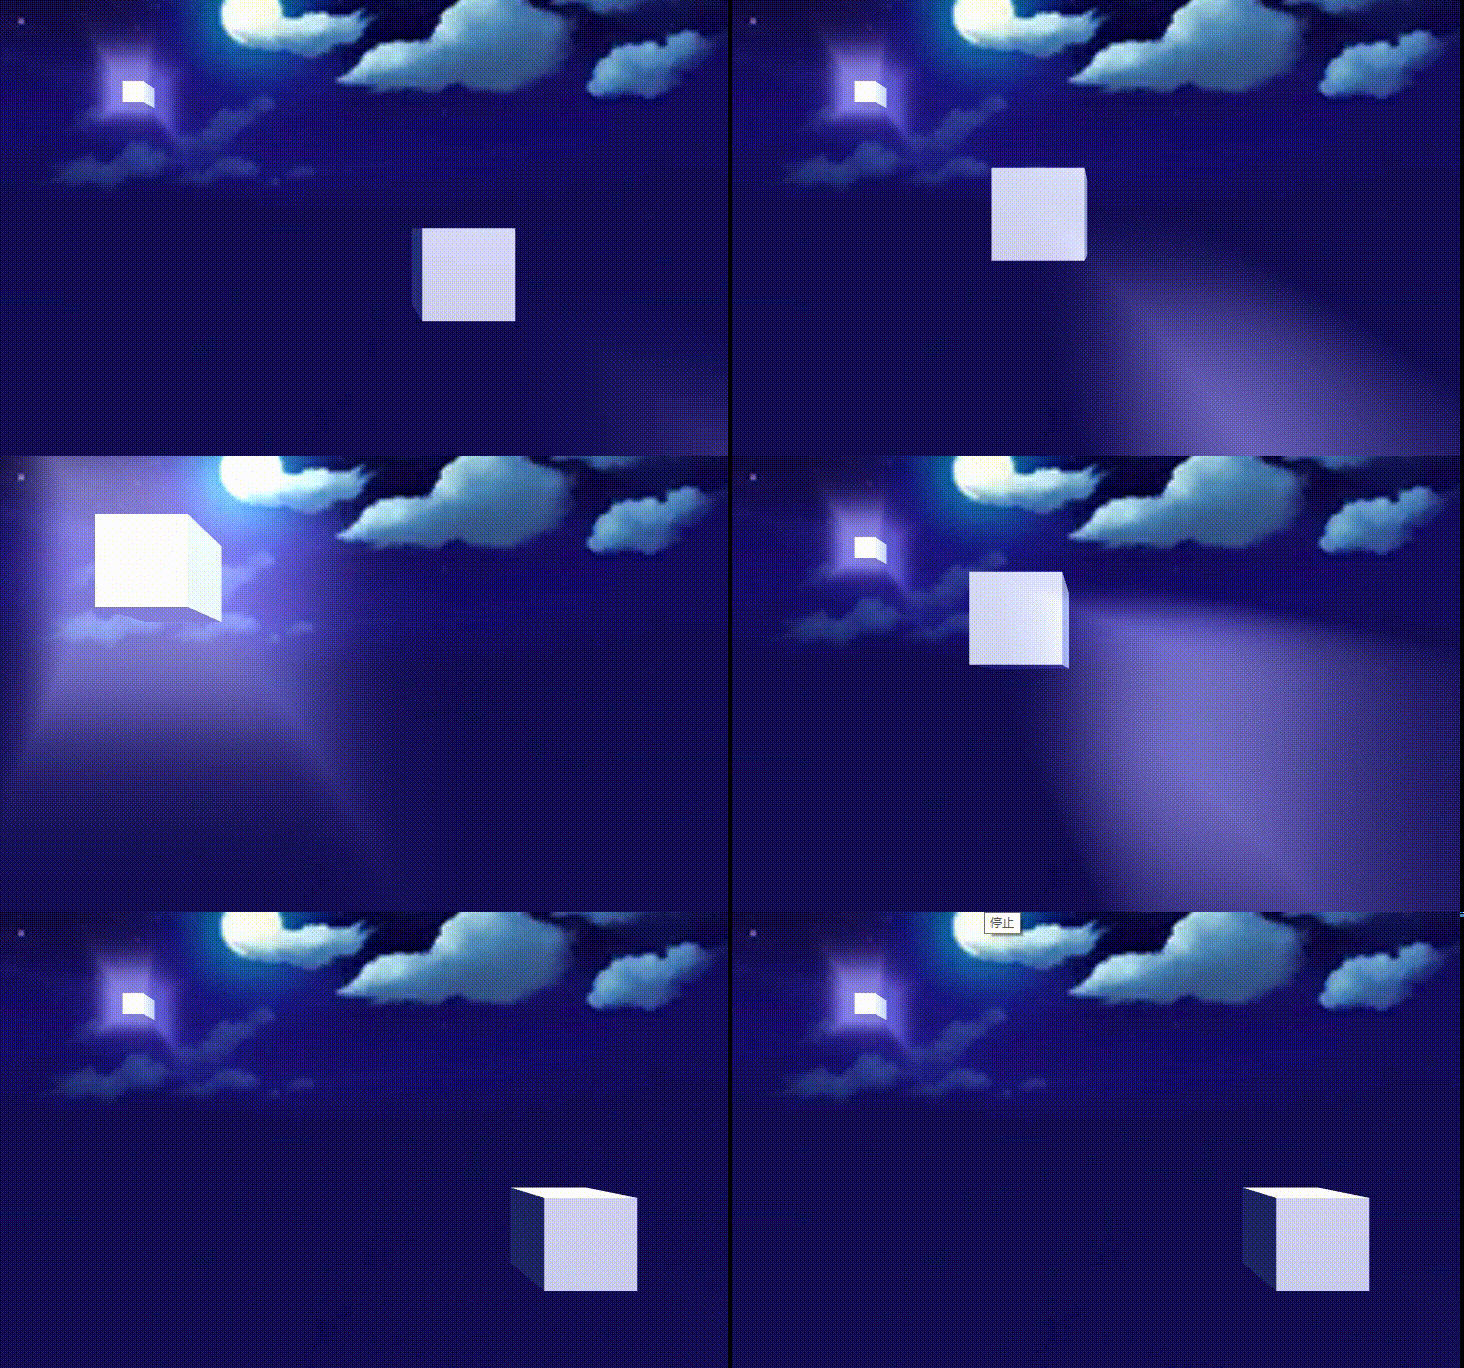
在Chan项目中的效果预览
以下是C#与ShaderLab的全部代码
C#
using System.Collections;
using System.Collections.Generic;
using UnityEngine;
[ExecuteInEditMode]
public class Volumelight_1 : MonoBehaviour
{
    public bool blurtype;
    public Material Volumelight;
    public Color StepColor;
    [Range(1,100)]
    public float Depthfloor;
    public Camera thiscamera;
    [Range(0.01f,.5f)]
    public float LightDirx;
    [Range(0.01f, .5f)]
    public float LightDiry;
    private Vector4 LightPos;
    public Transform lighttrans;
    [Range(0.5f,3.0f)]
    public float Blurtimes;
    [Range(0.01f,2f)]
    public float LightIntencity;
    [Range(1,20)]
    public float Level;
    private float LightDirx_2;
    private float LightDiry_2;

    private void OnEnable()
    {
        thiscamera = this.GetComponent<Camera>();
        thiscamera.depthTextureMode |= DepthTextureMode.Depth;
    }
    [ImageEffectOpaque]
    private void OnRenderImage(RenderTexture source, RenderTexture dest)
    {
        RenderTexture midpic = RenderTexture.GetTemporary(source.width, source.height, 0);
        RenderTexture midpic2 = RenderTexture.GetTemporary(source.width, source.height, 0);
        Volumelight.SetColor("_StepColor", StepColor);
        Volumelight.SetFloat("_Depthfloor", Depthfloor);
        Graphics.Blit(source, midpic, Volumelight, 0);
        LightPos = thiscamera.WorldToViewportPoint(lighttrans.transform.position);
        Volumelight.SetVector("_LightPos", LightPos);
        //Volumelight.SetFloat("_LightIntencity", LightIntencity);
        Volumelight.SetFloat("_Level", Level);
        Volumelight.SetVector("_LightDir", new Vector4(LightDirx,LightDiry,0,0));
        if (blurtype)
        {
            for (int i = 0; i < Blurtimes; i++)
            {
                LightDirx_2 = LightDirx * (i * 2 + 2);
                LightDiry_2 = LightDiry * (i * 2 + 2);
                Graphics.Blit(midpic, midpic2, Volumelight, 1);
                LightDirx_2 = LightDirx * (i * 2 + 6);
                LightDiry_2 = LightDiry * (i * 2 + 6);
                Graphics.Blit(midpic2, midpic, Volumelight, 1);
            }
        }
        else
        {
            Graphics.Blit(midpic, midpic2, Volumelight, 2);
            Graphics.Blit(midpic2, midpic, Volumelight, 2);
        }
        Volumelight.SetFloat("_LightIntencity", LightIntencity);
        Volumelight.SetTexture("_BlurTex", midpic);
        Graphics.Blit(source, dest, Volumelight, 3);
        RenderTexture.ReleaseTemporary(midpic);
        RenderTexture.ReleaseTemporary(midpic2);

    }
}
ShaderLab:
Shader "myshaders/VolumeLight"
{
	Properties
	{
		_MainTex("_MainTex",2D)="white"{}
		_StepColor("_StepColor",Color)=(1,1,1,1)
		_Depthfloor("_Depthfloor",float)=5
		_LightPos("_LightPos",vector)=(0,0,0,0)
		_LightDir("_LightDir",vector)=(0,-1,0,0)
		_LightIntencity("_LightIntencity",float)=1
		_Level("_Level",float)=8
		_BlurTex("_BlurTex",2D)="white"{}
	}
	CGINCLUDE
		#include "UnityCG.cginc"
		struct v2a{
			float2 uv:TEXCOORD0;
			float4 vertex:POSITION;
		};
		struct v2f{
			float2 uv:TEXCOORD0;
			float4 pos:SV_POSITION;
		};
		float4 _StepColor;//颜色阈值
		sampler2D _MainTex;
		sampler2D _BlurTex;
		float4 _MainTex_TexelSize;
		sampler2D _CameraDepthTexture;
		float _Depthfloor;//距离阈值
		float _LightIntencity;
		float4 _LightDir;
		float _Level;
		float4 _LightPos;
		v2f vert(v2a v){
			v2f o;
			o.pos=UnityObjectToClipPos(v.vertex);
			o.uv=v.uv;
			#if UNITY_UV_STARTS_AT_TOP
				if(_MainTex_TexelSize.y<0) o.uv.y=1-o.uv.y;
			#endif
			return o;
		}
		float4 frag_1(v2f i):SV_Target{
			float4 col=tex2D(_MainTex,i.uv);
			float linearDepth=LinearEyeDepth(SAMPLE_DEPTH_TEXTURE(_CameraDepthTexture,i.uv));
			col*=step(_StepColor.r+_StepColor.g,col.r+col.g)*step(_Depthfloor,linearDepth)*step(linearDepth,50);
			return col;
		}
		float4 frag_2_1(v2f i):SV_Target{
			float4 col=float4(0,0,0,0);
			float2 blur=_LightDir.xy*(_LightPos.xy-i.uv);//*step(0,_LightPos.y-i.uv.y);
			for(float j=0;j<_Level;j++){
				col+=tex2D(_MainTex,i.uv);
				i.uv+=blur;
			}
			col/=_Level;
			return col;
		}
		float4 frag_2_2(v2f i):SV_Target{
			float2 center=_LightPos.xy;
			float2 uv=i.uv-center;
			float4 col=float4(0,0,0,0);
			for(float j=0;j<_Level;j++){
				col+=tex2D(_MainTex,uv*(1-0.01*j)+center);
			}
			col/=_Level;
			return col;
		}
		float4 frag_3(v2f i):SV_Target{
			float4 col=tex2D(_MainTex,i.uv);
			float4 col2=tex2D(_BlurTex,i.uv);
			return col+col2*_LightIntencity;
		}
	ENDCG
	SubShader
	{
		Pass
		{
			CGPROGRAM
			#pragma vertex vert
			#pragma fragment frag_1
			ENDCG
		}
		Pass
		{
			CGPROGRAM
			#pragma vertex vert
			#pragma fragment frag_2_1
			ENDCG
		}
		Pass
		{
			CGPROGRAM
			#pragma vertex vert
			#pragma fragment frag_2_2
			ENDCG
		}
		Pass
		{
			CGPROGRAM
			#pragma vertex vert
			#pragma fragment frag_3
			ENDCG
		}
	}
}