android四大组件之Server
什么是Service?
server在四大组件之中,地位与Activity并列,不同的是Service在后台运行,可跨进程调用,无法自己运行。
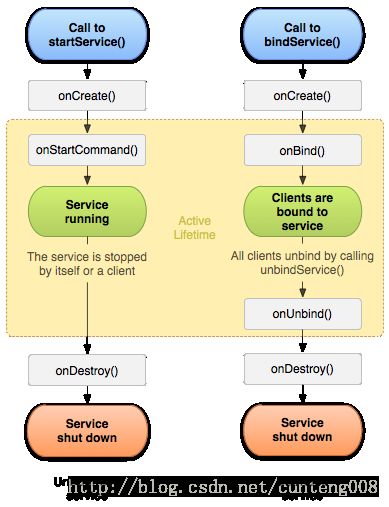
Service的生命周期
其他组件利用服务有两种方式
每次调用startServic
调用startService时,若服务还没有创建,则会调用onCreate创建服务,再调用onStartCommand利用服务;一旦调用了startService启动Service后,若Service没有被其他组件调用stopService让服务停止或服务本省调用stopself,即使调用服务的组件完全被销毁,服务也将会一直运行,应用也不会被关闭,这也就是为什么前面讲的Service与Acitity位置并列的原因。停止Service后若Service没有正在为组件服务或绑定,则将会进一步调用onDestroy销毁自己,下面是一个第一行代码上的测试用例,实验环境为android studio 2.3.3,jdk1.8
首先我们定义一个服务如下
public class MyService extends Service {
    private final static String TAG = "MyService";
    @Override
    public IBinder onBind(Intent intent){
        return null;
    }
    @Override
    public void onCreate(){
        super.onCreate();
        Log.d(TAG,"onCreate executed");
    }
    @Override
    public int onStartCommand(Intent intent,int flags,int startId ){
        Log.d(TAG,"onStartCommand executed");
        return super.onStartCommand(intent,flags,startId);
    }
    @Override
    public void onDestroy(){
        super.onDestroy();
        Log.d(TAG,"onDestroy execute");
    }
}
接下来跟Acitivity一样需要在AndroidManifest.xml注册
......
    <application
       ......
       android:supportsRtl="true"
       android:theme="@style/AppTheme">
        <service android:name=".MyService">
        service>
        <activity android:name=".MainActivity">
            <intent-filter >
                <action android:name="android.intent.action.MAIN"/>
                <category android:name="android.intent.category.LAUNCHER"/>
            intent-filter>
        activity>
        ......
    application>

manifest>
这样一个服务就被定义好,等着被使用了。
我们在MainActivity利用startService和stopService来启用服务和使服务停止。
public class MainActivity extends AppCompatActivity implements View.OnClickListener {
    private Button mStartService;
    private Button mStopService;
    @Override
    protected void onCreate(Bundle savedInstanceState) {
        super.onCreate(savedInstanceState);
        setContentView(R.layout.activity_main);
        mStartService = (Button) findViewById(R.id.start_service);
        mStopService = (Button) findViewById(R.id.stop_service);
        mStartService.setOnClickListener(this);
        mStopService.setOnClickListener(this);
    }

    @Override
    public void onClick(View v){
        switch (v.getId()){
            case R.id.start_service:
                Intent startIntent = new Intent(this, MyService.class);
                startService(startIntent);
                break;
            case R.id.stop_service:
                Intent stopIntent = new Intent(this,MyService.class);
                stopService(stopIntent);
                break;
            default:
                break;
        }
    }
}
main_activity.xml为
<LinearLayout
    xmlns:android="http://schemas.android.com/apk/res/android"
    android:layout_width="match_parent"
    android:layout_height="match_parent"
    android:orientation="vertical"
    android:gravity="center_vertical">

    <Button
        android:id="@+id/start_service"
        android:layout_width="match_parent"
        android:layout_height="wrap_content"
        android:text="Start service"/>
    <Button
        android:id="@+id/stop_service"
        android:layout_width="match_parent"
        android:layout_height="wrap_content"
        android:text="Stop service"/>
LinearLayout>
一切就绪,让我们测试吧!
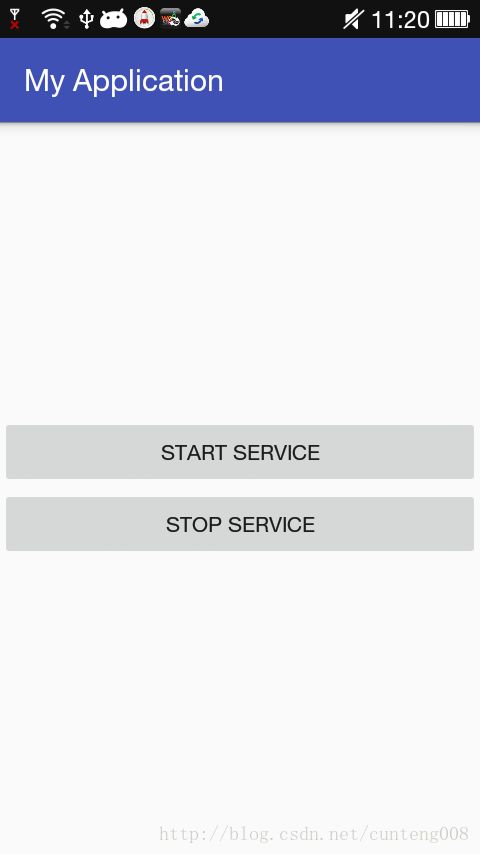
开始界面

我们点击开始服务看看日志的情况

因为Service首次被调用,确实先调用onCreate创建服务,后再调用onStartCommand开始使用Service,待Service创建后每次startService时只会调用onStartCommand开始提供服务

接下来stopService ,Service也紧接着被销毁

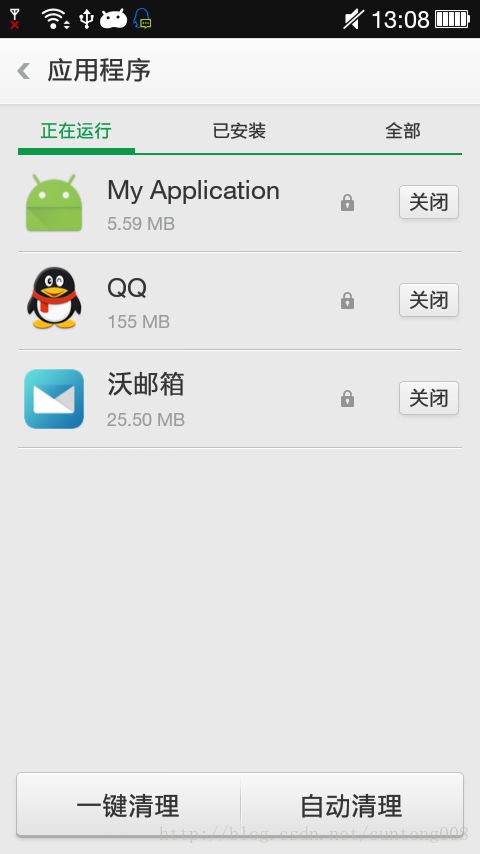
若应用被强制停止的话,Service是不会调用onDestroy的,这点需要注意

调用bindService绑定一个服务
如果你想只想启动服务,让服务长时间而进行某项任务而已,使用startService足矣,但若我们想在启动服务后,还想与服务保持联系,获取service的信息,如我们启动一项下载服务后,想实时询问下载的进度,那怎么办?这是BindService就有了用武之地了(这里用broadcast也是可以的)。接下来我们将MyService加入下载服务和onBind功能。
public class MyService extends Service {
    private DownloadBinder mBinder = new DownloadBinder();

   //绑定的服务有
    public  class DownloadBinder extends Binder{
        public void startDowndload(){
            Log.d("MyService","startDownload executed");
        }
        public int getProgress(){
            Log.d("MyService","getProgress executed");
            return 0;
        }
    }
    @Override
    public IBinder onBind(Intent intent){
        return mBinder;
    }
    ......
 }
public class MainActivity extends AppCompatActivity implements View.OnClickListener {
private Button mStartService;
private Button mStopService;
private Button mBindService;
private Button mUnbindService;
private MyService.DownloadBinder mDownloadBinder;
private ServiceConnection connection = new ServiceConnection() {
@Override
public void onServiceConnected(ComponentName name, IBinder service) {
mDownloadBinder = (MyService.DownloadBinder) service;
mDownloadBinder.startDowndload();
mDownloadBinder.getProgress();
}
@Override public void onServiceDisconnected(ComponentName name) {}
};
@Override
protected void onCreate(Bundle savedInstanceState) {
super.onCreate(savedInstanceState);
setContentView(R.layout.activity_main);
mStartService = (Button) findViewById(R.id.start_service);
mStopService = (Button) findViewById(R.id.stop_service);
mBindService = (Button) findViewById(R.id.bind_service);
mUnbindService = (Button) findViewById(R.id.unbind_service);
mStopService.setOnClickListener(this);
mStartService.setOnClickListener(this);
mBindService.setOnClickListener(this);
mUnbindService.setOnClickListener(this);
}
@Override
public void onClick(View v) {
switch (v.getId()){
case R.id.start_service:
Intent startIntent = new Intent(this,MyService.class);
startService(startIntent);
break;
case R.id.stop_service:
Intent stopIntent = new Intent(this,MyService.class);
stopService(stopIntent);
break;
case R.id.bind_service:
Intent bindIntent = new Intent(this,MyService.class);
bindService(bindIntent,connection,BIND_AUTO_CREATE);
break;
case R.id.unbind_service:
unbindService(connection);
break;
default:
break;
}
}
}
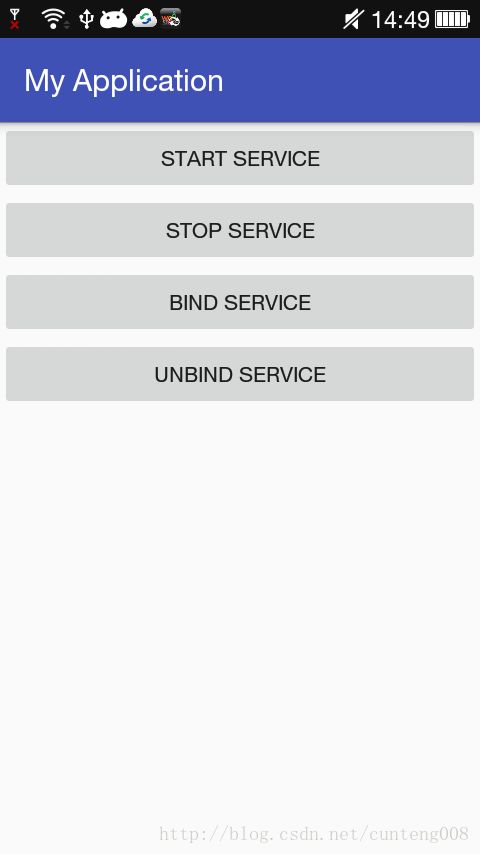
布局加两个按钮
<LinearLayout
    xmlns:android="http://schemas.android.com/apk/res/android"
    android:layout_width="match_parent"
    android:layout_height="match_parent"
    android:orientation="vertical">
   ......
    <Button
        android:id="@+id/bind_service"
        android:layout_width="match_parent"
        android:layout_height="wrap_content"
        android:text="Bind service"/>
    <Button
        android:id="@+id/unbind_service"
        android:layout_width="match_parent"
        android:layout_height="wrap_content"
        android:text="Unbind service"/>

LinearLayout>


在使用bindService时,注意手机横竖屏贴换会销毁activity,意味着会与Service解绑!
总结
1.通过startservice开启的服务.一旦服务开启, 这个服务和开启他的调用者之间就没有任何的关系了. 调用者不可以访问 service里面的方法. 调用者如果被系统回收了或者调用了ondestroy方法, service还会继续存在
2.通过bindService开启的服务,服务开启之后,调用者和服务之间 还存在着联系 , 一旦调用者挂掉了.service也会跟着挂掉 .
参考
android developer service
第一行代码
