TensorFlow+SSD+OpenCV+python完成自训练数据的实时目标检测
介绍:利用tensorflow进行ssd实时目标检测,并实现自己的数据集训练,利用object_detection api具体步骤,并且将模型实现opencv调用,可以实现无tensorflow环境下的模型调用实时检测。本案例只采用了一类目标,可以自行增加!
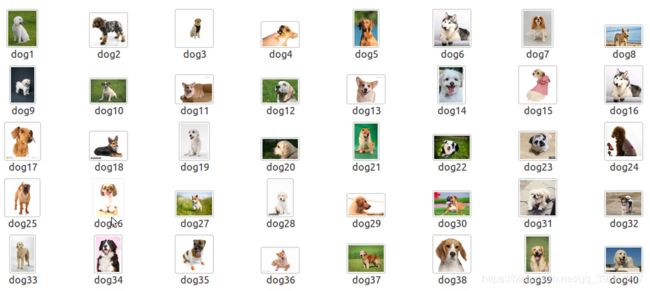
1 准备图片训练集
图片命名最好是classname+num(图片格式为jpg,如果为png后面会报错)
2 利用labelimg软件进行目标边框的处理,得到xml文件
此处注意修改labelimg软件文件夹中的data文件,这是自己制作边框时可选择的label名。
选择边框之后就可以保存为xml文件了,保存的xml文件名与图片名字一一对应。
3 生成tfrecod数据格式文件
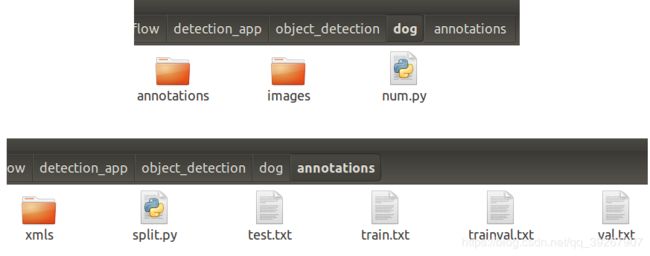
生成的xml文件全部存入xmls文件夹内,原始图片全部存入images,并把xmls文件夹放入annotations中,利用split.py文件生成四个训练验证的txt,txt文件其实就是索引图片的位置。
修改文件pbtxt,这是label_map文件,放在data中。修改dog_label_map.pbtxt,将其中的label名称改为你所需要的类别,如dog。
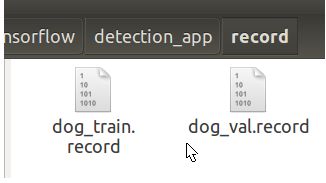
运行create_dog_tf_record.py文件,并且修改内部的pbtxt和record文件名 得到record格式的文件。
4 下载需要的文件和模型,进行config配置
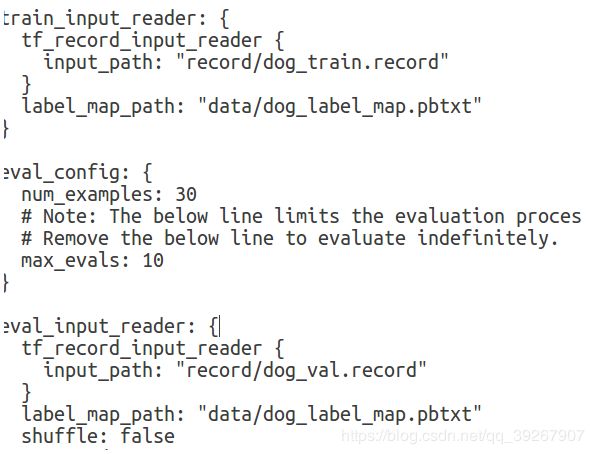
主要下载了ssd_inception_v2_pets.config配置文件,并且下载tensorflow中的slim文件夹,用到了里面很多文件,配置文件修改如图所示。
5 训练模型
运行train.py文件(注意:此处真的需要很多很多文件做辅助)
6 导出pb模型
运行程序就可以了。python export_inference_graph.py --pipeline_config_path ssd_inception_v2_pets.config --trained_checkpoint_prefix train/model.ckpt-2218 --output_directory pb/
7 测试结果
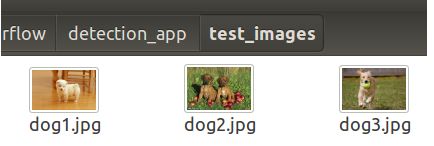
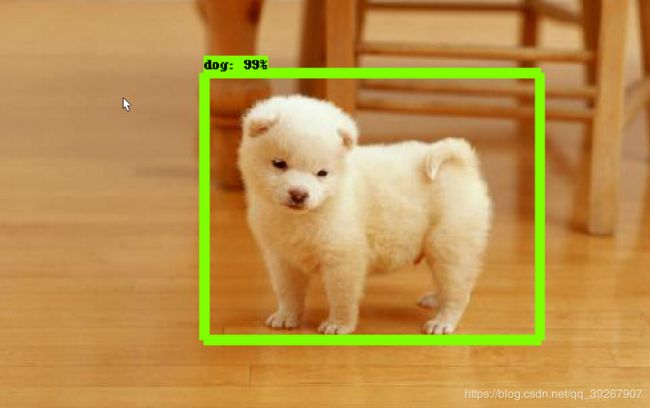
测试数据如下,运行代码test.py,修改里面跟文件夹名有关的内容,包括几张图片、什么图片、什么文件夹、什么模型。
很成功哦!!!
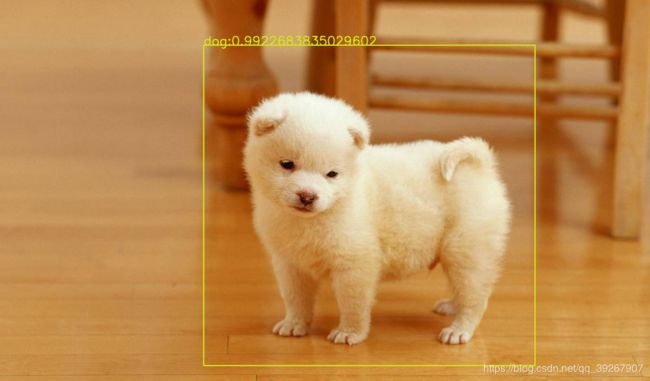
8 新功能来了,利用opencv直接调用tensorflow模型,不需要环境哦。
当然,这一步还是在环境下完成,opencv调用tensorflow需要pb和pbtxt模型,所以我们要进行转化。
需要的文件: frozen_inference_graph.pb模型和ssd_inception_v2_pets.config配置文件
运行程序python tf_text_graph_ssd.py --input frozen_inference_graph.pb --output my.pbtxt --config ssd_inception_v2_pets.config 可得到opencv调用tensorflow模型所需要的pb模型和pbtxt模型。
opencv调用tensorflow模型
import cv2 as cv

cvNet = cv.dnn.readNetFromTensorflow('frozen_inference_graph.pb', 'my.pbtxt')

img = cv.imread('1.jpg')
rows = img.shape[0]
cols = img.shape[1]
cvNet.setInput(cv.dnn.blobFromImage(img, size=(300, 300), swapRB=True, crop=False))
cvOut = cvNet.forward()
classNames=["background","dog"]
for detection in cvOut[0,0,:,:]:
    score = float(detection[2])
    if score > 0.3:
        objectClass=int(detection[1])
        left = detection[3] * cols
        top = detection[4] * rows
        right = detection[5] * cols
        bottom = detection[6] * rows
        cv.rectangle(img, (int(left), int(top)), (int(right), int(bottom)), (23, 230, 210), thickness=2)

        label=classNames[objectClass]
        print(label)
        cv.putText(img,str(label)+":"+str(score), (int(left), int(top)), cv.FONT_HERSHEY_SIMPLEX, 1, (23, 230, 210), 2)


cv.imshow('img', img)
cv.waitKey()
是不是很完美呢?!
完整代码有需要的请联系我啦,或者等我上传了通知大家。
