生产环境中进行机器学习模型部署(using Flask)
我们原来一直看的文章,大都是在讲机器学习原理、如何构造特征、如何调参之类的,但是实际中模型是如何进行部署的呢?下面的这篇文章就是在讲用Flask框架进行模型部署(注明:这篇文章基本是翻译国外大神的著作,如果英文不错建议直接看原作,英文不好的话也要尽量看下原作)
文章目录:
- 部署机器模型的选择
- 什么是APIs?
- Flask基础
- 创建一个机器学习模型
- 保存机器学习模型:序列化和反序列化
- 用Flask创建一个API
1.机器学习模型部署的选择
我们知道机器学习的模型大多是使用python或者是R语言来写的,但是使用这些模型的软件工程师可能用的完全不是这些语言(机器学习模型有时只是一个软件中的一小部分,比如聊天机器人、自动邮箱发送系统)。所以针对这个问题可以有下面两种解决办法:
-
用软件工程师工作的语言来重写整个机器学习代码,但是这消耗时间和精力太多,并且像JavaScript这样的语言又不能提供很好的库来执行机器学习方法,所以这样方法是不可取的。
-
使用API方法,Web API使跨语言应用程序可以轻松运行。 如果前端开发人员需要使用ML模型来创建ML支持的Web应用程序,他们只需要从提供API的位置获取URL端点。
2.什么是APIs?
何为API?API(Application Programming Interface,应用程序编程接口)是一些预先定义的函数,目的是提供应用程序与开发人员基于某软件或硬件得以访问一组例程的能力,而又无需访问源码,或理解内部工作机制的细节API通俗解释参考
在这篇文章中,我们主要使用Python中的轻量级web框架--Flask来构建API
Python语言web轻量级框架
3.Flask基础
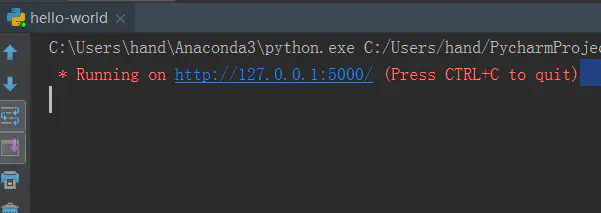
下面我们来创造一个Flask web应用程序
- 打开Python编辑器(这里使用的是pycharm)
- 写入如下的代码
"""Filename: hello-world.py
  """

  from flask import Flask

  app = Flask(__name__)

  @app.route('/users/')
  def hello_world(username=None):

      return("Hello {}!".format(username))
上面就是我们创建的本地可以访问的web端点,重要的是我们也可以以web APIs的形式包装机器学习模型
4.创建一个机器学习模型
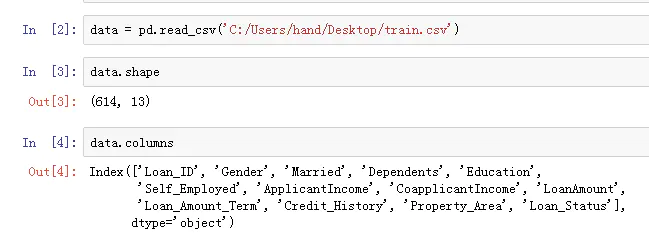
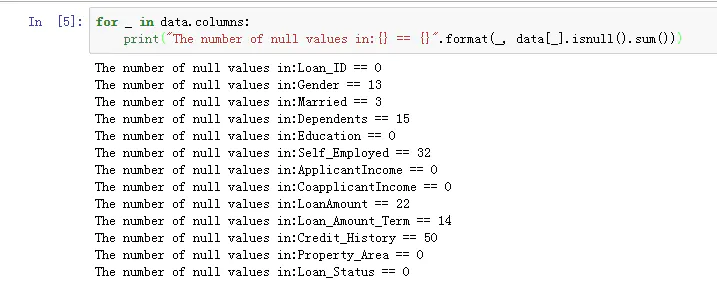
- 数据集采用的是一个比赛上的数据贷款预测比赛,下面为了使模型部署简单,使用了管道(把预处理过程和模型训练过程放到一个管道中)
import os
import json
import numpy as np
import pandas as pd
from sklearn.externals import joblib
from sklearn.model_selection import train_test_split, GridSearchCV
from sklearn.base import BaseEstimator, TransformerMixin
from sklearn.ensemble import RandomForestClassifier
from sklearn.pipeline import make_pipeline
import warnings
warnings.filterwarnings("ignore")
- 把处理过程写到一个类中
from sklearn.base import BaseEstimator, TransformerMixin

class PreProcessing(BaseEstimator, TransformerMixin):
    """Custom Pre-Processing estimator for our use-case
    """

    def __init__(self):
        pass

    def transform(self, df):
        """Regular transform() that is a help for training, validation & testing datasets
           (NOTE: The operations performed here are the ones that we did prior to this cell)
        """
        pred_var = ['Gender','Married','Dependents','Education','Self_Employed','ApplicantIncome',\
                    'CoapplicantIncome','LoanAmount','Loan_Amount_Term','Credit_History','Property_Area']

        df = df[pred_var]

        df['Dependents'] = df['Dependents'].fillna(0)
        df['Self_Employed'] = df['Self_Employed'].fillna('No')
        df['Loan_Amount_Term'] = df['Loan_Amount_Term'].fillna(self.term_mean_)
        df['Credit_History'] = df['Credit_History'].fillna(1)
        df['Married'] = df['Married'].fillna('No')
        df['Gender'] = df['Gender'].fillna('Male')
        df['LoanAmount'] = df['LoanAmount'].fillna(self.amt_mean_)

        gender_values = {'Female' : 0, 'Male' : 1}
        married_values = {'No' : 0, 'Yes' : 1}
        education_values = {'Graduate' : 0, 'Not Graduate' : 1}
        employed_values = {'No' : 0, 'Yes' : 1}
        property_values = {'Rural' : 0, 'Urban' : 1, 'Semiurban' : 2}
        dependent_values = {'3+': 3, '0': 0, '2': 2, '1': 1}
        df.replace({'Gender': gender_values, 'Married': married_values, 'Education': education_values, \
                    'Self_Employed': employed_values, 'Property_Area': property_values, \
                    'Dependents': dependent_values}, inplace=True)

        return df.as_matrix()

    def fit(self, df, y=None, **fit_params):
        """Fitting the Training dataset & calculating the required values from train
           e.g: We will need the mean of X_train['Loan_Amount_Term'] that will be used in
                transformation of X_test
        """

        self.term_mean_ = df['Loan_Amount_Term'].mean()
        self.amt_mean_ = df['LoanAmount'].mean()
        return self
4.保存机器学习模型:序列化和反序列化
python 中一般是使用pickle模块来实现序列化和反序列化,序列化是指将一个对象转换为一个能够存储在一个文件中或者网络上进行传输的字节流的过程。反序列化指的是相反的过程,它是从字节流中提取对象的过程。
5.用Flask创建一个API
这个建议大家直接看代码。总之对于模型部署,大家应该明白,如果是用Flask构建API的方法时,就是首先先训练模型,然后把模型给序列化了,当线上的测试数据来的时候,就直接使用已经训练好的模型,如果上线后模型表现效果不好,还是需要再训练模型的。
参考:
1.翻译文章
2.文章中出现的代码
3.梯子下载(密码:yadv)
作者:凡人求索
链接:https://www.jianshu.com/p/6f3e04e8daa0
来源:简书
简书著作权归作者所有,任何形式的转载都请联系作者获得授权并注明出处。


