Unity(OpenGL)实现“阴阳师画符”、划线功能
本篇博客分享了unity用OpenGL实现‘阴阳师画符’的功能,仅供参考,未经同意,严禁转载!
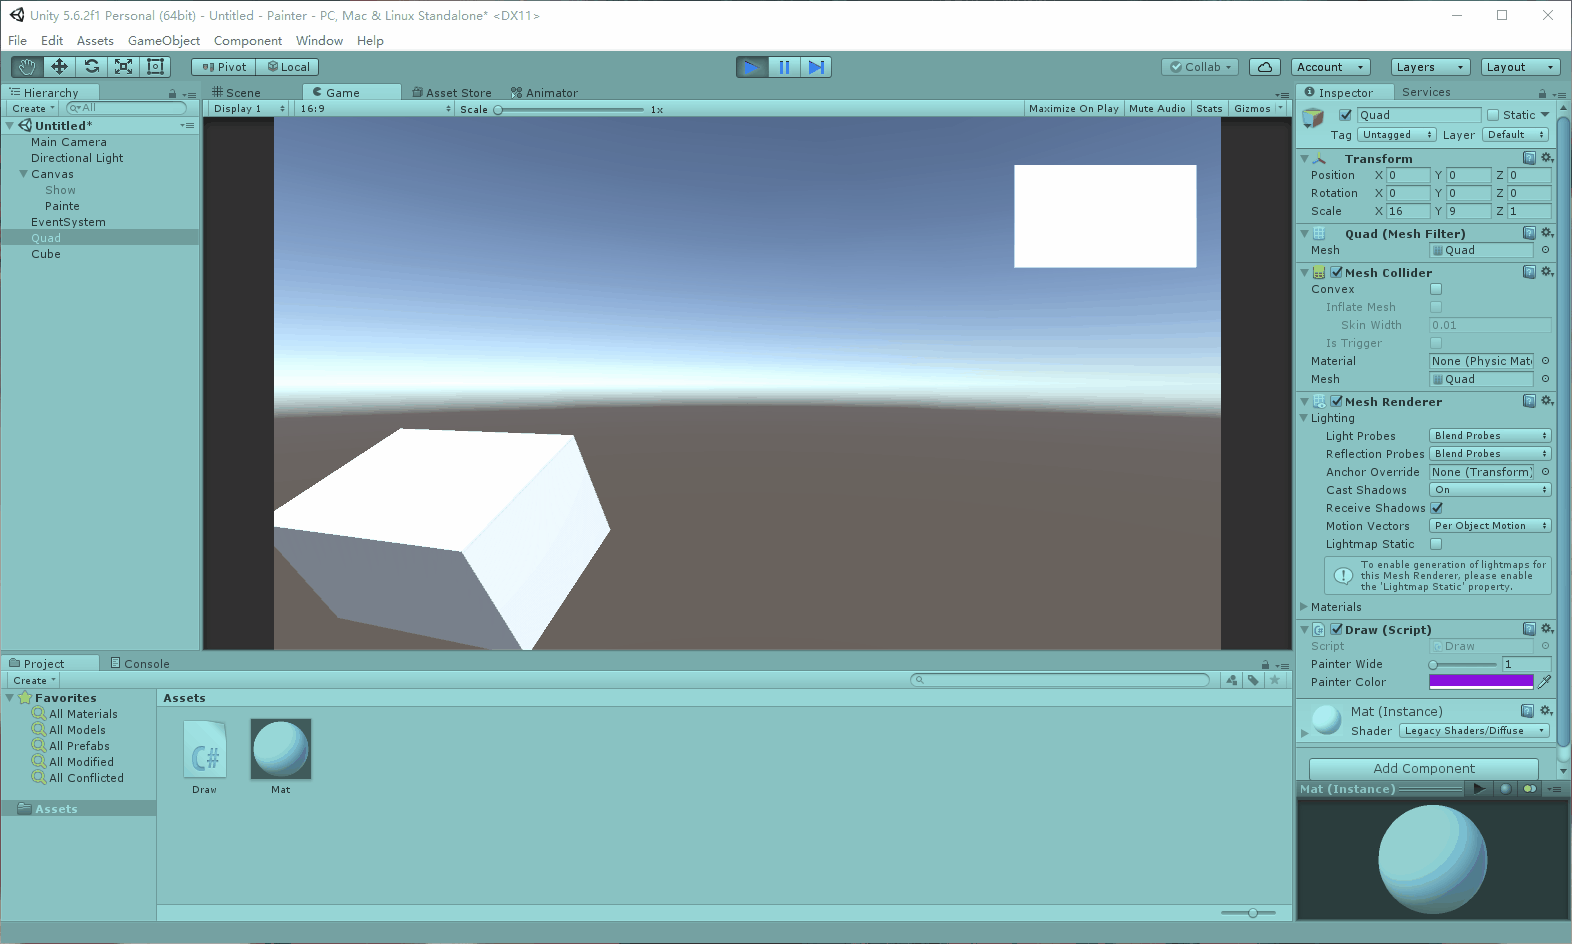
《阴阳师》是一部火爆的手游,众多玩家想通过画符抽取SSR,作为一位游戏开发者,当然想的是游戏的功能是怎么实现的。本篇博客我将跟大家分享一下如何用unity实现阴阳师画符的功能,下面是一个小Demo,请看一下示例
下面跟大家分享一下如何实现这个功能:
实现方法
第一步:存储在屏幕画的线条:
Input.MousePosition的点是屏幕坐标系,存储前要转化成视图坐标系,Camera.Main.ScreenToViewportPoint()即可将鼠标在屏幕坐标系的位置转化成在视图坐标系中对应的点。在将这些点实时的存储到List中。
第二步:显示所画的线条:
显示所画的线条在这里有三种思路:
1、Image:
在相机前放置一个全屏的Image,图片是由像素组成的,通过第一步找到的点找到对象的像素点,编辑后再赋给图片。
2、LineRender:
添加LineRender组件,要注意的是:LineRender连线的点是在3D世界中的点,使用时要注意World Point坐标系的转换。
3、OpenGL:
unity中有官方提供的基于OpenGL的划线方法,此连接为OpenGL划线方法的API:
https://docs.unity3d.com/ScriptReference/GL.html
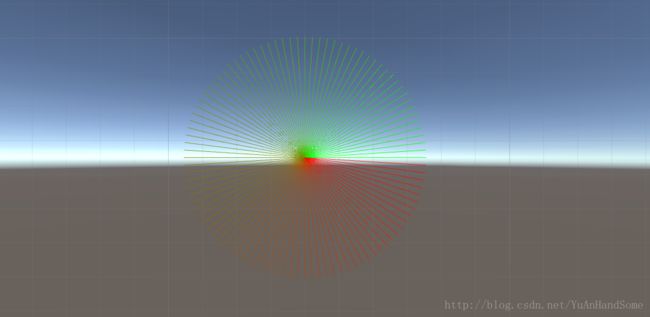
官方的API是从红色到绿色的画圆
本篇博客中采用这个方法。
第三步:把画的线条映射到物体上:
更改图片其实就是更改Texture,新建一个Texture,将所画的图形存到新建的Texture中。
若是UI则改变对象中组件的属性:

若是3D物体,则改变3D物体材质中Shader中的图片:
详解:
第一步:
划线是在屏幕上完成的,最终我们要用点来操作像素,所以要将鼠标在屏幕坐标系的位置转换成视图坐标系中对应的点:
Vector2 addPoint = Camera.main.ScreenToViewportPoint(Input.mousePosition);
通过List.Add()方法来存储获取到的点,List的泛型为Vector2
第二步:
通过unity官方提供OpenGL的GL类中的方法来实现在屏幕上显示画的图形(可以将官方示例API中全部拷贝下来,修改连线代码即可,如下):
首先将官方API中投影方式更改为正交投影
// GL.MultMatrix(transform.localToWorldMatrix);  改为下面一行为正交投影
GL.LoadOrtho();
下面开始连线
相邻两点连线,要获取当前点和后一个点,防止越界,所以长度为 List.Count - 1
GL.Vertex()为GL类中的方法,参数是要连线的点
for (int i = 0; i < mousePoints.Count - 1; i++)
        {
            frontPoint = mousePoints[i];
            backPoint = mousePoints[i + 1];
            GL.Vertex3(frontPoint.x, frontPoint.y, 0);
            GL.Vertex3(backPoint.x, backPoint.y, 0);
        }
由此即可在屏幕上显示出所画的点
第三步:
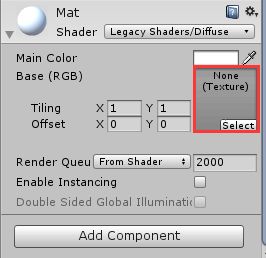
在把画的线条投影到物体上之前,要新建一个Texture来保存图片:
新建Texture的参数为texture的宽、高,在这里我们就让它和屏幕的宽、高一样大小,防止映射到物体上后图片变形
Texture2D texture = new Texture2D(Screen.width, Screen.height);
然后就是用 texture.SetPixel()方法来编辑像素
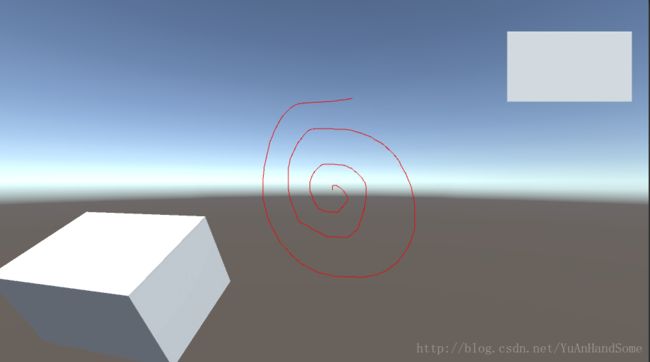
List中存的点是试图坐标系的点,因为像素很小,通过点来设置像素会出现两个像素点间有断点的情况,如下: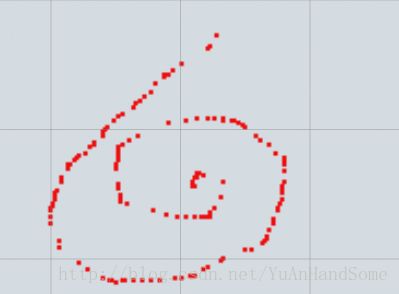
所以用Lerp方法把两个点中间的编辑的像素都编辑起来,编辑好像素后不要忘了Texture.Apply()方法来应用图片。
 for (int i = 0; i < mousePoints.Count - 1; i++)
        {
            for (int j = 0; j < 100; j++)
            {
                frontPoint = mousePoints[i];
                backPoint = mousePoints[i + 1];
                float scaleX = Mathf.Lerp(frontPoint.x, backPoint.x, j / 100f);
                float scaleY = Mathf.Lerp(frontPoint.y, backPoint.y, j / 100f);
                int textureX = (int)(scaleX * Screen.width);
                int textureY = (int)(scaleY * Screen.height);
                // 线条加粗
                for (int a = textureX - painterWide; a < textureX + painterWide; a++)
                {
                    for (int b = textureY - painterWide; b < textureY + painterWide; b++)
                    {
                        texture.SetPixel(a, b, painterColor);
                    }
                }
            }
        }
        texture.Apply();
接下来就是将保存好的图片赋给物体,在本文开头,右上角是一个Quad,左下角是一个Cube,两者用的是同一个材质球,在代码中获取其材质球后,修改texture。注意:SetTexture方法中第一个参数,是shader中设置的名字,不要写错。
Material targetMaterial = gameObject.GetComponent().material;
targetMaterial.SetTexture("_MainTex", texture);
以上就是通过Unity用OpenGL来实现‘阴阳师画符’的示例,可以通过添加属性,来修改划线的粗细、颜色等,可自行扩展更多。
[Range(1, 10)]
    public int painterWide = 1;
    public Color painterColor = Color.black;
下面是此次分享的Demo的完整代码,仅供参考,欢迎广大读者前来交流。
完整代码
using System.Collections.Generic;
using UnityEngine;
public class Draw : MonoBehaviour
{
    [Range(1, 10)]
    public int painterWide = 1;
    public Color painterColor = Color.black;
    private List mousePoints;
    private Texture2D texture;
    private Material targetMaterial;
    private Vector2 frontPoint;
    private Vector2 backPoint;

    static Material lineMaterial;

    void Start()
    {
        mousePoints = new List();
        targetMaterial = gameObject.GetComponent().material;
    }

    static void CreateLineMaterial()
    {
        if (!lineMaterial)
        {
            // Unity has a built-in shader that is useful for drawing
            // simple colored things.
            Shader shader = Shader.Find("Hidden/Internal-Colored");
            lineMaterial = new Material(shader);
            lineMaterial.hideFlags = HideFlags.HideAndDontSave;
            // Turn on alpha blending
            lineMaterial.SetInt("_SrcBlend", (int)UnityEngine.Rendering.BlendMode.SrcAlpha);
            lineMaterial.SetInt("_DstBlend", (int)UnityEngine.Rendering.BlendMode.OneMinusSrcAlpha);
            // Turn backface culling off
            lineMaterial.SetInt("_Cull", (int)UnityEngine.Rendering.CullMode.Off);
            // Turn off depth writes
            lineMaterial.SetInt("_ZWrite", 0);
        }
    }

    public void OnRenderObject()
    {
        CreateLineMaterial();
        // Apply the line material
        lineMaterial.SetPass(0);
        GL.PushMatrix();
        // 更改为正交投影
        GL.LoadOrtho();
        GL.Begin(GL.LINES);
        GL.Color(painterColor);
        // 连线
        for (int i = 0; i < mousePoints.Count - 1; i++)
        {
            frontPoint = mousePoints[i];
            backPoint = mousePoints[i + 1];
            GL.Vertex3(frontPoint.x, frontPoint.y, 0);
            GL.Vertex3(backPoint.x, backPoint.y, 0);
        }
        GL.End();
        GL.PopMatrix();
    }

    void CreatTexture()
    {
        texture = new Texture2D(Screen.width, Screen.height);
        // 设置每个点的像素
        for (int i = 0; i < mousePoints.Count - 1; i++)
        {
            for (int j = 0; j < 100; j++)
            {
                frontPoint = mousePoints[i];
                backPoint = mousePoints[i + 1];
                float scaleX = Mathf.Lerp(frontPoint.x, backPoint.x, j / 100f);
                float scaleY = Mathf.Lerp(frontPoint.y, backPoint.y, j / 100f);
                int textureX = (int)(scaleX * Screen.width);
                int textureY = (int)(scaleY * Screen.height);
                // 线条加粗
                for (int a = textureX - painterWide; a < textureX + painterWide; a++)
                {
                    for (int b = textureY - painterWide; b < textureY + painterWide; b++)
                    {
                        texture.SetPixel(a, b, painterColor);
                    }
                }
            }
        }
        texture.Apply();
        targetMaterial.SetTexture("_MainTex", texture);
    }

    void Update()
    {
        // 按下鼠标记录鼠标位置
        if (Input.GetMouseButton(0))
        {
            Vector2 addPoint = Camera.main.ScreenToViewportPoint(Input.mousePosition);
            mousePoints.Add(addPoint);
        }
        // 抬起鼠标清空屏幕,并投影到对象上
        if (Input.GetMouseButtonUp(0))
        {
            CreatTexture();
            mousePoints.Clear();
        }
    }
}
其他
更多Blog请见:https://yiyuan1130.github.io/
Github地址:https://github.com/yiyuan1130