RN TODO代码解析之一
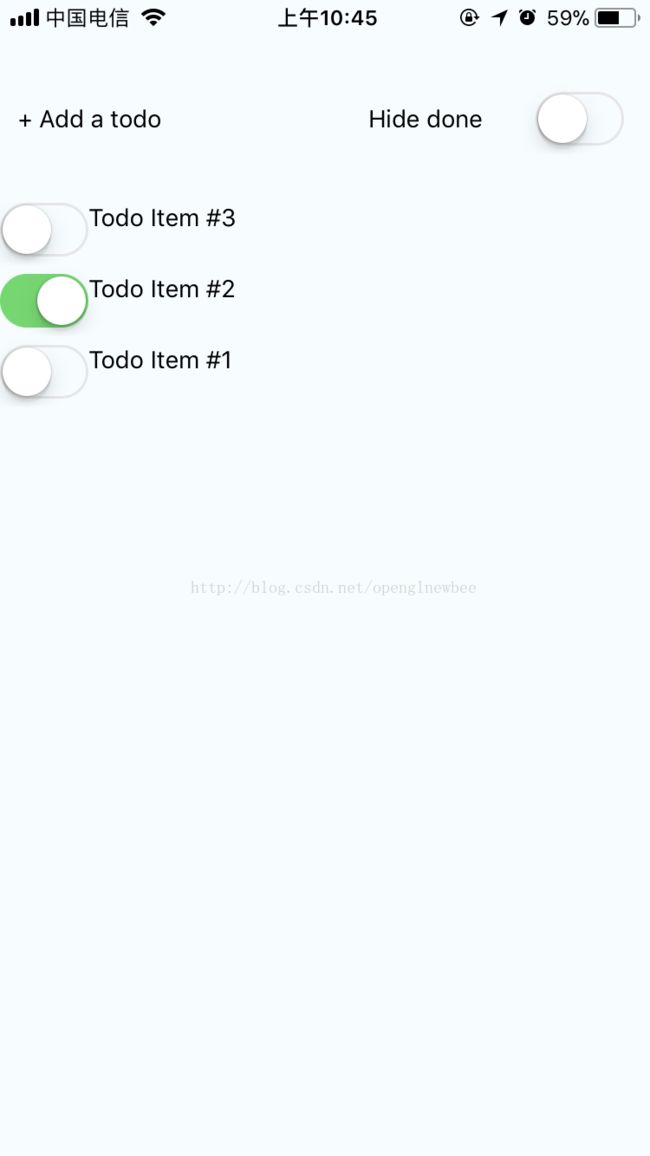
第一版的代码基于原始的react native, 通过state来处理内部状态,也没有使用子组件,所以不存在父子组件的通信问题;使用了listView组件显示列表。
下面的代码可以直接在expo中运行。
效果图:
import
React, {
Component,
PropTypes
}
from
'react'
import {
AppRegistry,
StyleSheet,
View,
Text,
Image,
Button,
TextInput,
ListView,
Switch,
TouchableOpacity,
}
from
'react-native'
class
TodoApp
extends
Component {
constructor(
props) {
super(
props);
// Set the initial state.
this.
state = {
dataSource:
new
ListView.
DataSource({
rowHasChanged: (
r1,
r2)
=>
r1 !=
r2
}),
onlyShowNotDone:
false,
todos: [
this.
makeTodo(
3),
this.
makeTodo(
2,
true),
this.
makeTodo(
1)
]
}
}
addTodo() {
// Inject a new todo at the start of the list.
this.
setState({
todos: [
this.
makeTodo(), ...
this.
state.
todos]
});
}
makeTodo(
number,
done) {
const
id =
number ?
number :
this.
state.
todos.
length +
1;
return {
id:
id,
done:
done ?
true :
false,
text:
'Todo Item #' +
id
}
}
toggleTodo(
todo) {
let
newTodo = { ...
todo };
newTodo.
done = !
todo.
done;
const
index =
this.
state.
todos.
indexOf(
todo);
// Recreate a list but replace the existing one.
let
todos = [...
this.
state.
todos.
slice(
0,
index),
newTodo, ...
this.
state.
todos.
slice(
index +
1)];
this.
setState({
todos:
todos
});
}
renderTodo(
todo) {
return (
<
View
style=
{
styles.
todo
}
key=
{
todo.
id
}
>
<
View
>
<
Switch
onValueChange=
{()
=>
this.
toggleTodo(
todo)
}
value=
{
todo.
done
}
/>
View
>
<
View
>
<
Text
>
{
todo.
text
}
Text
>
View
>
View
>
)
}
render() {
const
todos =
this.
state.
todos.
filter((
todo)
=> {
if (
this.
state.
onlyShowNotDone) {
return !
todo.
done;
}
return
true;
});
return (
<
View
style=
{
styles.
container
}
>
<
View
style=
{
styles.
options
}
>
<
TouchableOpacity
onPress=
{()
=>
this.
addTodo()
}
style=
{
styles.
add
}
>
<
Text
>+ Add a todo
Text
>
TouchableOpacity
>
<
View
style=
{
styles.
hide
}
>
<
Text
>Hide done
Text
>
<
Switch
onValueChange=
{(
value)
=>
this.
setState({
onlyShowNotDone:
value })
}
value=
{this.
state.
onlyShowNotDone
}
/>
View
>
View
>
<
ListView
dataSource=
{this.
state.
dataSource.
cloneWithRows(
todos)
}
renderRow=
{this.
renderTodo.
bind(
this)
}
/>
View
>
);
}
}
const
styles =
StyleSheet.
create({
container: {
flex:
1,
backgroundColor:
'#F5FCFF',
},
add: {
flex:
1,
padding:
10
},
hide: {
flex:
1,
flexDirection:
'row',
alignItems:
'center',
justifyContent:
'space-around'
},
options: {
flexDirection:
'row',
marginTop:
50,
marginBottom:
30
},
todo: {
flex:
1,
flexDirection:
'row',
marginBottom:
10
}
});
export
default
class
App
extends
React.
Component {
render() {
return
<
TodoApp
/>;
}
}
UI: 基本的flex布局,最寻常的创建component的方式。
数据: 使用state来存放数据,绑定UI展示,
主要的state有todos、onlyShowNotDone还有用于listView的必须品dataSource,相关代码如下:
dataSource={this.state.dataSource.cloneWithRows(todos)}
renderRow={this.renderTodo.bind(this)} />
这里的todos是从this.state.todos和this.state.onlyShowNotDone标志位合成而来,生成实际的数据源。
操作:这里有四个方法,3个业务相关的方法,还有1个方法用于渲染listItem(renderTodo)。
addTodo: 在列表的开始插入一条todo,我们需要操作todos数组,并且更新状态(触发render, updateUI).
makeTodo: 生成一条todo,纯数据操作,不会修改state但生成todo的index依赖于当前state的length(序号为最末);将生成的todo对象返回回来。
toggleTodo: 接收一个todo对象作为参数,其在todos状态中的index是通过计算得到的;最后通过setState替换新生成的todos(触发render, updateUI).
实际上还有另外一个操作,那就是全局的onlyShowNotDone开关;因为我们这里要做的操作仅仅是刷新该state并触发render,所以只需要一行代码调用setState,代码如下:
onValueChange={(value) => this.setState({ onlyShowNotDone: value })}
这样我们就实现了一整套简单的逻辑,下一篇我们会用flatList来改写它。