基于堆栈自编码器的图像识别及特征权重可视化
关于自编码器,有兴趣的可以参考如下论文:
袁非牛,章琳,史劲亭,夏雪,李钢.自编码神经网络理论及应用综述[J].计算机学报,2019,42(01):203-230.
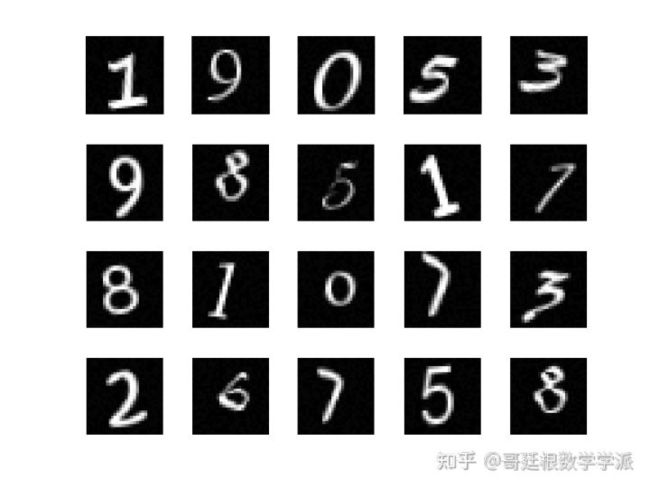
首先导入手写数字图像,并随机看几个样本
for i = 1:20
    subplot(4,5,i);
    imshow(xTrainImages{i});
end
首先测试一下第1个自编码器,隐层神经元数量为200,最大迭代次数MaxEpochs=120,稀疏正则化系数SparsityRegularization=4等等,开始训练
hiddenSize1 = 200;
tic;
autoenc1 = my_autoencoder(xTrainImages,hiddenSize1, ...
    'MaxEpochs',120, ...
    'L2WeightRegularization',0.004, ...
    'SparsityRegularization',4, ...
    'SparsityProportion',0.15, ...
    'ScaleData', false);
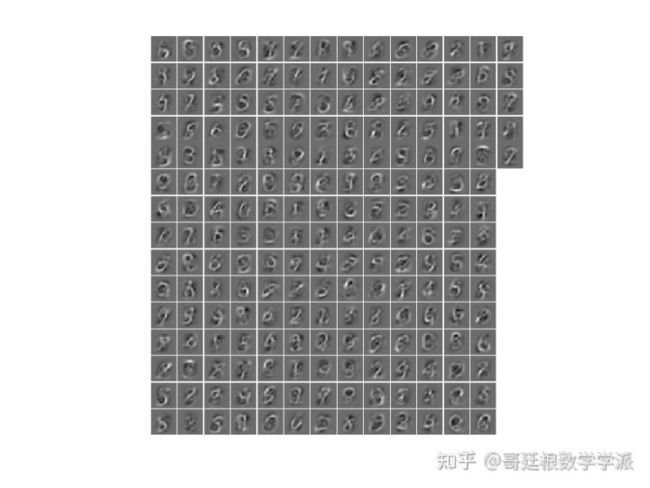
看一下隐层学到的特征
plotWeights(autoenc1);
feat1 = encode(autoenc1,xTrainImages);
下面训练第2个自编码器
hiddenSize2 = 100;
 tic;
 autoenc2 = my_autoencoder(feat1,hiddenSize2, ...
     'MaxEpochs',100, ...
    'L2WeightRegularization',0.002, ...
     'SparsityRegularization',4, ...
    'SparsityProportion',0.1, ...
     'ScaleData', false);
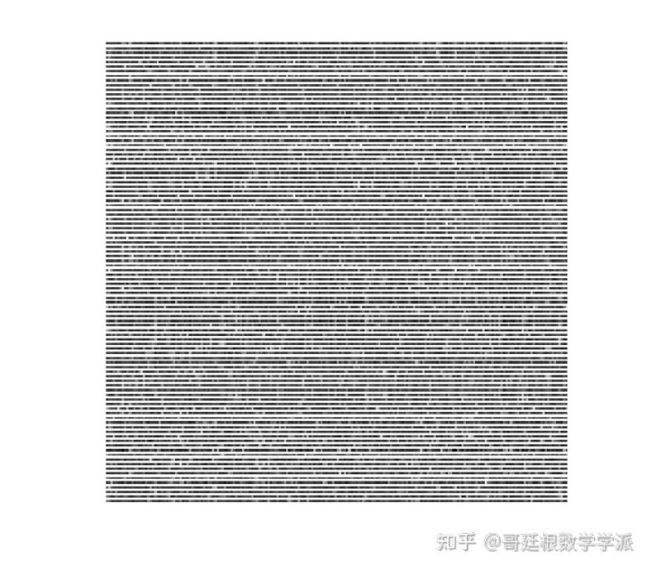
 plotWeights(autoenc2);
 feat2 = encode(autoenc2,feat1);
第3个自编码器
hiddenSize3 = 40;
 tic;
 autoenc3 = my_autoencoder(feat2,hiddenSize3, ...
     'MaxEpochs',100, ...
     'L2WeightRegularization',0.001, ...
     'SparsityRegularization',4, ...
     'SparsityProportion',0.06, ...
     'ScaleData', false);
  feat3 = encode(autoenc3,feat2);
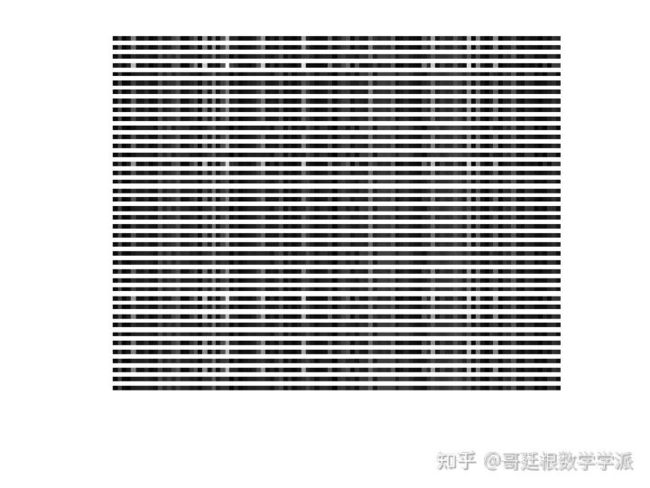
   plotWeights(autoenc3);
  a(3) = toc;
第4个自编码器
   hiddenSize4 = 20;
 tic;
 autoenc4 = my_autoencoder(feat3,hiddenSize4, ...
     'MaxEpochs',100, ...
     'L2WeightRegularization',0.001, ...
     'SparsityRegularization',4, ...
     'SparsityProportion',0.06, ...
     'ScaleData', false);

 plotWeights(autoenc4);
 feat4 = encode(autoenc4,feat3);
 a(4) = toc;
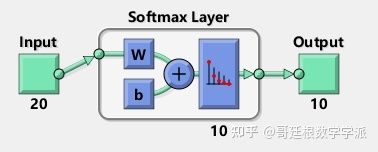
最后训练softmax层
tic;
softnet = my_trainSoftmaxLayer(feat4,tTrain,'MaxEpochs',400);
a(2) = toc;
进行堆栈
deepnet = stack(autoenc1,autoenc2,autoenc3,autoenc4,softnet);
最后进行测试
imageWidth = 28;
imageHeight = 28;
inputSize = imageWidth*imageHeight;
load('digittest_dataset.mat');
xTest = zeros(inputSize,numel(xTestImages));
for i = 1:numel(xTestImages)
    xTest(:,i) = xTestImages{i}(:);
end
y = deepnet(xTest);
测试一下微调之后的自编码器
xTrain = zeros(inputSize,numel(xTrainImages));
for i = 1:numel(xTrainImages)
    xTrain(:,i) = xTrainImages{i}(:);
end
tic;
deepnet = train(deepnet,xTrain,tTrain);
a(3) = toc;
y = deepnet(xTest);
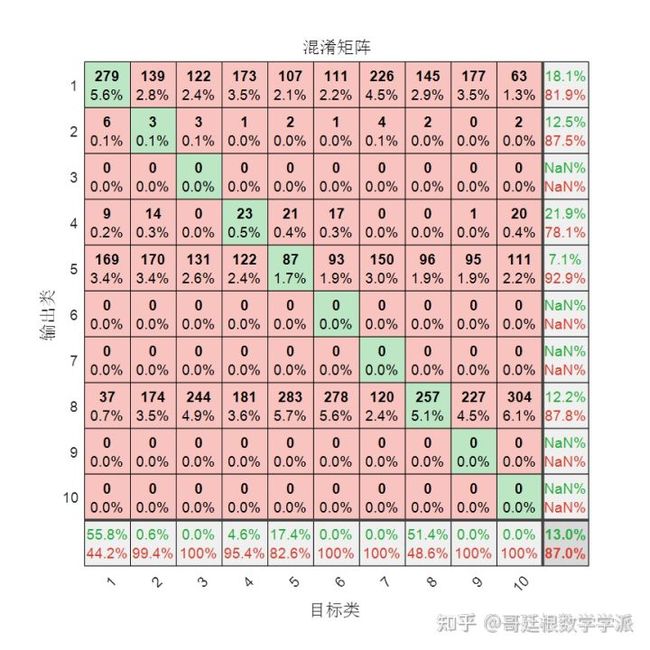
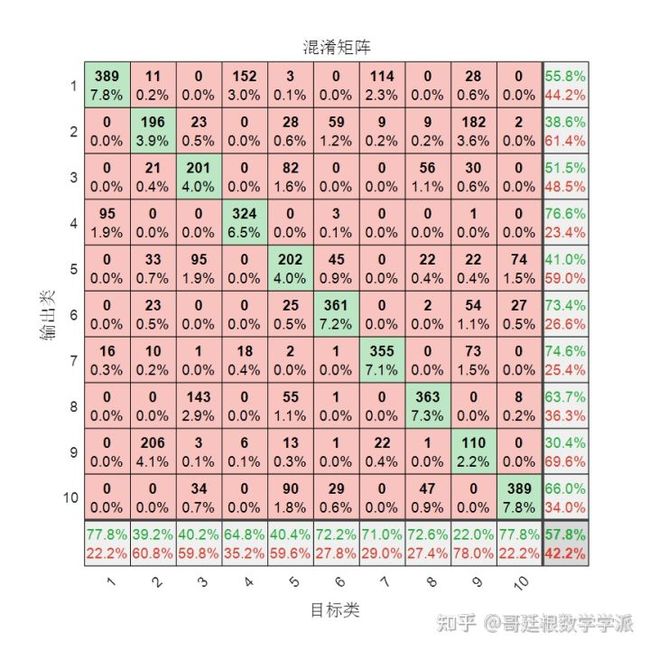
可见效果差的一批,但是如果只用上述中的第1个自编码器,不经微调,混淆矩阵如下
经过微调之后
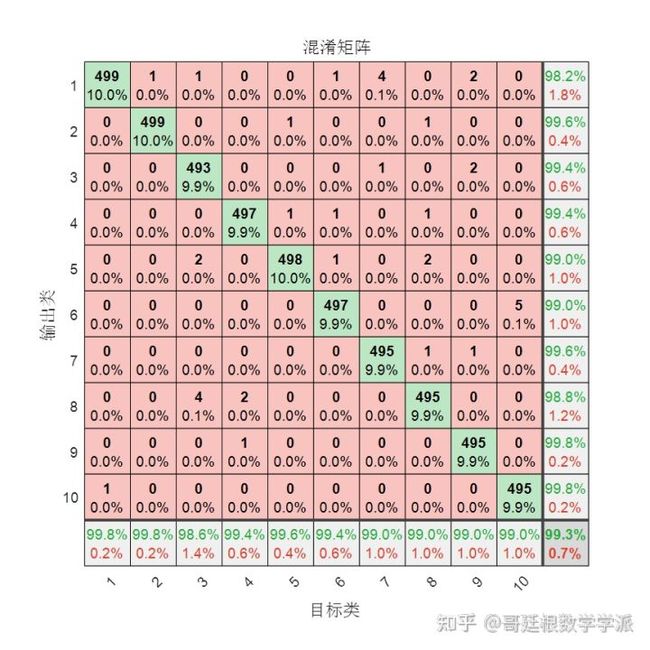
对于手写数字这样的简单结构,一两层就足够了,多层效果反而更差,这就是为什么要引入残差网络
与普通单层神经网络进行对比
与普通2层神经网络进行对比
详细代码见如下链接
https://mianbaoduo.com/o/bread/Yp2TmZ5q
可查看相关文章
一个简单的自编码器的小例子 - 哥廷根数学学派的文章 - 知乎
https://zhuanlan.zhihu.com/p/544980376
