grid control安装配置
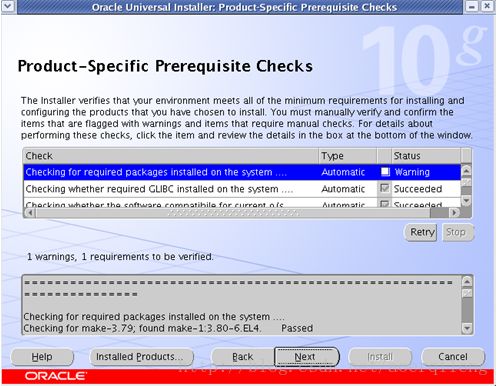
安装需求
使用新库安装需要4.5g磁盘空间,使用一个现有的库安装需要2.5g空间。
内存2g
至少1GHz处理器,运行管理服务的机器需要最少2g空闲物理内存,management repository node需要2g内存,对有1000到10000个目标的部署来说,至少需要4到6g的内存。
安装gc需要注意的2个地方:
1hosts文件配置要对
2时间上有个bug。
参考文章
http://candon123.blog.51cto.com/704299/347246/
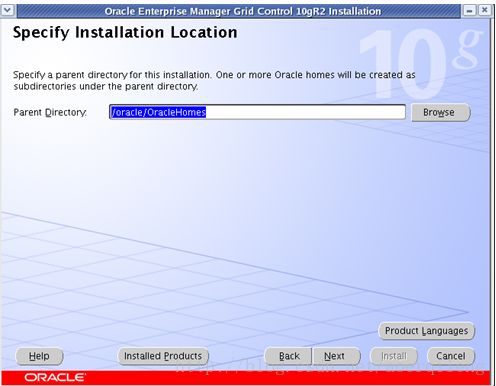
安装grid control
在A机器上创建一个数据库
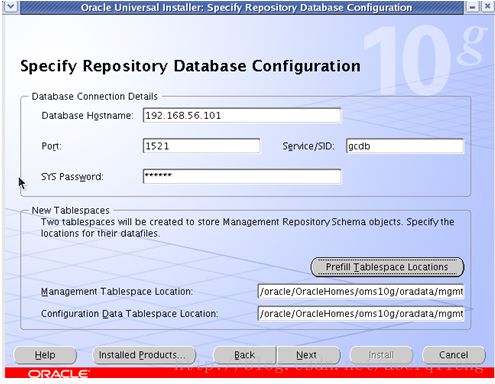
在B机器上安装oms服务,使用A机器上安装的数据库
这块要特别注意要点击下prefill tablespace locations,将下面的两个地址都变成正确地址。
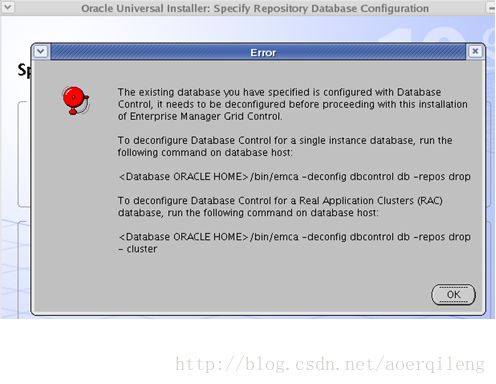
这步要注意下,之前数据库的机器上跑了2个库,设置了1521的监听后,连接报错,报没有这个内存段,设置了库的local_listener参数后,正常。
按提示执行
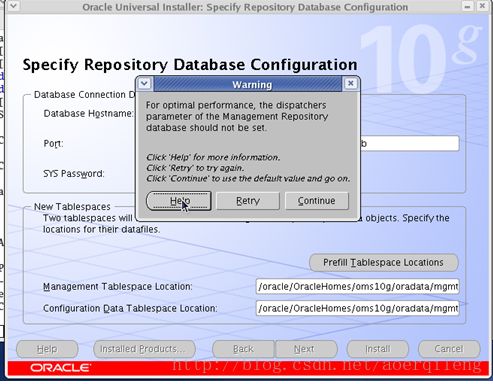
将dispatcher参数制空
Alter system set dispatchers=’’;
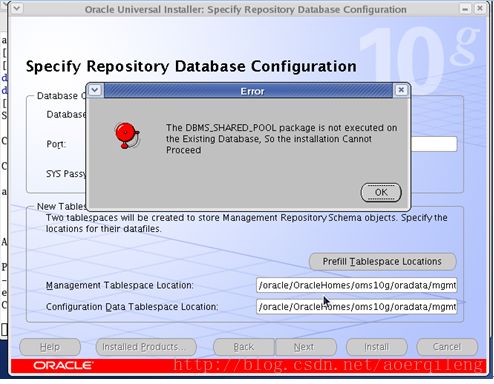
在安装10g gc的时候,会遇到The DBMS_SHARED_POOL package isnot executed on the Existing Database这样的一个错误,意思是提示你DBMS_SHARED_POOL包没有安装;
下面提供此包的安装方法:
首先确认这个包是否在现有的库上已经被安装:
?
| 1 2 3 4 5 6 |
SQL> select count(*) from DBA_OBJECTS where object_name='DBMS_SHARED_POOL';
COUNT(*) ---------- 0 |
如果查询的值为0,就以SYSDBA身份登陆,安装DBMS_SHARED_POOL包,并且执行以下脚本:
?
| 1 2 3 4 5 6 7 8 9 10 11 12 13 14 15 |
SQL> @?/rdbms/admin/dbmspool.sql
Package created.
Grant succeeded.
View created.
Package body created.
SQL> commit;
Commit complete.
SQL> @?/rdbms/admin/utlrp.sql |
OK,下面验证以下DBMS_SHARED_POOL包是否安装成功:
?
| 1 2 3 4 5 |
SQL> select count(*) from DBA_OBJECTS where object_name='DBMS_SHARED_POOL';
COUNT(*) ---------- 2 |
这个步骤特别慢。
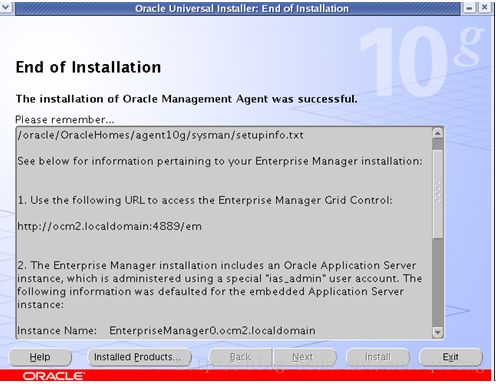
浏览器中输入http://ocm2.localdomain:4889/em后登陆
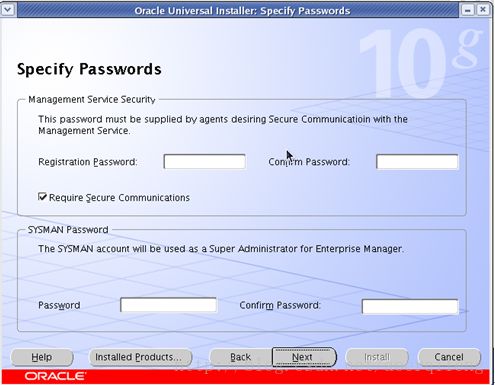
用户名是sysman,密码是之前输入的密码。
GC的服务安装完成后,在被监控机器上安装agent
进入gridcontrol安装目录的下面目录:
Cd /oracle/OracleHomes/oms10g/sysman/agent_download/10.2.0.1.0/linux
找到agentDownload.linux这个脚本,拷贝到被监控机器上,使用oracle用户执行:
./agentdownload.linux –b 安装目录,是被监控机器上的agent要安装的目录
在执行的时候报了下面的错误:
which: no jar in(/usr/kerberos/bin:/usr/local/bin:/bin:/usr/bin:/usr/X11R6/bin:/home/oracle/bin:/home/oracle/bin:/oracle/product/bin)
The jar to be used=
which: no jar in(/usr/kerberos/bin:/usr/local/bin:/bin:/usr/bin:/usr/X11R6/bin:/home/oracle/bin:/home/oracle/bin:/oracle/product/bin)
Can't find the jar utility. Add jar to yourPATH and try again.
Removing the copied stuff.....
Removed: /oracle/agentDownload10.2.0.1.0Oui/oui_linux.jar
Removed:/oracle/agentDownload10.2.0.1.0Oui/agent_download.rsp
Removed:/oracle/agentDownload10.2.0.1.0Oui/Disk1
将oracle下的jdk中的jar目录放到PATH中就可以了。
Export PATH=/oracle/product/jdk/bin:$PATH;
在运行的过程完后提示执行脚本
The following configuration scripts need tobe executed as the "root" user.
#!/bin/sh
#Root script to run
/oracle/agent/agent10g/root.sh
To execute the configuration scripts:
1. Open a terminal window
2. Log in as "root"
3. Run the scripts
Starting to execute configurationassistants
Em初始化:
将被监控数据库及资料库中的dbsnmp用户解锁,口令设置成oracle.
登录用户是sysman
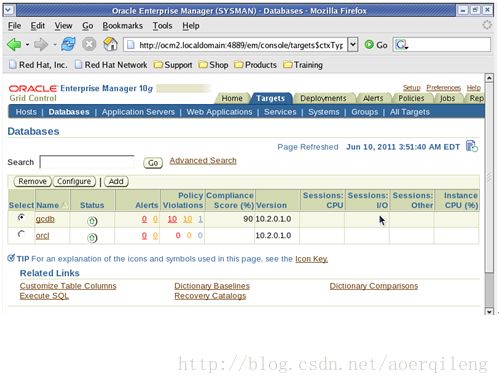
在控制台上要是看不到库的话,需要添加下。最终的界面
命令总结:
重启oms:
cd opmn/bin
./opmnctl stopall
./opmnctl status
或
cd oms/bin
./emctl start oms
单独启动组件
opmnctl startproc ias-component="DSA"
opmnctl startproc ias-component="LogLoader"

