ubuntu20.04运行A-LOAM
首先,参考A-LOAM的项目网址
https://github.com/HKUST-Aerial-Robotics/A-LOAM
A-LOAM
是LOAM的高级实现
A-LOAM 是 LOAM(J. Zhang 和 S. Singh. LOAM:Lidar Odometry and Mapping in Real-time)的高级实现,它使用 Eigen 和 Ceres Solver 来简化代码结构。此代码是从 LOAM 和LOAM_NOTED修改的。这段代码简洁明了,没有复杂的数学推导和冗余操作。对于 SLAM 初学者来说是一本很好的学习资料。
1. Prerequisites
1.1 Ubuntu and ROS
Ubuntu 64-bit 20.04
ROS
安装
按照官网linux安装教程的步骤来安装
首先安装所有依赖项。
# CMake
sudo apt-get install cmake
# google-glog + gflags
sudo apt-get install libgoogle-glog-dev libgflags-dev
# Use ATLAS for BLAS & LAPACK
sudo apt-get install libatlas-base-dev
# Eigen3
sudo apt-get install libeigen3-dev
# SuiteSparse and CXSparse (optional)
sudo apt-get install libsuitesparse-dev
1.2. Ceres Solver
Ceres 官网
然后构建、测试和安装 Ceres
(这里文件ceres-solver-2.1.0.tar.gz ,可能需要自己手动下载
官网给出的最新稳定版本地址
http://ceres-solver.org/ceres-solver-2.1.0.tar.gz
不过这里需要的应该是2.0.0版本
http:ceres-solver.org/ceres-solver-2.0.0.tar.gz
可以使用wget下载
)
tar zxf ceres-solver-2.1.0.tar.gz
mkdir ceres-bin
cd ceres-bin
cmake ../ceres-solver-2.1.0
make -j3
make test
# Optionally install Ceres, it can also be exported using CMake which
# allows Ceres to be used without requiring installation, see the documentation
# for the EXPORT_BUILD_DIR option for more information.
make install
make test 可以测试make是否成功
1.3. PCL
因为github给出的PCL网址已经失效,需要自己寻找教程
ubuntu20.04安装PCL库教程
这里给出笔者的安装步骤
首先说明一下,已经安装的ros应该自带了 一个pcl的版本,现在是需要同时安装另外一个版本PCL
1.3.1 安装各依赖项
sudo apt-get update
sudo apt-get install git build-essential linux-libc-dev
sudo apt-get install cmake cmake-gui
sudo apt-get install libusb-1.0-0-dev libusb-dev libudev-dev
sudo apt-get install mpi-default-dev openmpi-bin openmpi-common
sudo apt-get install libflann1.9 libflann-dev
sudo apt-get install libeigen3-dev #这个需要自己下载正确版本安装,我的是3.3.7
sudo apt-get install libboost-all-dev
sudo apt-get install libvtk7.1p-qt
sudo apt-get install libvtk7.1p
sudo apt-get install libvtk7-qt-dev #(按照错误提示一步一步安装所需要的东西)
sudo apt-get install libqhull* libgtest-dev
sudo apt-get install freeglut3-dev pkg-config
sudo apt-get install libxmu-dev libxi-dev
sudo apt-get install mono-complete
sudo apt-get install openjdk-8-jdk openjdk-8-jre
笔者按照上面代码安装,没有遇到报错
插入一下网上找到的和以前版本UBuntu安装区别,可以参考:
sudo apt-get install libflann1.9 libflann-dev 版本不同
sudo apt-get install libvtk7.1p-qt
sudo apt-get install libvtk7.1p
sudo apt-get install libvtk7-qt-dev
sudo apt-get install qt-sdk UBuntu18.04 该命令已省略
1.3.2 下载PCL
- 下载PCL为最新版本:
git clone https://github.com/PointCloudLibrary/pcl.git
笔者直接使用 git 克隆最新版本的代码目录
- 若想下载以前版本PCL文件,登录下方网址,寻找对应文件并解压:
https://github.com/PointCloudLibrary/pcl/releases
1.3.3 编译
cd pcl
mkdir release
cd release
cmake -DCMAKE_BUILD_TYPE=None -DCMAKE_INSTALL_PREFIX=/usr \ -DBUILD_GPU=ON-DBUILD_apps=ON -DBUILD_examples=ON \ -DCMAKE_INSTALL_PREFIX=/usr ..
make  #(如果速度太慢用 make -j8 ;默认使用单核make,-j8启用8核)
sudo make install
1.3.4 测试PCL是否安装好了
1.输入命令
按tab查看补全结果, 应该可以看到pcl_vfh_estimation、pcl_viewer等输出
pcl_v
2.查看文件
在/usr/include,/usr/lib, /usr/bin d等目录下可以看到于pcl有关的头文件、库、和可执行程序等文件。
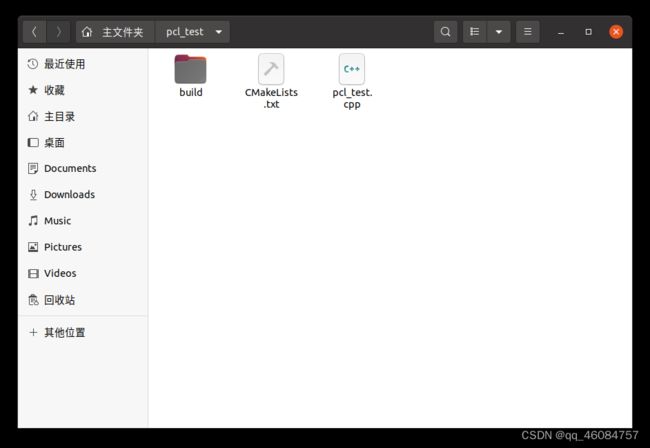
- 代码测试:
2. Build A-LOAM
Clone the repository and catkin_make:
    cd ~/catkin_ws/src
    git clone https://github.com/HKUST-Aerial-Robotics/A-LOAM.git
    cd ../
    catkin_make
    source ~/catkin_ws/devel/setup.bash
3. Velodyne VLP-16 Example
Download NSH indoor outdoor to YOUR_DATASET_FOLDER.
roslaunch aloam_velodyne aloam_velodyne_VLP_16.launch
rosbag play
YOUR_DATASET_FOLDER/nsh_indoor_outdoor.bag
4. KITTI Example (Velodyne HDL-64)
Download KITTI Odometry dataset to YOUR_DATASET_FOLDER and set the dataset_folder and sequence_number parameters in kitti_helper.launch file. Note you also convert KITTI dataset to bag file for easy use by setting proper parameters in kitti_helper.launch.
roslaunch aloam_velodyne aloam_velodyne_HDL_64.launch
roslaunch aloam_velodyne kitti_helper.launch
5. Docker Support
这一块笔者没有实际操作,后面补充。

