Cubbler实现系统自动化安装
现在都知道运维自动化的重要性,尤其是对于在服务器数量按几百台、几千台增加的公司而言,单单是装系统,如果不通过自动化来完成,根本是不可想象的。
运维自动化安装方面,早期一般使用人工配置pxe+dhcp+tftp配合kickstart,现在开源工具就多了,如cobbler,OpenQRM和Spacewalk等,下面我们就来了解其中的一个开源工具cobbler.
Cobbler是一个快速网络安装linux的服务,而且在经过调整也可以支持网络安装windows。该工具使用python开发,小巧轻便(才15k行代码),使用简单的命令即可完成PXE网络安装环境的配置,同时还可以管理DHCP,DNS,以及yum包镜像。
Cobbler支持命令行管理,web界面管理,还提供了API接口,可以方便二次开发使用。
1. cobbler及依赖环境安装:
#由于cobbler依赖于epel源,所以一定要指向yum源方可进行安装
[root@lab1 ~]# yum repolist
Loaded plugins: fastestmirror, refresh-packagekit, security
Loading mirror speeds from cached hostfile
repo id  repo name                                             status
base    CentOS 6 x86_64 on local server 172.10.0.1                  3,995
epel    Fedora EPEL for CentOS6 x86_64 on local server 172.16.0.1    10,633
extra   CentOS 6 x86_64 extras                                  2,372
repolist: 17,000
[root@lab1 html]# yum install cobbler cobbler-web pykickstart
#安装cobbler依赖的如下程序包,以提供dhcp等服务
[root@lab1 ~]# yum -y install rsync dhcp httpd
2. cobbler配置
#首先启动httpd和cobblerd服务
[root@lab1 ~]# service httpd start
Starting httpd:                                            [  OK  ]
[root@lab1 ~]# service cobblerd start
Starting cobbler daemon:                                   [  OK  ]
#运行cobbler check,检查,可能会出现下面提示
[root@lab1 ~]# cobbler check
The following are potential configuration items that you may want to fix:

1 : The 'server' field in /etc/cobbler/settings must be set to something other than localhost, or kickstarting features will not work.  This should be a resolvable hostname or IP for the boot server as reachable by all machines that will use it.
2 : For PXE to be functional, the 'next_server' field in /etc/cobbler/settings must be set to something other than 127.0.0.1, and should match the IP of the boot server on the PXE network.
3 : some network boot-loaders are missing from /var/lib/cobbler/loaders, you may run 'cobbler get-loaders' to download them, or, if you only want to handle x86/x86_64 netbooting, you may ensure that you have installed a *recent* version of the syslinux package installed and can ignore this message entirely.  Files in this directory, should you want to support all architectures, should include pxelinux.0, menu.c32, elilo.efi, and yaboot. The 'cobbler get-loaders' command is the easiest way to resolve these requirements.
4 : change 'disable' to 'no' in /etc/xinetd.d/rsync
5 : debmirror package is not installed, it will be required to manage debian deployments and repositories
6 : The default password used by the sample templates for newly installed machines (default_password_crypted in /etc/cobbler/settings) is still set to 'cobbler' and should be changed, try: "openssl passwd -1 -salt 'random-phrase-here' 'your-password-here'" to generate new one
7 : fencing tools were not found, and are required to use the (optional) power management features. install cman or fence-agents to use them

Restart cobblerd and then run 'cobbler sync' to apply changes.
#根据上面的提示解决问题
#1.将/etc/cobbler/settings文件中的server参数改为提供cobbler服务的IP或主机名
[root@lab1 ~]# vim /etc/cobbler/settings
server: 172.16.21.101
#2.修改settings文件中的的next-server改为提供pxe的服务器地址
next_server: 172.16.21.101
#3.1如果可以连接到互联网,运行如下命令即可获取
[root@lab1 ~]# cobbler get-loaders
#3.2如果连接不到互联网,安装syslinux包,并复制到指定目录下即可
[root@lab1 ~]# yum install syslinux
[root@lab1 ~]# cp /usr/share/syslinux/{pxelinux.0,menu.c32} /var/lib/cobbler/loaders/
#4.运行如下命令或修改指定文件均可
[root@lab1 ~]# chkconfig rsync on
#5,需要安装debmirror包,并注释掉其配置文件中的指定行
[root@lab1 ~]# yum install debmirror
[root@lab1 ~]# vim /etc/debmirror.conf
#@dists="sid";
...
#@arches="i386";
#6.使用提示的命令生成密码并修改settings文件中的指定选项
[root@lab1 ~]# openssl passwd -1 -salt 'asdf' '123456'
$1$asdf$s3o4V7L52cI4MFl79jdCE/
[root@lab1 ~]# vim /etc/cobbler/settings
default_password_crypted: "$1$asdf$s3o4V7L52cI4MFl79jdCE/"
#7.安装相应软件即可
[root@lab1 ~]# yum install fence-agents cman
#此时,再次运行cobbler check,可能会出现如下提示(使用3.2时),但是,如果我们仅仅只需要 x86/x86_64 架构的网络引导时可以忽略此问题
[root@lab1 ~]# cobbler check
The following are potential configuration items that you may want to fix:

1 : some network boot-loaders are missing from /var/lib/cobbler/loaders, you may run 'cobbler get-loaders' to download them, or, if you only want to handle x86/x86_64 netbooting, you may ensure that you have installed a *recent* version of the syslinux package installed and can ignore this message entirely.  Files in this directory, should you want to support all architectures, should include pxelinux.0, menu.c32, elilo.efi, and yaboot. The 'cobbler get-loaders' command is the easiest way to resolve these requirements.

Restart cobblerd and then run 'cobbler sync' to apply changes.
3. 配置cobbler依赖服务
1.配置dhcp服务,其主要配置如下
[root@lab1 ~]# vim /etc/dhcp/dhcpd.conf
option domain-name "stu21.com";
option domain-name-servers 172.16.0.1;

default-lease-time 43200;
max-lease-time 86400;

log-facility local7;

subnet 172.16.21.0 netmask 255.255.255.0 {
    range 172.16.21.200 172.16.21.210;
    option routers 172.16.21.1;
}

next-server 172.16.21.101;
filename="pxelinux.0";
[root@lab1 ~]# chkconfig dhcpd on
[root@lab1 ~]# service dhcpd start
Starting dhcpd:                                            [  OK  ]
2.配置tftp
[root@lab1 ~]# chkconfig tftp on
[root@lab1 ~]# service xinetd start
Starting xinetd:                                           [  OK  ]
4. 配置cobbler
#1.挂载系统光盘
[root@lab1 ~]# mount /dev/sr0 /mnt
mount: block device /dev/sr0 is write-protected, mounting read-only
#2.使用import导入一个distro
[root@lab1 ~]# cobbler import  --name=centos-6.5-x86_64 --path=/mnt/
[root@lab1 ~]# cobbler distro list
   centos-6.5-x86_64-x86_64
#定义kickstart文件
[root@lab1 ~]# cat /tmp/centos.cfg
# Kickstart file automatically generated by anaconda.

#version=DEVEL
install
url --url=http://172.16.21.101/cobbler/ks_mirror/centos-6.5-x86_64/
lang en_US.UTF-8
keyboard us
network --onboot yes --device eth0 --bootproto dhcp --noipv6
rootpw  --iscrypted $6$CGsqab6d$Cd.PnnWtlL5XZAyr9J2zoMqyJH1QodcDp1pQp0uZ1f0Cq4eq9.TMkSQU6IfpvYZEYc32.lmF0lKuQwavnC49a0
# Reboot after installation
reboot
firewall --disabled
authconfig --useshadow  --passalgo=sha512
selinux --disabled
timezone Asia/Shanghai
bootloader --location=mbr --driveorder=sda --append="crashkernel=auto crashkernel=auto rhgb rhgb quiet quiet"
# The following is the partition information you requested
# Note that any partitions you deleted are not expressed
# here so unless you clear all partitions first, this is
# not guaranteed to work
clearpart --all
part /boot --fstype=ext4 --size=200
part pv.008002 --size=61440

volgroup vg0 --pesize=8192 pv.008002
logvol / --fstype=ext4 --name=root --vgname=vg0 --size=20480
logvol swap --name=swap --vgname=vg0 --size=2048
logvol /usr --fstype=ext4 --name=usr --vgname=vg0 --size=10240
logvol /var --fstype=ext4 --name=var --vgname=vg0 --size=20480

repo --name="CentOS"  --baseurl=http://172.16.0.1/cobbler/ks_mirror/centos-6.5-x86_64/ --cost=100
repo --name="Fedora EPEL"  --baseurl=http://172.16.0.1/fedora-epel/6/x86_64/ --cost=1000

%packages
@Base
@Core
@base
@basic-desktop
@chinese-support
@client-mgmt-tools
@core
@desktop-platform
@fonts
@general-desktop
@graphical-admin-tools
@legacy-x
@network-file-system-client
@perl-runtime
@remote-desktop-clients
@x11
ibus-table-cangjie
ibus-table-erbi
ibus-table-wubi
lftp
%end

%post
sed -i '1,$s@id:[0-9]:initdefault:@id:3:initdefault:@g' /etc/inittab
%end
#添加一个profile
[root@lab1 ~]# cobbler profile add --name=centos-6.5-x86_64-x86_64-basic --distro=centos-6.5-x86_64-x86_64 --kickstart=/tmp/centos.cfg
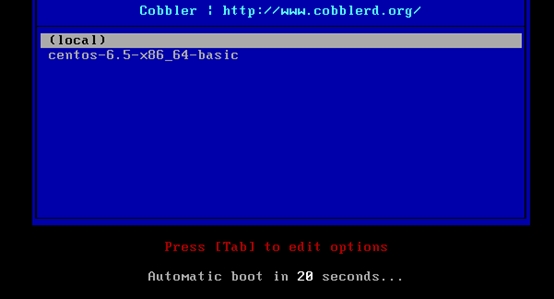
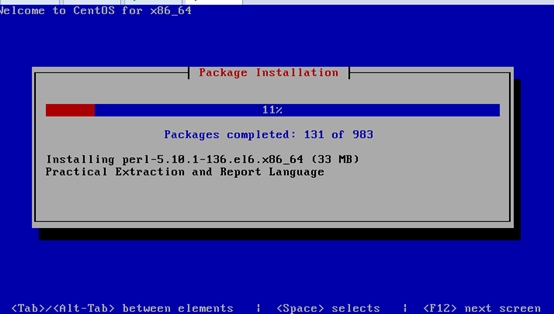
5. 测试使用
6. 配置使用cobbler-web
1.配置cobbler认证之authn_pam
#设置配置模块
[root@lab1 ~]# vim /etc/cobbler/modules.conf
[authentication]
module = authn_pam
#添加用户
[root@lab1 ~]# useradd -r cobbler
[root@lab1 ~]# echo '123456' |passwd cobbler --stdin
Changing password for user cobbler.
passwd: all authentication tokens updated successfully.
#将cobbler组添加到如下位置
[root@lab1 ~]# vim /etc/cobbler/users.conf
[admins]
admin = "cobbler"
cobbler = ""
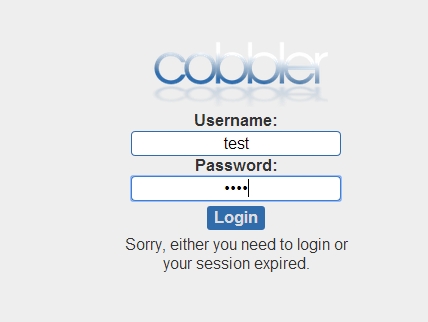
访问测试:
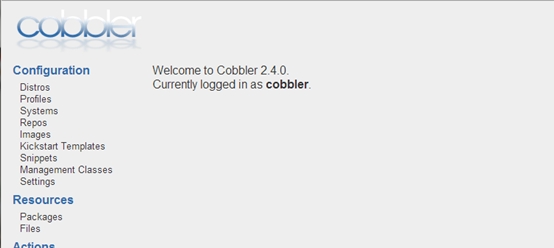
#重启cobblerd服务,便可以通过https://172.16.21.101/cobbler_web进行访问了
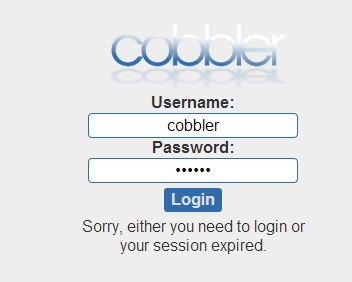
输入用户名密码便可以登录进行管理
2.配置cobbler认证之authn_configfile
#修改认证模块
[authentication]
module = authn_configfile
#在2.4版本的cobbler中,user.digist文件默认就存在,并且有一个名为cobbler的用户.为了安全起见,最好将其删除,并重新添加一个新用户
#删除cobbler用户
[root@lab1 ~]# echo “” >/etc/cobbler/users.digest
#添加新用户,注意这儿的realm只能是Cobbler
[root@lab1 ~]# htdigest /etc/cobbler/users.digest Cobbler test
Adding user test in realm test
New password:
Re-type new password:

#重启cobblerd,
[root@lab1 ~]# !ser
service cobblerd restart
Stopping cobbler daemon:                                   [  OK  ]
Starting cobbler daemon:                                   [  OK  ]
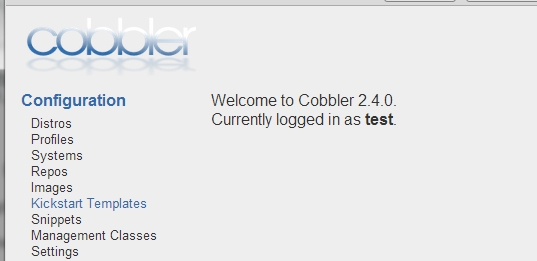
访问测试:
