开启Beaglebone的PWM和SPI
转自:http://tuzhaoliang.blog.163.com/blog/static/2100811262012823112954898/
一、开启PWM
- cd /sys/class/pwm/ehrpwm.1\:0
- cat request
- echo 1 > request
- echo 1 > run
- echo 100 > period_freq
- echo 10 > duty_percent
- echo 0 > request
- Period_freq 100, duty_percent: 5-22
- Period_freq 90, duty_percent: 4-20
- Period_freq 80, duty_percent: 4-18
- Period_freq 70, duty_percent: 3-16
- Period_freq 60, duty_percent: 3-13
- Period_freq 50, duty_percent: 2-11
The newest Angstrom release now has SPIDEV enabled by default! The information below is still useful if you want to enable the second SPIDEV bus, but it will need some slight modification.
After lots of searching on how to get SPI working on the BeagleBone I decided to post up a very brief tutorial on how to enable SPI on the BeagleBone and access it through the userspace driver SPIDEV. My searches usually proved fruitless hence the reason for putting this quick guide here.
This guide assumes that you have access to the kernel sources and are able to re-compile the beaglebone kernel and boot it on the board. If there is interest I will post a guide on how to do this also in the future, let me know in the comments!
Step 1) Add the following struct to the kernel source file arch/arm/mach-omap2/board-am335xevm.c
static struct spi_board_info bone_spi0_info[] = {
{
.modalias = "spidev",
.max_speed_hz = 48000000, //48 Mbps
.bus_num = 1,
.chip_select = 0,
.mode = SPI_MODE_1,
},
};
Step 2) Change the spi0_init function in the kernel source file arch/arm/mach-omap2/board-am335xevm.c so it reads the same as the following:
static void spi0_init(int evm_id, int profile)
{
setup_pin_mux(spi0_pin_mux);
spi_register_board_info(bone_spi0_info,
ARRAY_SIZE(bone_spi0_info));
return;
}
Step 3) Add the following to the beaglebone_dev_cfg[] struct:
{spi0_init, DEV_ON_BASEBOARD, PROFILE_NONE},//经过测试,此处要加在这个结构体最后一个,加在前面系统启动不了
Step 4) Ensure the kenerl config has SPIDEV enabled either as a module or compiled in.
Step 5) Recompile the kernel and boot the BeagleBone with the new kernel.
Step 6) Check that the SPIDEV module has loaded and initialised the hardware.
root@beaglebone:~# ls /dev/spidev*
/dev/spidev1.0
Step 7) Cross compile the following program:
http://lxr.linux.no/#linux+v3.2.6/Documentation/spi/spidev_test.c
documention目录下有spidev_test.c,下一步就是gcc一下(arm-arago-linux-gnueabi-gcc spidev_test.c –o spidevtest),会生成一个spidev_test的可执行文件,cp到sd卡的随便一个文件夹下。
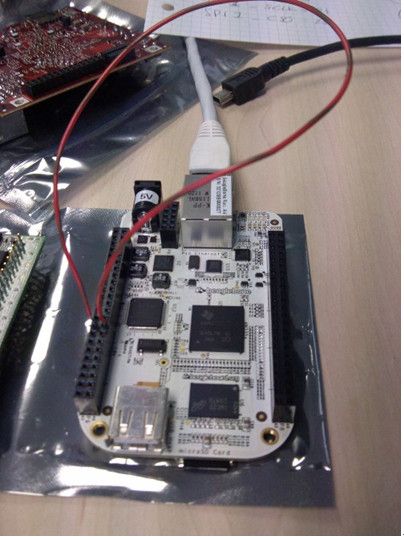
Step 8) Connect pins 18 and 21 together on the P9 header.
Step 9) Copy your spidev_test program onto the board and run as follows:
./spidev_test -D /dev/spidev1.0
If all is working as it should then you will be presented with the following output:
spi mode: 0
bits per word: 8
max speed: 500000 Hz (500 KHz)
FF FF FF FF FF FF
40 00 00 00 00 95
FF FF FF FF FF FF
FF FF FF FF FF FF
FF FF FF FF FF FF
DE AD BE EF BA AD
F0 0D
So, thats it. SPI working through the userspace SPIDEV driver on the BeagleBone.
Go forth and play.


